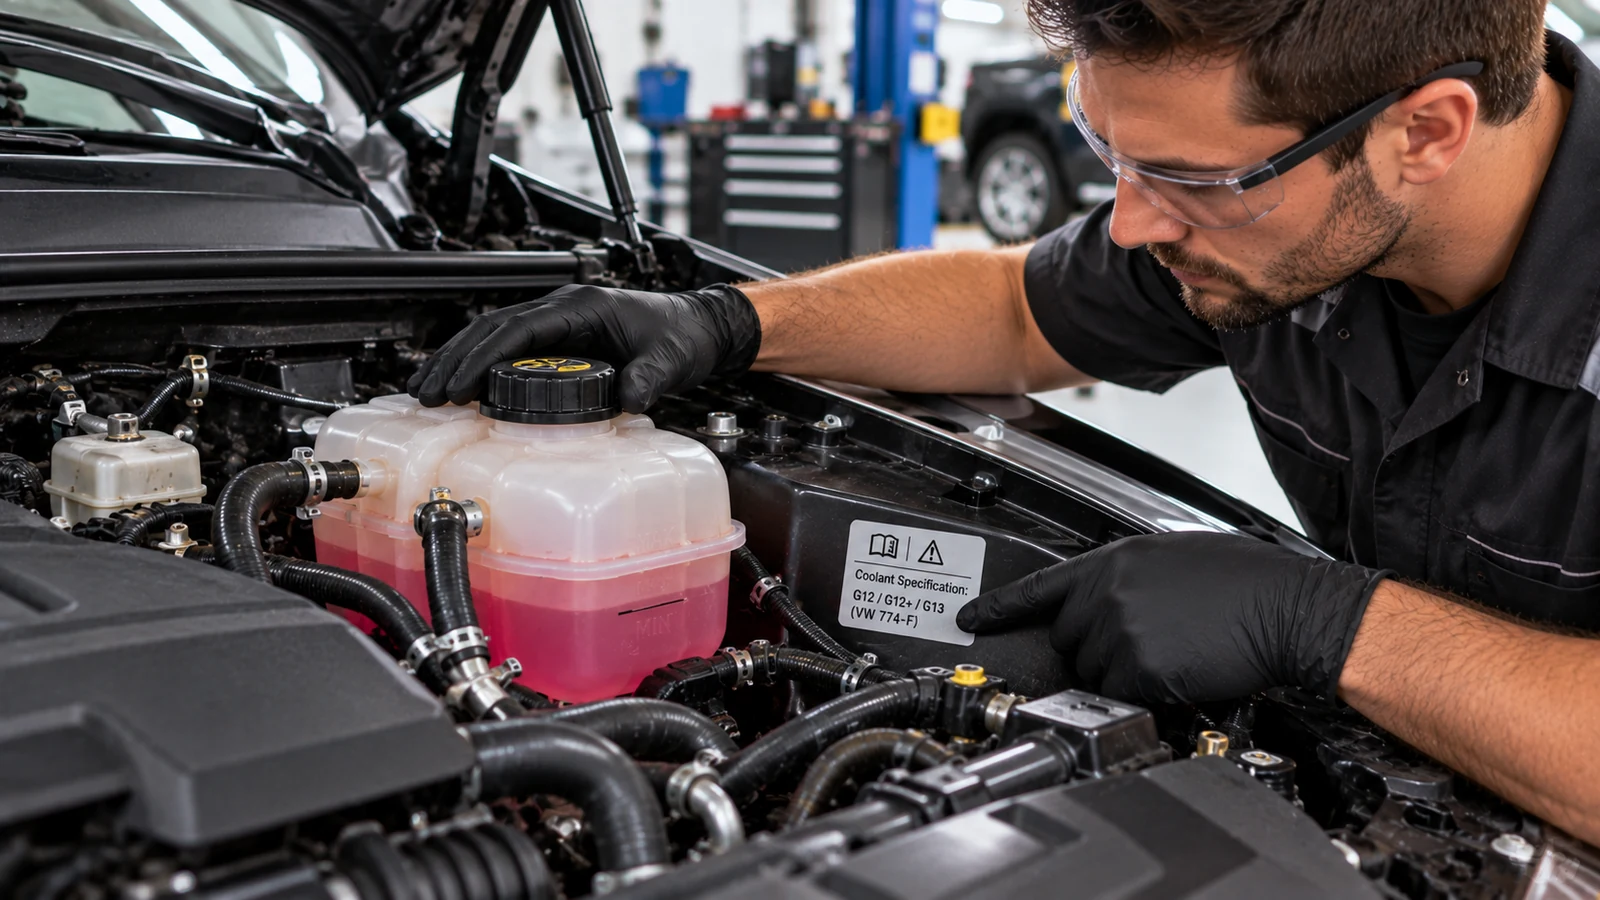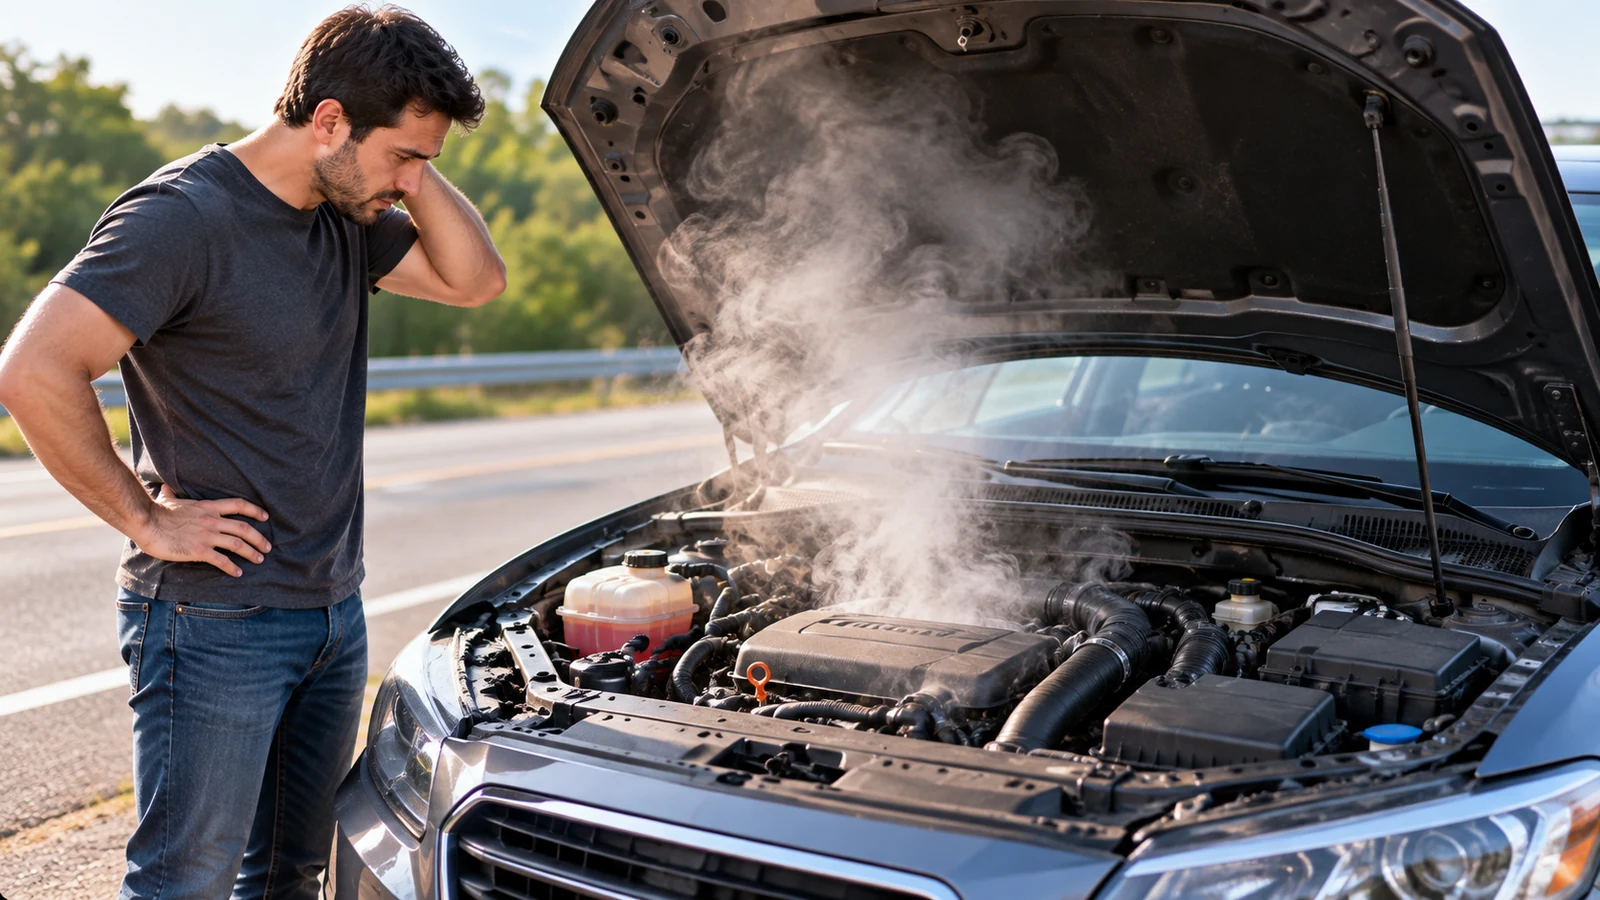
Steam coming from under the hood can be harmless moisture, but it can also be the first visible sign of a cooling-system failure. The safest response depends on a few clues: how dense the vapor is, what it smells like, where it appears, and whether the temperature gauge is moving above its normal range.
A light, odorless mist after rain or a car wash often disappears as the engine bay dries. Dense white vapor with a sweet smell is different. That usually points to hot coolant escaping from a hose, radiator, reservoir, water pump, thermostat housing, heater circuit, or another pressurized part of the cooling system.
The most important rule is simple: do not remove a radiator cap or pressurized expansion-tank cap while the engine is hot. Diagnose the problem only after the engine has cooled enough to inspect safely.
Is the Steam Harmless or an Overheating Warning?
Use the temperature gauge together with the vapor itself. The cloud size alone doesn’t tell you how serious the leak is because a small spray landing on a very hot surface can create a surprisingly large amount of steam.
| What you notice | Most likely explanation | Best immediate action |
|---|---|---|
| Light, odorless wisps after rain or washing | Water evaporating from hot engine parts | Monitor the gauge and confirm the vapor fades |
| Sweet-smelling white vapor | Coolant escaping or boiling | Pull over safely and switch the engine off |
| Steam plus a rising temperature gauge | Active overheating | Stop driving as soon as it is safe |
| Blue-gray smoke with a burnt-oil smell | Oil leaking onto a hot surface | Inspect for an oil leak after the engine cools |
| Acrid gray or black smoke | Electrical insulation, rubber, or another material overheating | Switch off immediately and treat it as a possible fire risk |
| Sweet smell inside the cabin with foggy glass | Possible heater-core leak | Check coolant loss and inspect the heater circuit |
If the vehicle is overheating, continuing to drive can turn a small leak or failed cooling component into much more serious engine damage.
Why Hot Coolant Can Produce So Much Steam
Most liquid-cooled engines use a water-and-antifreeze mixture. A 50/50 mix is a common reference point, although the correct coolant chemistry and concentration depend on the vehicle.
At normal atmospheric pressure, a 50/50 coolant mixture boils at roughly 223°F (106°C). The cooling system raises that boiling point by sealing the coolant under pressure. As a rule of thumb, each additional psi raises the boiling point by about 3°F (1.7°C). With a system operating around 15 psi, the same mixture can remain liquid at roughly 265°F (129°C).
| Cooling-system condition | Approximate boiling point of 50/50 coolant |
|---|---|
| Open to atmospheric pressure | About 223°F (106°C) |
| Pressurized to about 15 psi | About 265°F (129°C) |
That is why a small split in a hose or a weak cap can suddenly create a cloud. Coolant that was stable inside the pressurized system can flash into vapor as soon as it escapes and the pressure drops.
Vehicle-specific service information should specify the exact cap rating, coolant specification, filling method, and bleeding sequence. Owners working on a Toyota can start with the Toyota workshop manual library; for a specific example, the 2015 Toyota Camry XV50 factory workshop manual is the kind of model-matched reference needed before choosing coolant or opening a system for service. The same principle applies to Hyundai workshop manuals, including the 2005-2010 Hyundai Tucson JM workshop manual, because engines within one model line can use different layouts or service procedures.
What to Do Immediately If Steam Appears While Driving
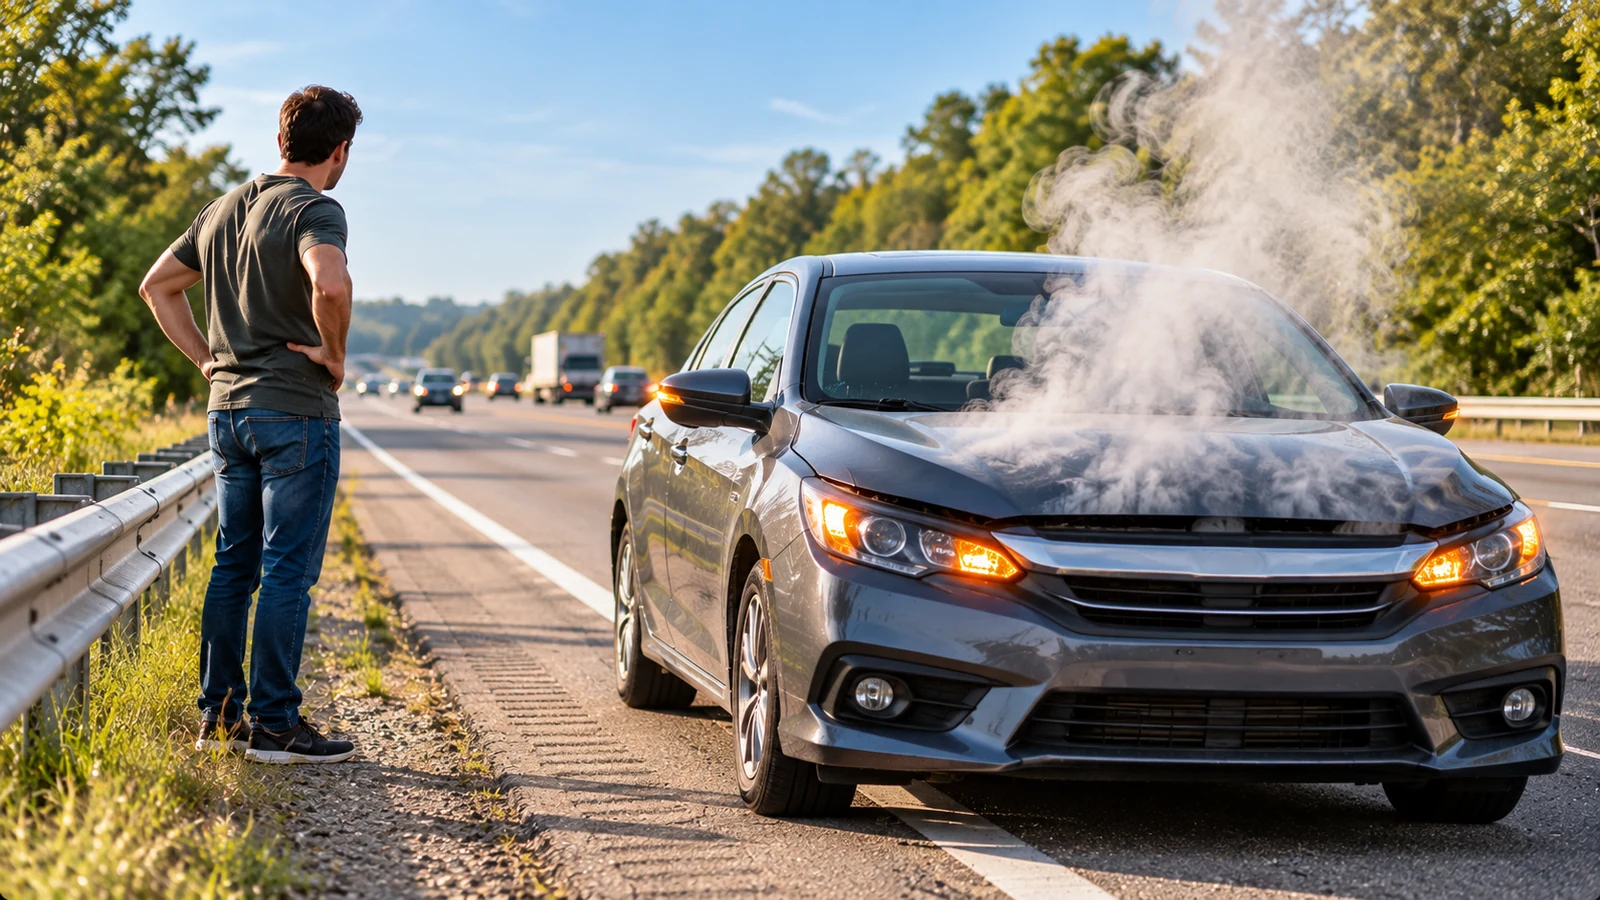
The first few minutes matter more than identifying the exact failed part.
- Check the temperature gauge and warning lights. If the gauge is rising toward hot or a temperature warning appears, plan to stop.
- Turn off the air conditioning. If you still have coolant circulation, setting the cabin heater to full heat can temporarily remove some heat from the engine while you move to a safe stopping place.
- Pull over safely. Use hazard lights and get away from moving traffic.
- Switch the engine off. Do not keep it idling, hoping the temperature will fall.
- Keep clear of fans and belts. Electric cooling fans may run after shutdown.
- Wait before opening the hood if steam is pouring out. When the plume settles, open the hood carefully while keeping your face and hands away from the initial gap.
- Do not open the radiator or expansion-tank cap while hot. Let the engine cool for at least 30 minutes, or longer if the system still feels hot or remains pressurized.
- Look for obvious clues without touching hot parts. Note the location of the vapor, puddle color, wet hose joints, or a disconnected hose.
- Tow the vehicle if the problem is severe or returns quickly.
Do not drive a vehicle with a split hose, a large coolant puddle, repeated steam after topping up, bubbling coolant, persistent white exhaust, or a gauge that reached the red zone, just to avoid a tow.
For model-specific roadside decisions and later repairs, the relevant manual matters. Chevrolet workshop manuals cover different engine and cooling layouts, while the 2011-2013 Chevrolet Cruze workshop manual is a direct reference for that model range. The same applies to Honda service manuals and the 2016-2018 Honda Civic FC/FK workshop manual when a Civic needs cooling-system inspection, bleeding, or component removal.
Use Smell, Location, and Temperature to Narrow the Cause
Before buying parts, determine whether the cloud is actually coolant steam.
Distinguish Coolant Steam From Oil or Electrical Smoke
Coolant vapor is usually white and often smells sweet. Burning engine oil tends to create thinner blue-gray smoke with a burnt-oil odor. Fluid leaking onto an exhaust component can make the source look worse than it is, so trace the wet path rather than assuming the part nearest the smoke has failed.
Electrical or rubber smoke often smells sharp, acrid, or like hot plastic. If you suspect an electrical fire, shut off the vehicle, move occupants away, and do not open the hood if flames are visible.
Use the Area of the Engine Bay as a Diagnostic Clue
Where the vapor appears can reduce the search area:
- Front of the engine bay: radiator, upper hose, cap, fan area, or coolant sprayed forward.
- Near the firewall: heater hoses, heater-core connections, thermostat housing on some layouts, or coolant running down the rear of the engine.
- Below the vehicle: coolant dripping onto the exhaust, subframe, or splash shield, or harmless air-conditioning condensate.
- From the tailpipe instead of under the hood: treat it as an exhaust symptom. Brief white vapor during cold starts can be normal condensation, while thick sweet-smelling exhaust that continues after warm-up can indicate coolant entering a combustion chamber.
Factory diagrams are especially useful when hose routing and hidden junctions are difficult to see. A Ford workshop manual can help identify the correct routing and component locations for the exact application; one current AutoServicePlus example is the 2013 Ford Escape 4WD workshop manual. For off-road-oriented vehicles where access can differ, the Jeep workshop manual library and the 2012-2013 Jeep Wrangler workshop manual provide vehicle-specific service documentation rather than generic hose diagrams.
Common Causes of Steam Under the Hood
The cause can range from water evaporating off the exhaust to a cooling system that can no longer hold pressure.
Harmless Moisture and Recent-Service Spills
Rain, puddle spray, car-wash water, or condensation can collect on hot metal and produce light vapor for a few minutes. The important clues are a normal temperature gauge, no sweet coolant odor, and no falling coolant level.
A small amount of coolant spilled during recent service can also steam until the residue burns off. The same is true of engine oil spilled onto an exhaust surface, although oil produces smoke rather than clean water vapor. If the vapor continues for several drives or the fluid level falls, don’t keep treating it as a leftover spill.
Air-conditioning condensate is another common source of confusion. Clear, odorless water dripping near the firewall is normally condensate from the evaporator drain, not coolant.
Hoses, Radiator, Cap and Expansion Tank Leaks
Coolant hoses age through repeated heat cycles. They can harden, crack, swell, soften near clamps, or split when system pressure rises. Inspect bends, hose ends, clamps, and areas where a hose may rub against nearby parts.
Radiators can leak from the core, seams, fittings, or plastic end tanks. A weak pressure cap can also create steam by releasing pressure too early. Once the system can no longer hold its intended pressure, the boiling margin drops and coolant may vent into the overflow.
Plastic reservoirs and pressurized expansion tanks can develop hairline cracks as they age. Dried coolant often leaves colored or crusty residue that helps reveal a small leak. Overfilling can also push excess coolant out as the system heats, so check the level against the cold marks before assuming the reservoir itself has failed.
When you need an exact pressure specification or access procedure, use model-matched data. Nissan workshop manuals cover a wide range of layouts, including the 2013 Nissan-Datsun Altima Sedan workshop manual. Kia workshop manuals provide the same kind of model-specific reference, with the 2010-2015 Kia Sportage SL workshop manual available for that generation.
Water Pump, Thermostat and Cooling Fan Problems
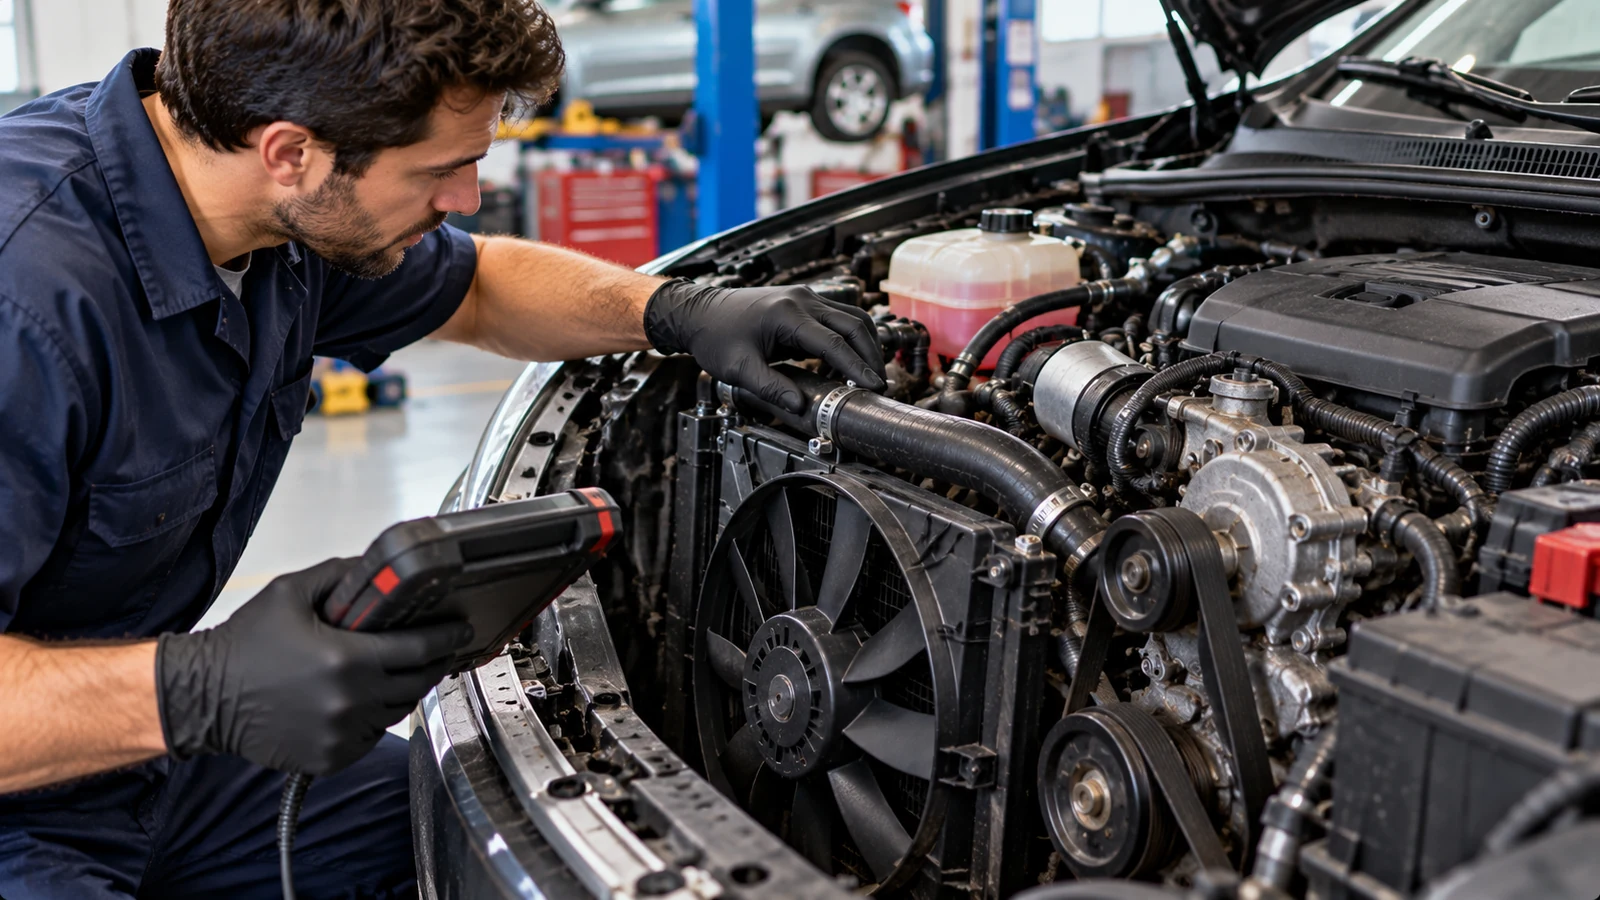
A water pump can leak from its seal or weep hole, develop bearing play, or stop circulating coolant effectively if its drive system fails. On engines where the pump is belt-driven, a broken or slipping belt can cause rapid overheating.
A thermostat that sticks closed prevents normal coolant flow to the radiator. The temperature can rise quickly after warm-up, pressure builds, and coolant may vent as steam. A thermostat stuck open causes a different pattern, usually slow warm-up rather than sudden steam.
Cooling fans matter most at low road speed. A vehicle that stays near normal temperature on the highway but overheats in traffic may have a fan motor, fuse, relay, wiring, control, or temperature-signal problem. Follow the vehicle’s wiring diagram and specified test values instead of guessing at relay terminals or sensor readings.
This is where manufacturer-specific electrical information becomes important. For Volkswagen applications, use the Volkswagen workshop manual library; the 2008-2012 Volkswagen Golf Mk6 GTI workshop manual is one example with model-specific service information. Likewise, Audi workshop manuals, including the 2009-2013 Audi A4 Sedan 8K2 workshop manual, can support coolant-temperature, fan-control, and component-location checks for the exact vehicle.
Heater-Core Leaks
A heater core is essentially a small radiator inside the HVAC case. Leaks may show up as a sweet smell from the vents, damp carpet, coolant loss without an obvious engine-bay puddle, or a greasy-looking film on the inside of the windshield.
Because heater-core replacement can require extensive dashboard disassembly, trim location and fastener sequence matter. BMW workshop manuals can provide the correct body and HVAC procedures for the vehicle, and the 2012-2018 BMW 3 Series F30 workshop manual is a relevant example. The same value applies to Mercedes-Benz workshop manuals, including the 2006 Mercedes-Benz C 280 workshop manual, when the repair involves hidden heater components or cooling-system access.
Combustion Gas Entering the Cooling System
A failed head gasket can allow combustion pressure into the cooling system. Instead of pressure building only as coolant heats, the system can become pressurized rapidly by cylinder gases. Possible clues include continuous bubbling in the reservoir, coolant being pushed out, unexplained coolant loss, and persistent sweet-smelling white exhaust after the engine is warm.
Steam under the hood by itself does not prove a head-gasket failure. Confirm the diagnosis before planning major engine work. A combustion-leak test and, when needed, a cylinder leak-down test can help separate an internal leak from an external cooling-system problem.
Major engine work also requires exact tightening sequences, torque values, gasket requirements, and assembly procedures. For example, Subaru workshop manuals can match procedures to the correct vehicle, with the 2005-2011 Subaru Outback Sport workshop manual covering one model range. Volvo workshop manuals and the 2003 Volvo XC90 2.5T AWD workshop manual similarly provide vehicle-specific references when cooling-system diagnosis leads to deeper engine work.
How to Diagnose the Source After the Engine Cools
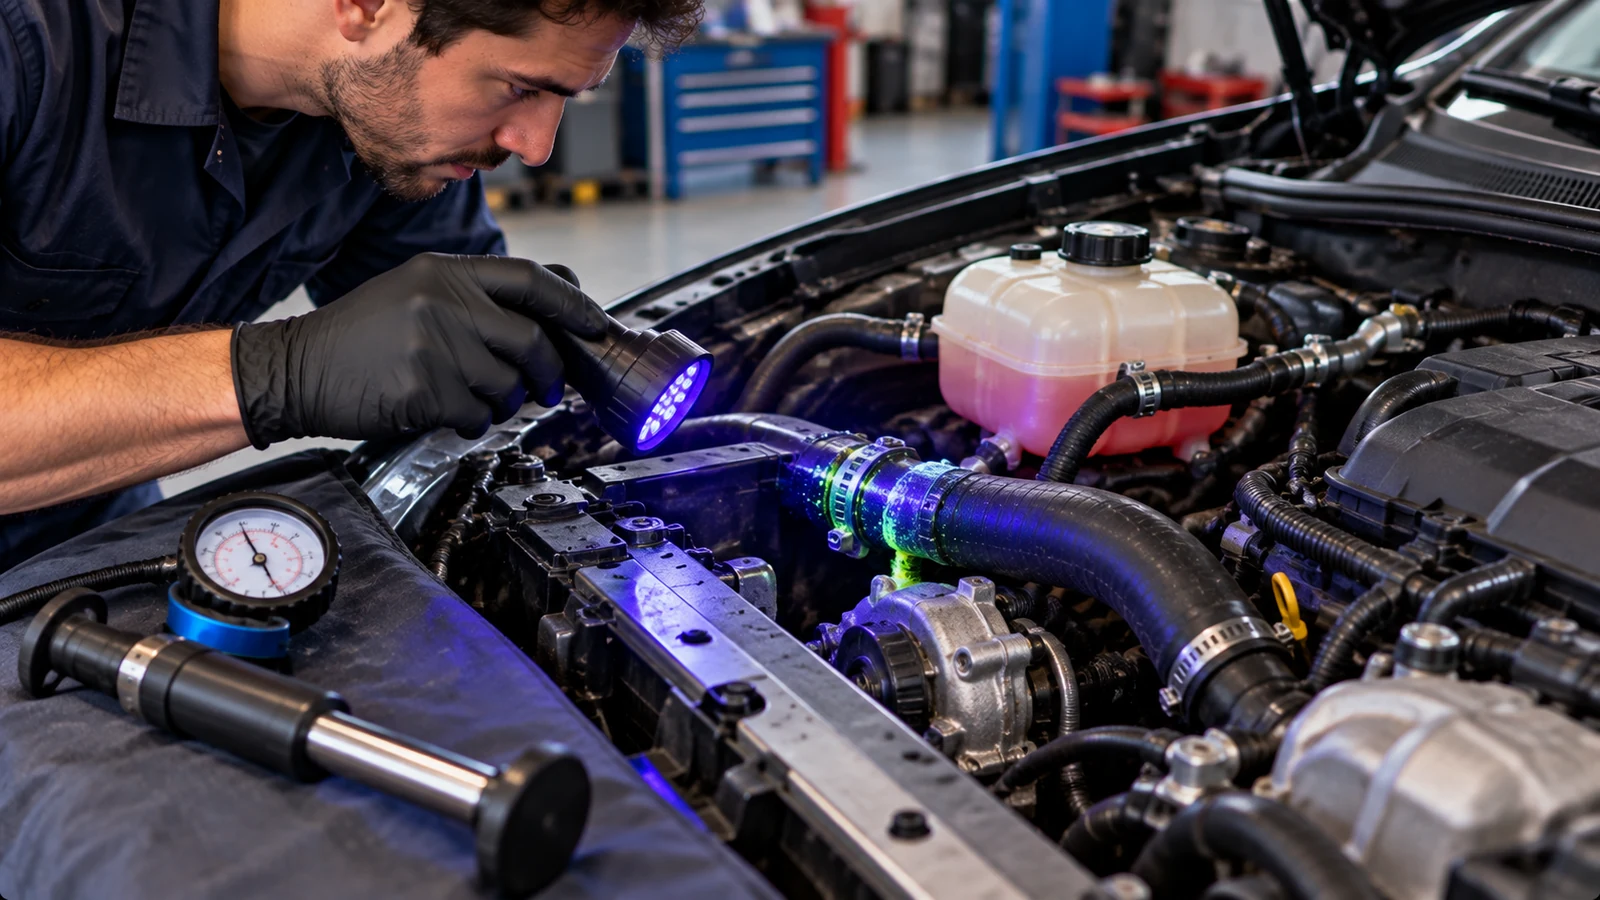
Once the engine is fully cool and the vehicle is on level ground, work from visible evidence toward more specialized tests.
1. Inspect the Entire Coolant Path
Use a bright light and check:
- Upper and lower radiator hoses.
- Heater hoses and smaller bypass hoses.
- Hose clamps and quick-connect fittings.
- Radiator seams, tanks, drain points, and core.
- Radiator cap or expansion-tank cap seal.
- Reservoir seams and level markings.
- Water-pump area and weep hole.
- Thermostat housing and gasket area.
- Heater hose connections at the firewall.
- Splash shields, subframe, and exhaust surfaces below the engine.
Look for fresh wetness, dried residue, stains, cracks, swelling, or a trail that shows where coolant has run from a higher source. If you need to raise the vehicle, use the specified lifting points and support it securely on stands before going underneath.
On tightly packaged vehicles, access instructions can be as important as the leak itself. Land Rover workshop manuals can help identify the removal order and hidden components, while the 2015-2017 Land Rover Discovery Sport L550 workshop manual provides a model-specific guide for that platform. The Porsche workshop manual library and 2015-2016 Porsche Macan workshop manual serve the same purpose for the Macan.
2. Check Coolant Level and Condition
Check the reservoir only when the engine is cold. Compare the level with the molded marks and look at the fluid condition. Rust-colored coolant, heavy contamination, oily residue, or sludge deserves further investigation.
Check engine oil as part of the same inspection. A little tan residue under the filler cap can occur from condensation, especially with short trips, but milky oil on the dipstick combined with unexplained coolant loss is more concerning.
Do not assume coolant color alone identifies the correct chemistry. Use the vehicle specification before topping up or refilling.
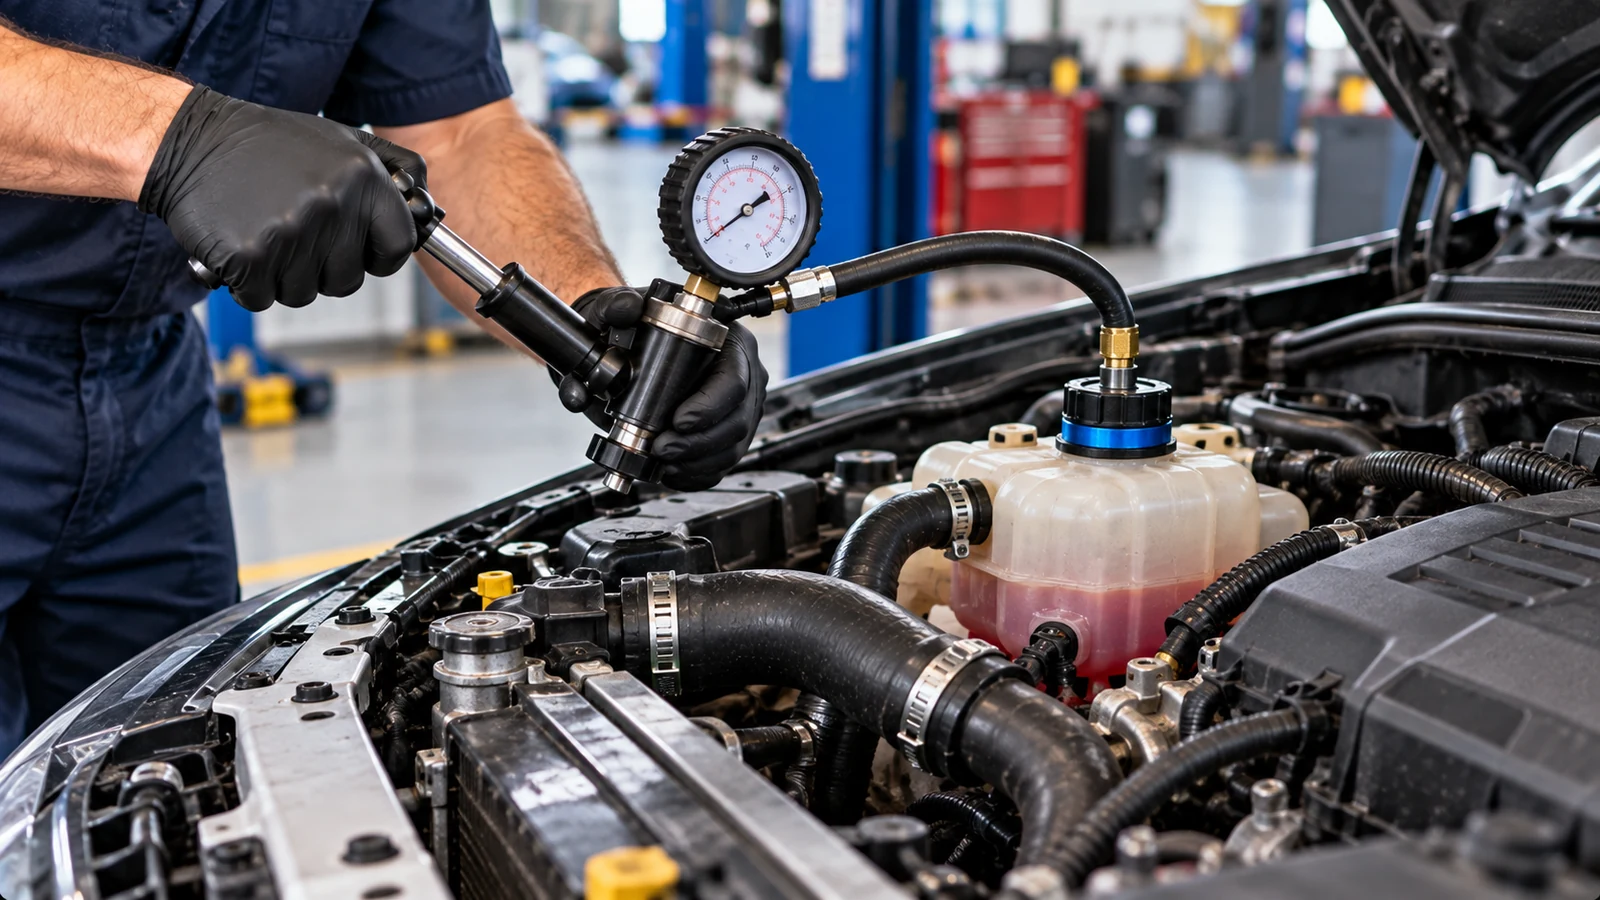
3. Pressure-Test the Cooling System and Cap
A pressure tester can reveal leaks that are invisible when the engine is cold and unpressurized. Pump the system only to the specified test pressure. If pressure falls, inspect for fresh seepage around hoses, radiator seams, housings, the water pump, and heater connections.
With the correct adapter, test the cap as well. A cap that opens too early can cause boil-over even when the rest of the system is intact.
If a leak remains difficult to locate, UV-compatible coolant dye can make a small escape point easier to see under an ultraviolet lamp.
For exact fill quantities, pressure limits, and disassembly procedures, Mazda workshop manuals support model-specific checks such as those in the 2013-2014 Mazda CX-5 AWD workshop manual. Mitsubishi workshop manuals offer the equivalent reference path for models such as the 2011-2013 Mitsubishi Outlander Sport AWD workshop manual.
4. Use Scan Data and Targeted Tests
A scan tool can help compare engine coolant temperature data with the dashboard gauge, identify thermostat-related trouble codes, and show whether the engine control system is requesting fan operation on vehicles that expose that data.
The generic code P0128 indicates that the engine is not reaching its expected operating temperature. That usually points toward a thermostat stuck open or another warm-up problem, not the stuck-closed condition that commonly contributes to overheating and steam. The code is useful because it changes the diagnostic direction.
If external inspection and pressure testing don’t explain coolant loss, a combustion-gas test can check for exhaust gases in the coolant. Follow a positive result with appropriate mechanical confirmation before major engine disassembly.
A Symptom-to-Test Checklist
| Symptom pattern | Likely area | Next useful check |
|---|---|---|
| Light vapor only after rain or washing | External moisture | Confirm it fades and gauge stays normal |
| Sweet steam near radiator or front hose | Radiator, hose, cap | Visual inspection and pressure test |
| Overheats mainly at idle or in traffic | Cooling fan or control circuit | Fan operation, fuse, relay, wiring, live data |
| Temperature rises soon after warm-up | Thermostat or circulation problem | Temperature data, hose-temperature pattern, thermostat test |
| Coolant disappears with sweet cabin smell | Heater core or heater circuit | Carpet, HVAC case, firewall connections |
| Coolant is forced out with repeated bubbles | Combustion gas in cooling system | Block test and leak-down test |
| Steam appears with battery warning light | Belt or driven-accessory problem | Inspect belt, tensioner, pulleys, water-pump drive |
A battery warning light together with sudden overheating is especially important on engines where the accessory belt drives the water pump. An oil-pressure warning should also be treated as a stop-now condition on its own.
Decide What You Can Repair at Home
Some causes are reasonable DIY jobs when access is straightforward, and the system is fully cool:
- Replacing a leaking hose or damaged clamp
- Replacing a pressure cap with the correct rating
- Replacing an accessible thermostat
- Replacing an accessible reservoir
- Refilling and bleeding the cooling system after a minor repair
More involved jobs often justify factory procedures or professional equipment:
- Timing-belt-driven water pumps
- Heater-core replacement behind the dashboard
- Radiator replacement in a crowded engine bay
- Electrical diagnosis involving fan-control circuits
- Cylinder-head or head-gasket work
- Cooling systems with a model-specific vacuum-fill or bleeding sequence
The risk is not only the repair itself. Air left trapped in the cooling system can create hot spots, unstable temperature readings, weak heater output, or coolant pushed out of the reservoir. Follow the exact fill and bleed procedure for the vehicle. Used coolant is poisonous, so clean spills promptly and keep drained fluid away from children and pets until you can recycle it or dispose of it properly.
For any of these repairs, keep the procedure tied to the exact vehicle rather than assuming one manufacturer’s layout applies across its whole range. Model year, engine, drivetrain, and platform can change the parts you remove, the fasteners you torque, and the way air is bled from the system.
Vehicle-Specific Manual Matching Matters
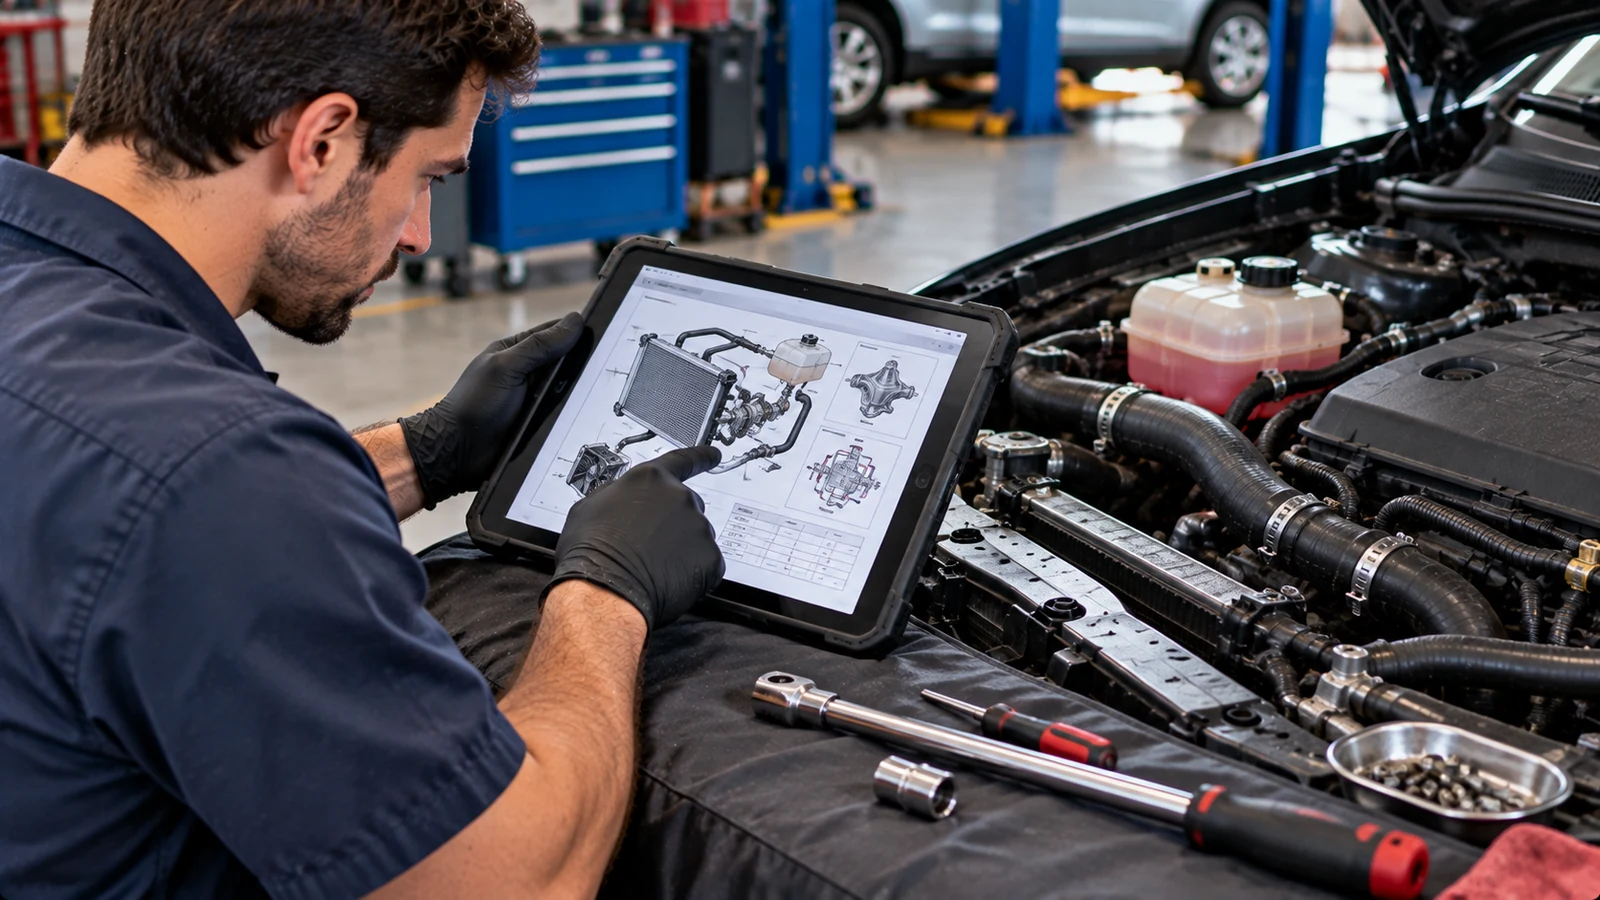
A workshop manual should match the year, model, platform, engine, and drivetrain as closely as possible. Two vehicles with the same model name can use different coolant capacities, thermostat locations, water-pump drives, fan-control logic, or bleeding procedures.
The AutoServicePlus inventory reviewed for this article includes passenger cars, SUVs, crossovers, performance models, and hybrids from the manufacturers referenced throughout this guide. Those examples are intentionally spread through the diagnostic and repair sections rather than collected into a link directory.
The practical rule is the same for every make: confirm the exact manual before relying on coolant specifications, pressure limits, bleed points, electric-fan tests, torque values, removal order, or tightening sequences.
Steam on Hybrid Vehicles Needs Extra Caution
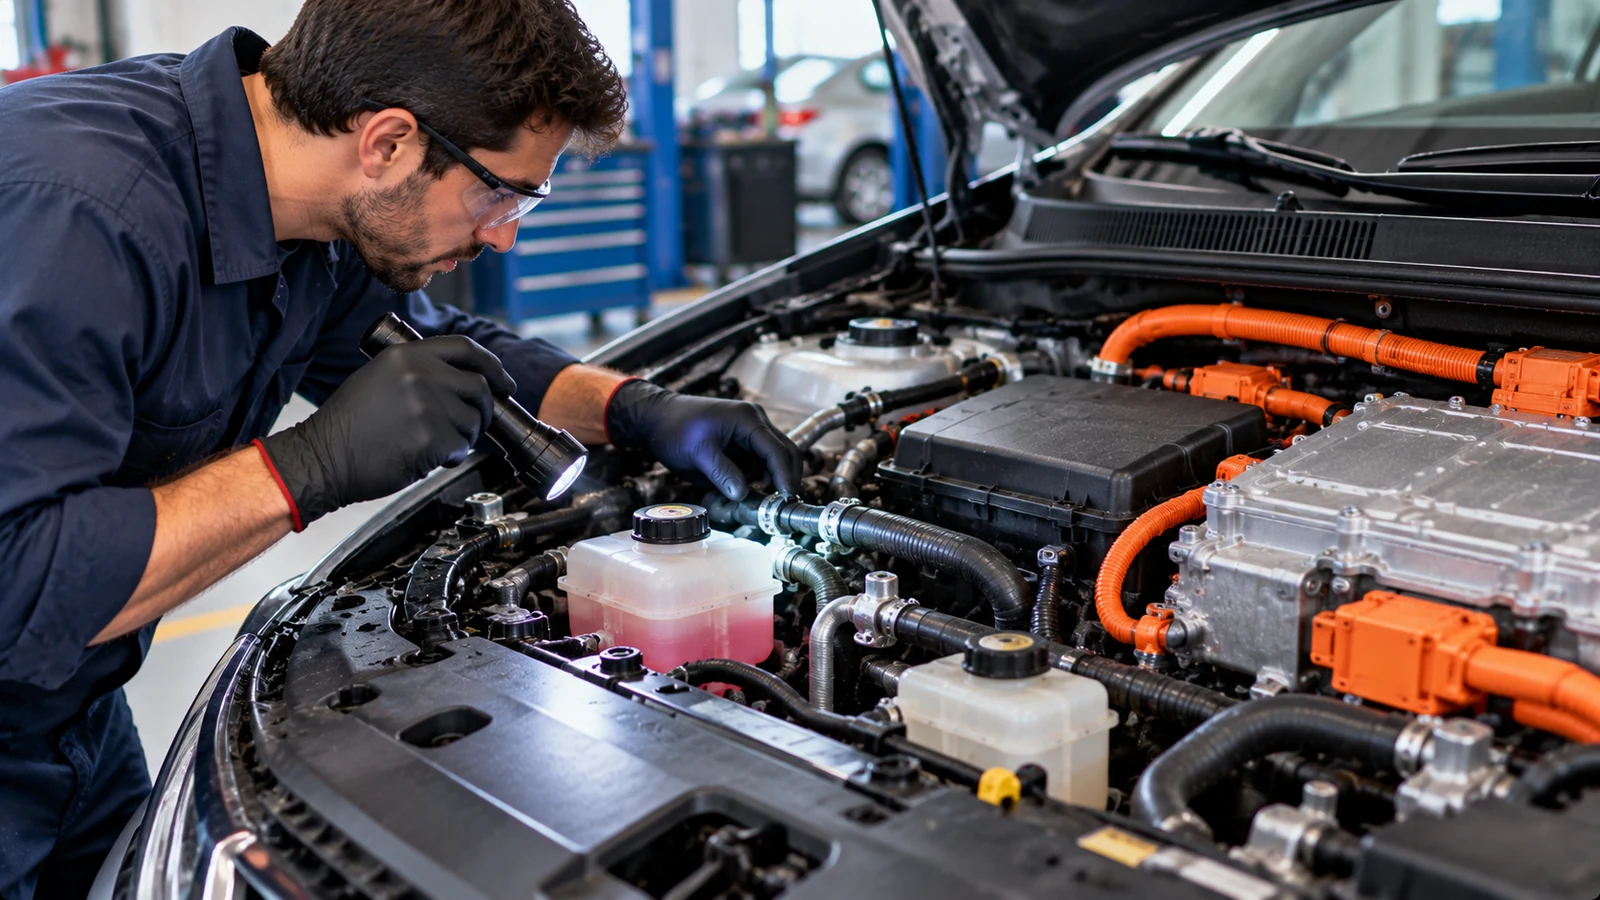
A hybrid still has an engine cooling system, so it can develop the same hose, radiator, pump, cap, thermostat, and heater-circuit leaks as a conventional vehicle. Many hybrids also use additional cooling circuits for power electronics. Bright orange cables identify high-voltage areas that should not be treated like ordinary 12-volt wiring.
That means a sweet-smelling leak may not belong to the engine loop alone. Do not work around high-voltage components unless you follow the vehicle-specific safety procedure.
For Toyota hybrid owners, the 2001-2009 Prius workshop manual is a model-specific starting point. AutoServicePlus also lists Lexus workshop manuals, including the 2010-2013 Lexus RX 450h FWD workshop manual. These are the appropriate places to confirm shutdown procedures, coolant circuit identification, component locations, and service steps for the exact vehicle.
If vapor or smoke appears from the battery area or beneath a hybrid or electric vehicle rather than from the normal engine-cooling area, keep your distance and treat it as a potentially different safety problem.
How to Reduce the Chance of Another Steam Event
Cooling-system failures are easier to handle when you catch them before the system loses pressure or coolant circulation.
- Check the coolant level regularly and investigate repeated loss.
- Use the coolant specification required for the vehicle rather than choosing by color alone.
- Inspect hoses, clamps, belts, and visible plastic tanks during routine service.
- Keep the radiator face clear of debris that can restrict airflow.
- Replace a damaged or weak pressure cap with one rated correctly.
- Watch the normal position of the temperature gauge so a change is obvious.
- Fix small leaks before heat and pressure turn them into larger failures.
- After any cooling-system repair, bleed the system using the correct procedure.
Conclusion
Steam coming from under the hood is a symptom, not a diagnosis. Start with the temperature gauge, smell, and vapor location. Harmless moisture usually fades quickly with no coolant loss. Sweet-smelling steam, a rising temperature, repeated coolant loss, or pressure pushing coolant out of the system requires a cooling-system diagnosis.
Once the engine is fully cool, inspect the system methodically, pressure-test it when needed, and use scan data or a combustion-gas test when the basic checks don’t explain the problem. Simple hose, cap, or accessible thermostat repairs may be realistic at home. More complex work is safer and more reliable when you follow the exact workshop procedure for the vehicle in front of you.
Commonly Asked Questions About Steam Coming From Under the Hood
Is Steam Under the Hood Normal After Rain or A Car Wash?
It can be. Water on the engine, exhaust, radiator support, or other warm surfaces may evaporate as visible white wisps. If the vapor is odorless, the temperature gauge stays normal, and the steam stops after the surfaces dry, it is usually not a cooling-system failure.
Can I Keep Driving When Steam Appears?
Only if you are confident it is harmless external moisture and the temperature remains normal. Dense steam, a sweet smell, coolant loss, or a rising temperature gauge means you should stop. If the engine overheated or the steam returns quickly, arrange a tow.
Why Is My Car Steaming Even Though The Gauge Is Not Hot?
A small coolant leak can spray or drip onto a very hot exhaust surface before enough coolant is lost to move the gauge. Recent wash water or spilled fluid can do the same. Check the coolant level only when cold and inspect for residue or wetness.
Why Does The Car Steam After I Switch The Engine Off?
After shutdown, coolant circulation stops and heat stored in the engine can raise local under-hood temperatures for a short period. Water or a small coolant seep can then vaporize. Repeated sweet-smelling steam after every drive needs inspection.
Can I Add Water After The Engine Overheats?
Only after the engine has cooled enough to open the system safely. Do not remove the cap or pour cold liquid into a hot pressurized system. Plain water can be used as a short-term emergency measure if the correct coolant is unavailable, but it does not provide the same boiling, freezing, or corrosion protection as the specified coolant mixture. Refill with the correct coolant as soon as practical and repair the leak.
Does Steam Under The Hood Mean The Head Gasket Is Blown?
No. External leaks, a weak cap, thermostat problems, water-pump issues, fan faults, and harmless moisture are all possible. Head-gasket failure becomes more likely when several signs appear together, such as persistent bubbling, coolant being forced out, unexplained coolant loss, continued sweet white exhaust, or evidence of coolant contamination. Confirm it with appropriate tests before dismantling the engine.