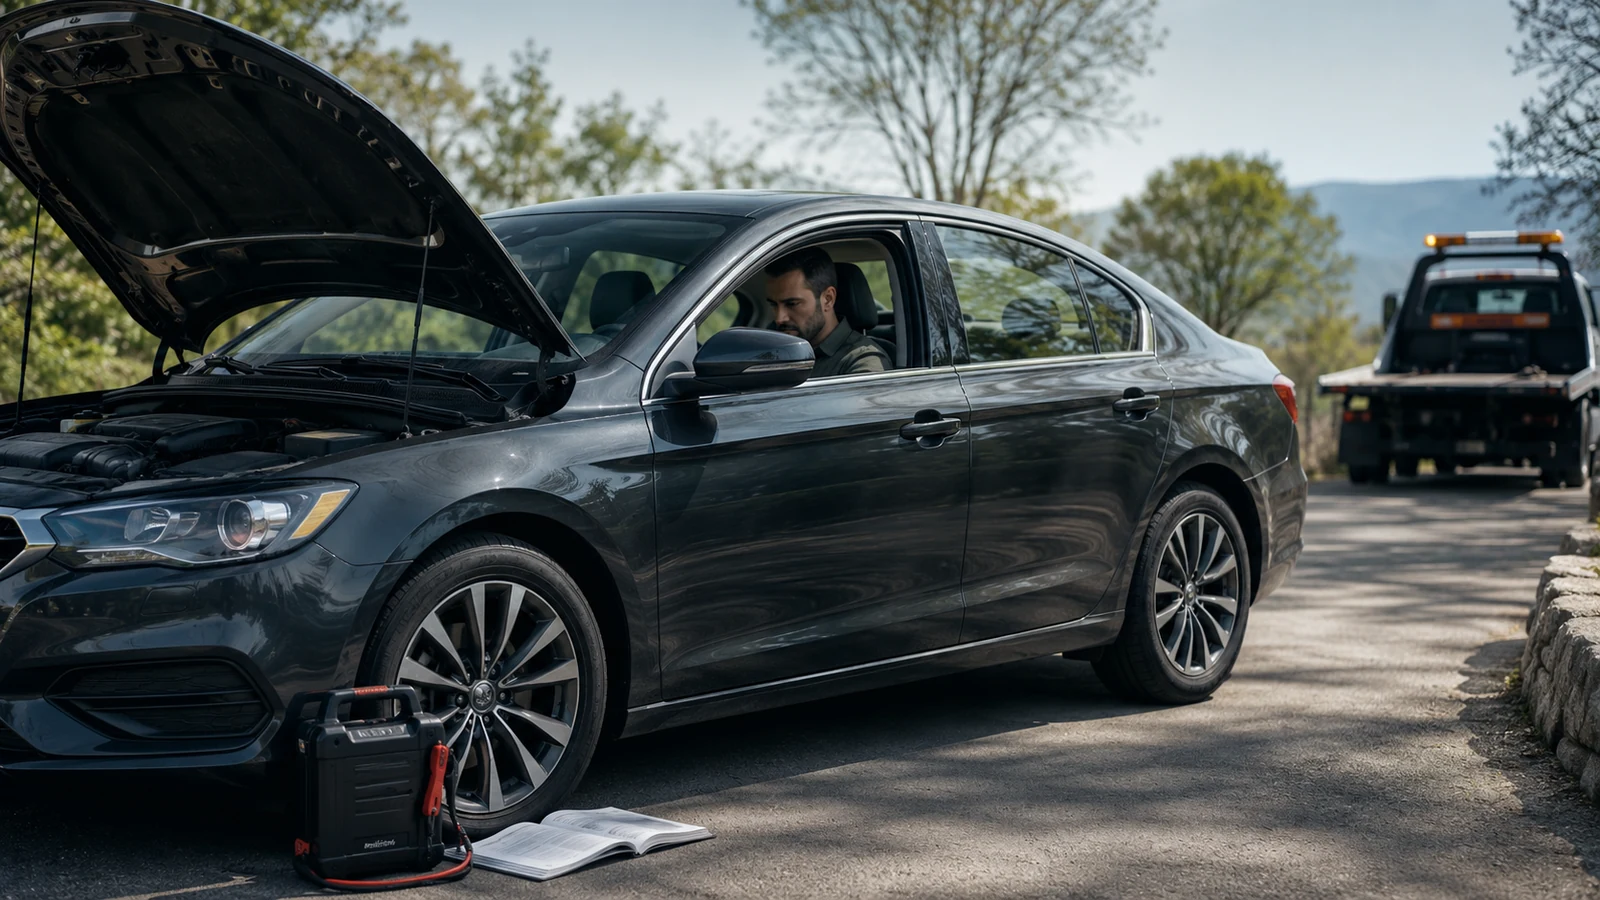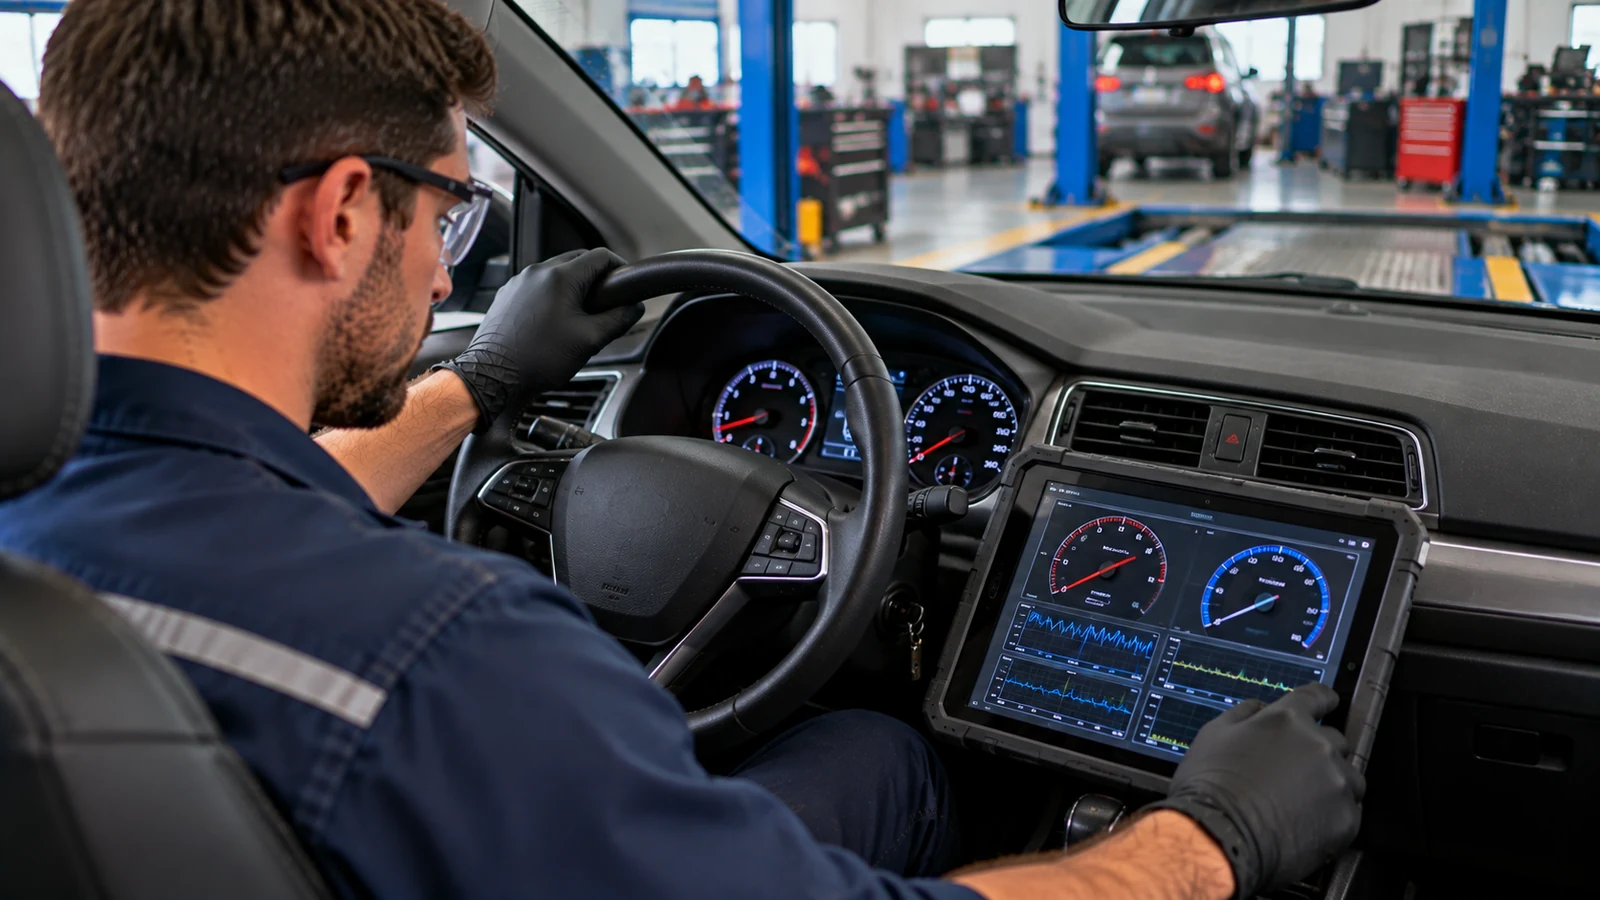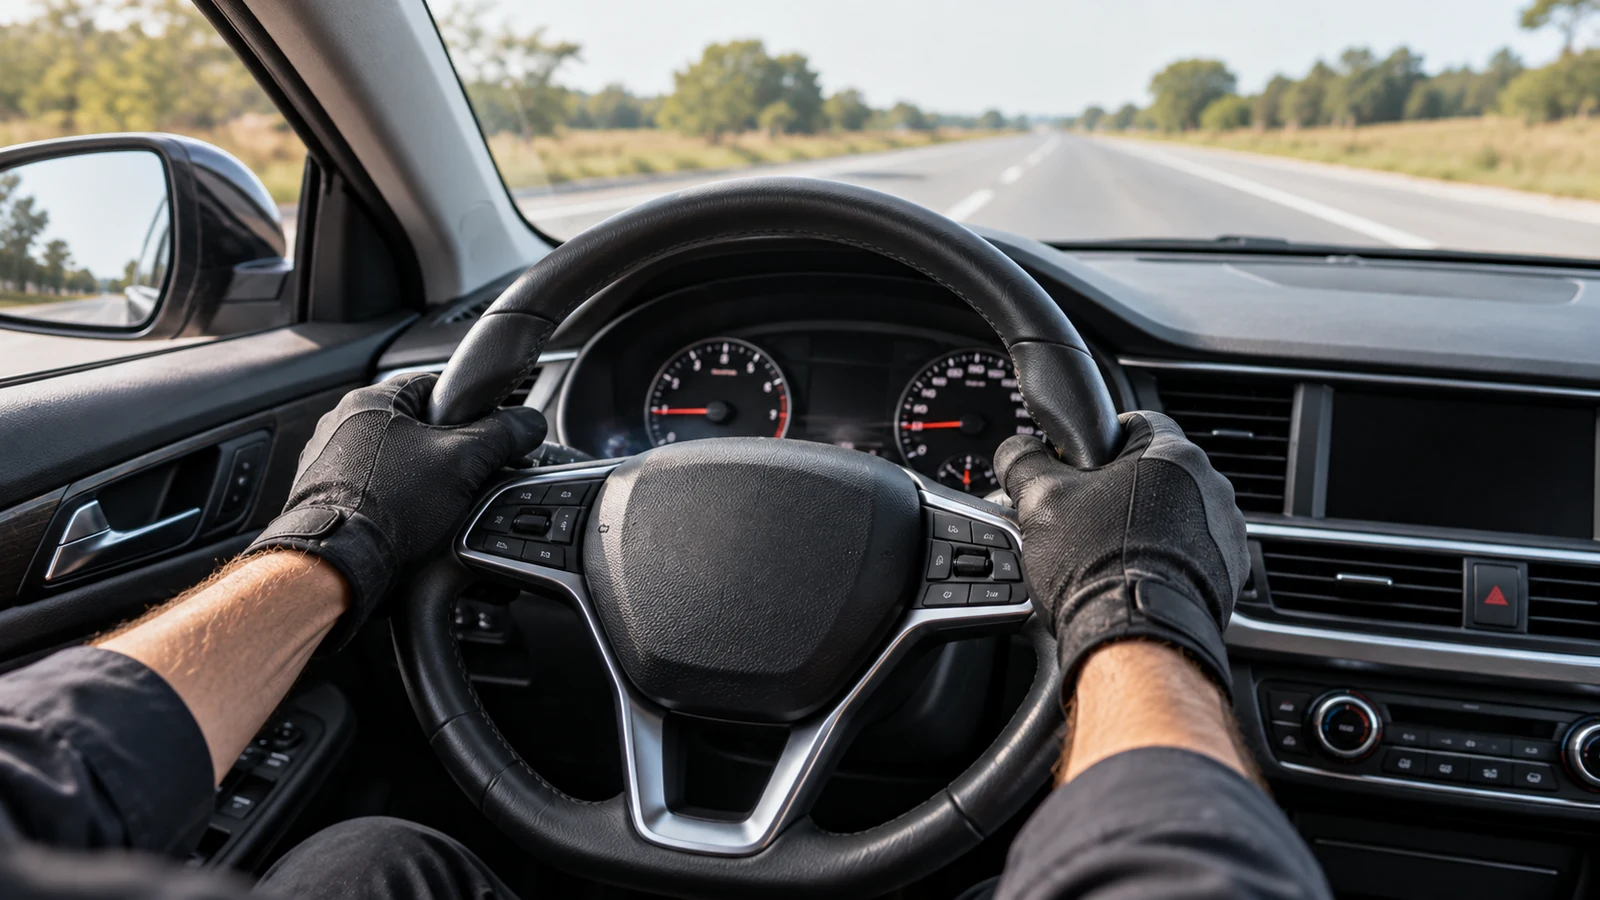
If your steering wheel shakes when braking, the vibration usually means something on the front axle is applying braking force unevenly or moving when it should stay stable. Front brake rotors and pads are the first suspects, but wheel mounting, tires, wheel bearings, tie rods, ball joints, and control arm bushings can produce or amplify the same symptom.
The useful clue is not simply that the car vibrates. Pay attention to where you feel the vibration, when it starts, whether it changes with road speed, and whether it also happens without the brake pedal applied. That pattern can narrow the inspection before you buy parts.
Key Takeaways
- A steering wheel that shakes mainly during braking usually points first to the front brakes, especially rotor thickness variation or uneven friction material.
- If the vibration is already present while cruising, inspect tires, wheel balance, wheel mounting, and bearings before focusing only on the brakes.
- Diagnose in order: road-test the symptom, check tires and wheel mounting, inspect pads and rotors, then check bearings, steering joints, and suspension bushings.
- Use the exact vehicle’s workshop data for rotor limits, wheel and caliper torque, hub procedures, and alignment settings, rather than generic specifications.
Match the Vibration to the Likely Area
A short road test can separate a brake-related steering shimmy from a vibration that already exists in the wheel, tire, hub, or suspension.
| What You Notice | Most Likely Area | Good First Check |
| Steering wheel shimmy during light or moderate braking, strongest at higher speed | Front rotors or pads | Inspect rotor faces, pad wear, rotor thickness, and runout |
| Pedal pulsation with little steering-wheel movement | Brake system, sometimes rear brakes | Inspect front and rear friction surfaces and hub condition |
| Vibration through the seat or floor while braking | Rear brake or rear hub area | Inspect rear brakes and bearings |
| Steering wheel already shakes at cruising speed, then worsens while braking | Tire, wheel balance, mounting, or bearing | Check pressure, tire damage, wheel balance, lug torque, and play |
| Shake plus pull to one side | Caliper, uneven brake wear, tire difference, or front-end wear | Compare pad wear, caliper movement, tires, and suspension joints |
| Shake plus clunk or knock | Tie rod, ball joint, control arm bushing, or loose hardware | Check free play with the vehicle safely supported |
| Rapid pedal pulsation during a hard stop on a slippery surface | Normal ABS operation | Confirm no warning light or other fault is present |
A shake that appears only when braking and fades as the vehicle slows is a strong front-brake clue. If the steering wheel also vibrates at steady speed, begin with the tires, wheel mounting, and bearings before blaming the brakes.
Why Brake Judder Reaches the Steering Wheel
Braking converts vehicle motion into heat by squeezing the pads against rotating discs. When both friction surfaces run true, and the clamping force stays even, the vehicle slows smoothly. If rotor thickness, rotor position, pad material, or hub alignment varies around the wheel, braking force rises and falls as the assembly rotates.
That repeating force is commonly described as brake judder or brake torque variation. On the front axle, the vibration can travel through the hub, steering knuckle, tie rods, steering gear, and steering column until you feel it in your hands.
The important point is that a rotor does not need to look dramatically bent to cause a noticeable shake. Small differences in disc thickness or lateral runout can create a repeating brake-force pulse, especially during higher-speed braking.
Start With the Front Brakes
Because the front brakes handle a large share of the work during deceleration, they are the most logical starting point when the steering wheel shakes only as the brake pedal is applied.
Rotor Thickness Variation and Lateral Runout
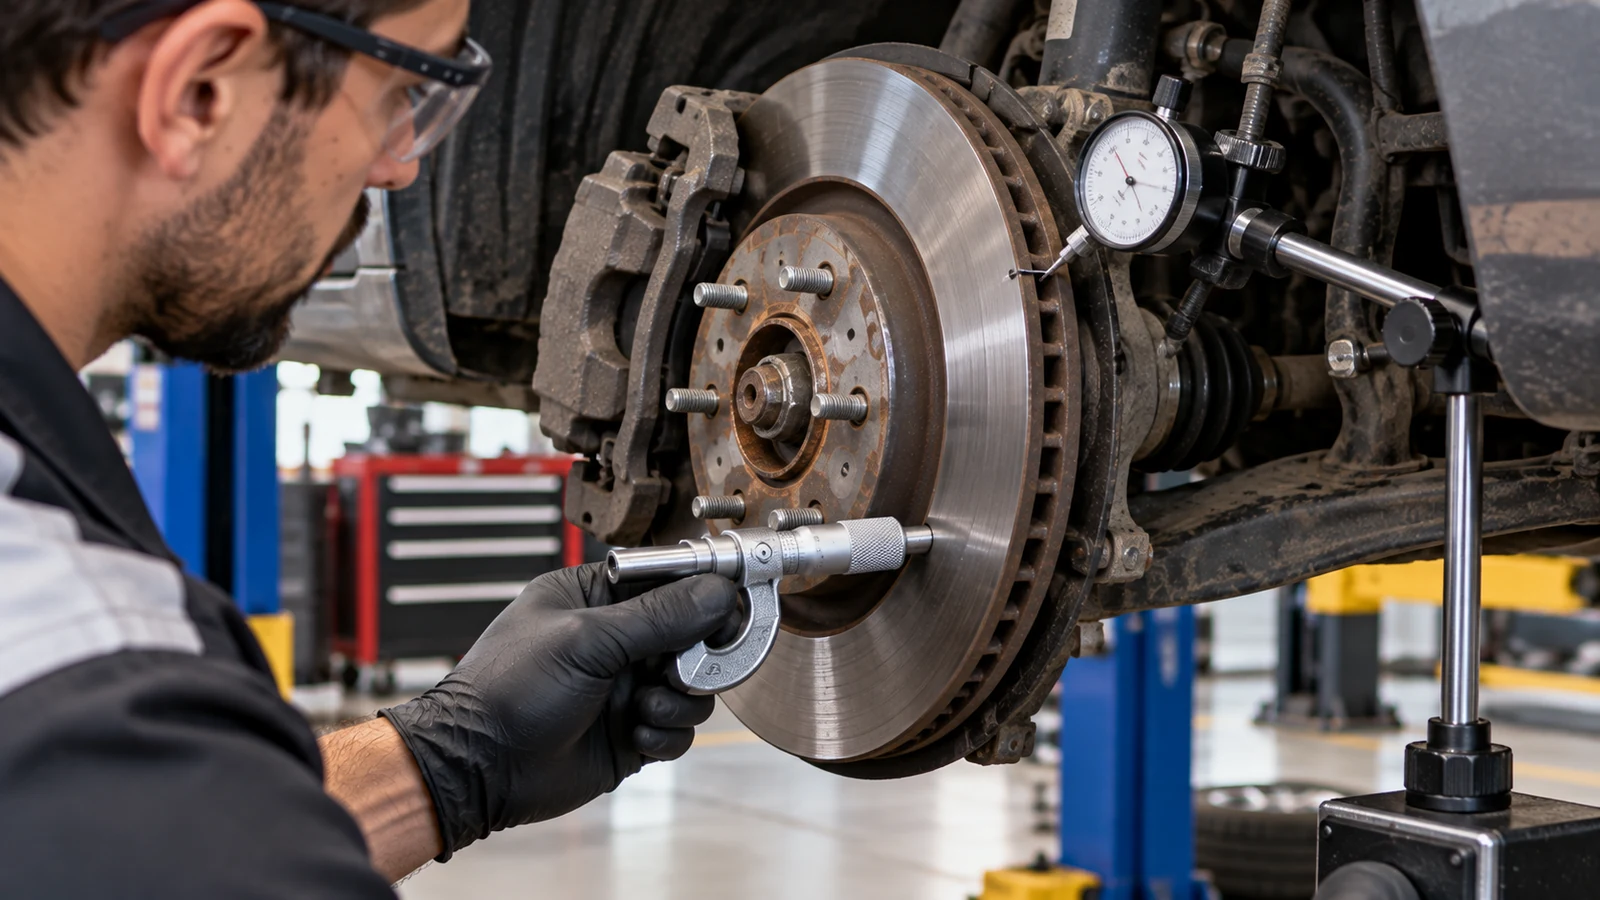
The phrase “warped rotor” is often used for any brake vibration, but many cases are better described as disc thickness variation (DTV). One part of the rotor becomes slightly thicker than another, so the pads grip with different force as the disc turns.
A proper inspection does more than measure one spot. Check rotor thickness at several positions around the disc, compare the readings, and compare them to the vehicle’s minimum-thickness and runout specifications. A rotor may still be above minimum thickness yet create judder if the variation around the disc is excessive.
Installation matters too. Rust, scale, or debris trapped between the hub and rotor can make a new disc sit slightly crooked. Uneven wheel tightening can also contribute to poor seating or distortion. If the vibration began after brake or tire work, inspect the hub mating surface and wheel-fastener torque before assuming the new rotor is defective.
Vehicle-specific values matter here. Someone working from the Toyota workshop-manual catalog can use the 2015 Toyota Camry XV50 factory workshop manual to confirm the applicable rotor limits and fastener procedures for that vehicle rather than relying on a generic chart. The same principle applies to the Honda service-manual library and a model-specific document such as the 2016-2018 Honda Civic FC/FK workshop manual.
Uneven Pad Deposits, Glazing, and Wear
Brake pads transfer a thin layer of friction material to the rotor during normal use. If that transfer layer becomes uneven, friction can change around the rotor and produce a repeating pulse. Heavy braking, excessive heat, or poor bedding after installation can contribute to uneven deposits.
Heat can also glaze pads, reducing consistent friction. Check both the inner and outer pads. On a floating caliper, uneven inner-to-outer wear can point to a slide-pin or caliper-movement problem rather than a pad problem alone.
As a practical inspection rule, 3 mm of remaining friction material is a reasonable replacement point, while the correct inspection procedure should still match the vehicle.
For model-specific hardware and torque information, examples in the supplied AutoServicePlus inventory include the Volkswagen repair-manual collection and the 2010-2019 Volkswagen Jetta Mk6 workshop manual, as well as the BMW workshop-manual catalog and the 2012-2018 BMW 3 Series F30 factory manual.
Sticking Calipers, Seized Slide Pins, and Heat
A floating caliper must move freely so both pads clamp the rotor evenly. Corroded slide pins, torn boots, seized hardware, or a sticking piston can keep one pad in contact with the rotor longer than intended. That extra drag produces heat and uneven wear, which can eventually contribute to brake judder.
Look for:
- One pad much thinner than its partner.
- A vehicle that pulls during braking.
- A hot smell from one wheel after a normal drive.
- One wheel that is noticeably hotter than the wheel on the opposite side.
- Damaged slide-pin boots or hardware that does not move freely.
Serviceable slide pins may need cleaning and the correct high-temperature brake lubricant. Damaged boots, clips, or a seized caliper may require replacement. Keep grease away from rotor and pad friction surfaces.
Repeated hard stops and long downhill braking can also overheat the brakes. Where appropriate, use a lower gear on long descents instead of continuously riding the brake pedal, and allow the brakes to cool after severe use.
Rule Out Wheel, Tire, Hub, and Front-End Causes
Brake-only vibration often starts in the brakes, but components around the rotor can cause a similar symptom or make a mild brake problem feel much worse.
Tire Balance, Tire Damage, and Wheel Mounting
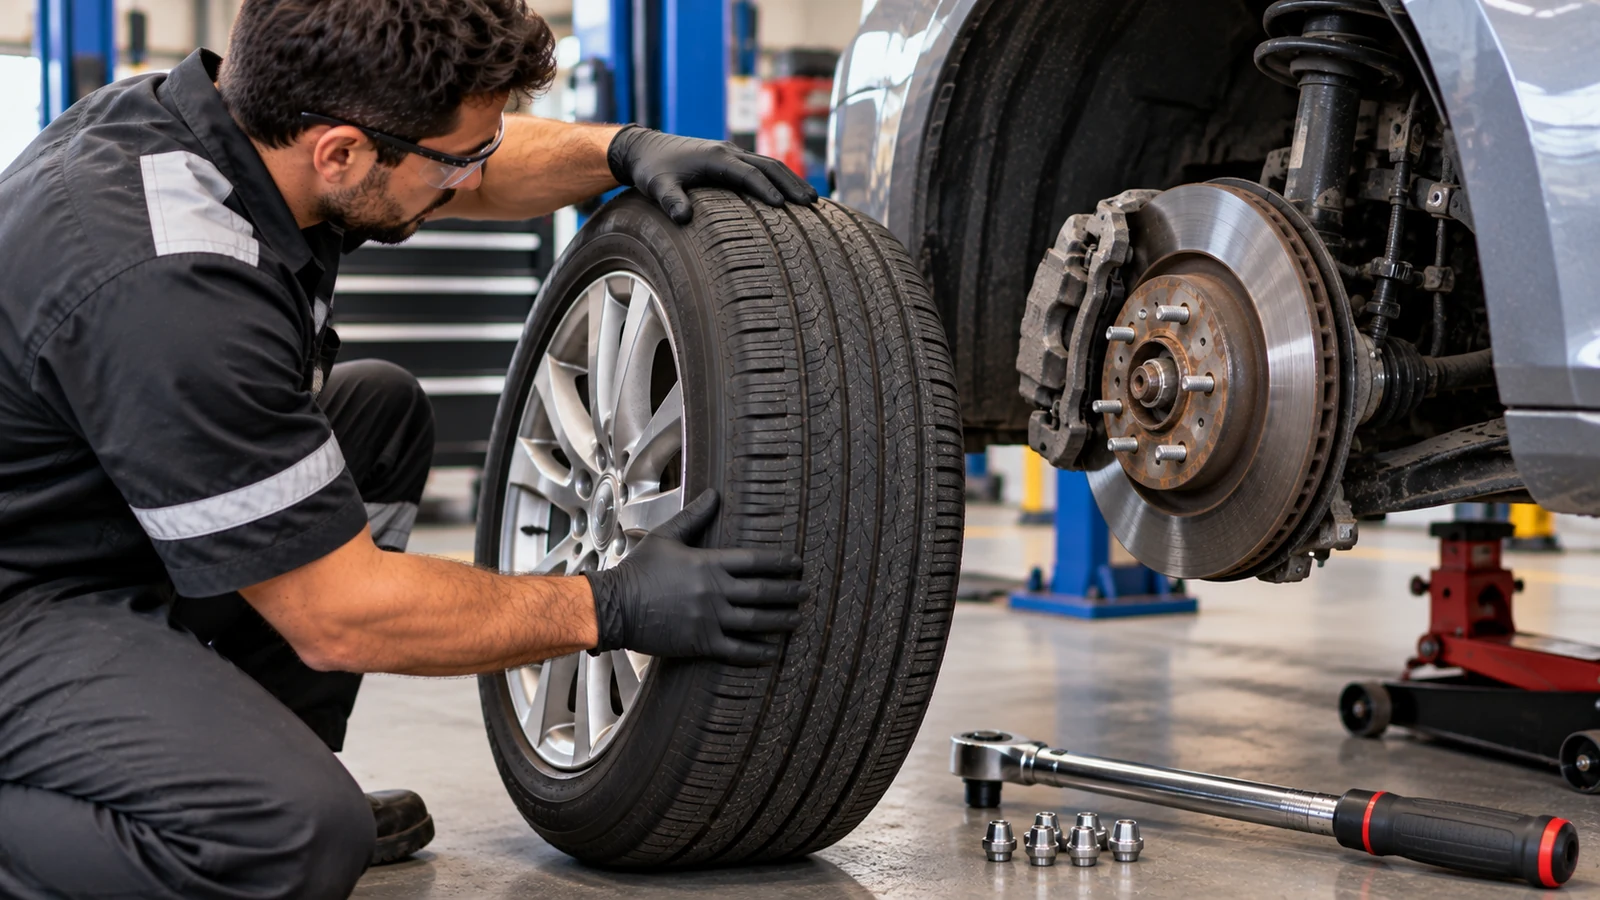
An out-of-balance wheel usually creates vibration within a speed range even when you are not braking. Braking shifts more load to the front axle, so existing vibration may get stronger as the vehicle slows.
Check cold tire pressure against the vehicle placard. Inspect the tread and sidewalls for bulges, flat spots, irregular wear, or damage. If the tires appear sound but the steering shakes at cruising speed, wheel balancing is a sensible next step.
Also check wheel seating and lug-nut torque if the problem began after a tire rotation, wheel change, or brake service. A loose wheel fastener is a safety issue, not merely a vibration complaint.
For exact wheel-fastener procedures, owners can start with a manufacturer hub such as the Ford factory-manual selection and then use the correct model document, for example, the 2005-2008 Ford Escape 4WD workshop manual. AutoServicePlus also lists a Hyundai workshop-manual catalog with model-specific coverage such as the 2005-2010 Hyundai Tucson JM repair manual.
Wheel Bearing and Hub Play
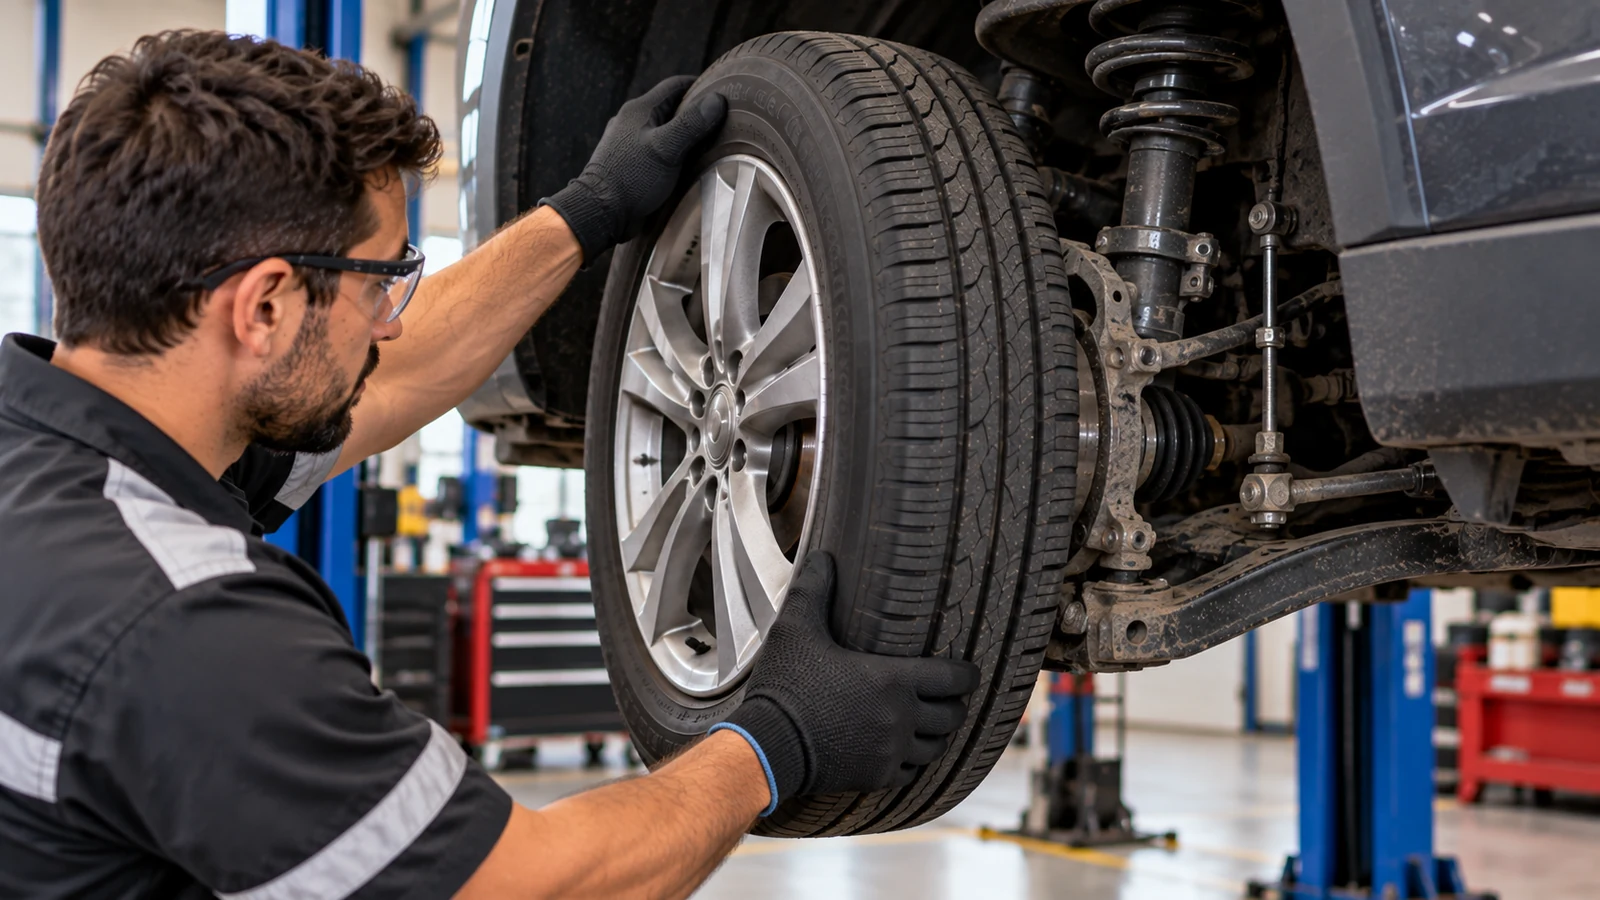
The wheel bearing keeps the hub, rotor, and wheel rotating on a controlled axis. Wear or incorrect bearing preload can allow movement that contributes to rotor runout and brake vibration.
Possible clues include:
- A hum or drone that changes with road speed.
- Vibration that changes as you steer left or right.
- Detectable wheel play with the vehicle safely supported.
- An ABS warning light when hub or bearing movement affects wheel-speed sensing.
Do not guess at hub-nut torque. It can affect bearing preload, and some fasteners are single-use. The correct value and tightening method should come from model-specific service information. Examples include the Jeep repair-manual library with the 2014 Jeep Cherokee KL factory workshop manual, and the Volvo workshop-manual collection with the 2003 Volvo XC90 2.5T AWD workshop manual.
Tie Rods, Ball Joints, Bushings, and Alignment
Braking shifts vehicle load forward. If a tie rod, ball joint, or control arm bushing already has free play, that load can let the wheel move enough to amplify a smaller rotor pulse.
With the vehicle properly supported, technicians commonly check for play at the wheel and inspect joint boots and bushings for damage. A clunk over bumps, wandering steering, uneven tire wear, or a steering wheel that won’t stay centered can point to a front-end issue.
Alignment should come after you repair worn steering or suspension parts. Alignment alone will not correct rotor thickness variation, and worn joints can prevent an accurate alignment in the first place. If a vehicle’s alignment or suspension procedure requires camera or radar driver-assistance calibration afterward, complete that step only after the mechanical work and alignment are correct.
The Subaru service-manual catalog and 2003-2010 Subaru Forester workshop manual are examples of the model-specific information needed before suspension work. The same applies to the Audi workshop-manual inventory and a platform-specific reference such as the 2009-2013 Audi Q5 Quattro 8RB workshop manual.
When replacing control arm bushings, follow the manufacturer’s tightening procedure. Rubber-bushed arms are often sensitive to the suspension position at final tightening, so the factory procedure matters. Loose steering-gear mounts or a hydraulic steering system with trapped air can also make steering feel vague or noisy, although those faults are less likely to create a brake-only shake by themselves.
For other platforms in the supplied inventory, readers can check the Mazda workshop-manual library with the 2014 Mazda 3 BN/BM manual, or the Lexus factory-manual catalog with the 2010-2013 Lexus RX 450h FWD workshop manual.
Brake Shake or Normal ABS Pulsation?
Normal anti-lock braking can feel dramatic. During a hard stop on a wet, loose, or slippery surface, the ABS rapidly changes hydraulic pressure to keep a wheel from locking. The brake pedal may pulse, and the system may make noise. That differs from a steering wheel that repeatedly shakes during normal braking and changes with vehicle speed.
Treat warning lights as a separate diagnostic clue. Bearing play, wheel-speed sensor issues, or other ABS faults can overlap with a brake-vibration complaint. If the brake or ABS warning light is on, diagnose that fault instead of assuming the vibration is only a rotor problem.
A soft, sinking, or spongy pedal is also a different symptom from normal ABS pulsation. If the pedal sinks, the brake warning light is on, or you suspect a hydraulic leak, do not continue normal driving.
For system-specific sensor locations, wiring, and test procedures, consult the exact service information. AutoServicePlus includes the Mercedes-Benz workshop-manual catalog and a 2006 Mercedes-Benz C 280 repair manual, plus the Chevrolet factory-manual library and the 2014-2018 Chevrolet Tahoe/Suburban workshop manual. These examples show why ABS and brake diagnosis should match the actual vehicle, not a universal diagram.
A Step-by-Step Inspection OrderFront brake and suspension inspection sequence
Work from the safest, simplest checks toward measurements and component disassembly. Changing several parts at once makes it harder to know what actually fixed the problem.
- Reproduce the symptom carefully. On a quiet, straight road, use light to moderate braking from the speed where the shake normally appears. Avoid repeated hard stops that overheat the brakes.
- Record what you feel. Note steering-wheel shake, pedal pulsation, seat vibration, pulling, clunks, humming, warning lights, and whether the vibration also appears while cruising.
- Inspect the tires and wheels. Set cold pressure to the placard value, inspect for damage or irregular wear, and verify wheel fasteners using the correct torque specification.
- Check the brake-fluid level and visible hydraulic components. Look for obvious wetness around calipers, hoses, lines, and the master-cylinder area.
- Lift the vehicle safely. Use the approved lifting points and properly rated stands. Never work underneath a vehicle supported only by a jack.
- Inspect pads, rotors, and calipers. Compare inner and outer pad thickness, check the rotor faces for scoring, heat damage, or cracking, and verify that slide hardware moves correctly.
- Measure rather than guess. Check rotor thickness at multiple positions and, when needed, measure lateral runout with the appropriate equipment. Compare results with the vehicle specification.
- Check wheel play and front-end joints. Spin each wheel, listen for roughness, and inspect bearings, tie rods, ball joints, and control arm bushings for free play or damage.
- Retest after the repair. Repeat the same road-test conditions. If you disturbed suspension or steering geometry, align the vehicle after you correct worn parts.
If a quick visual inspection shows nothing obvious but the shake remains, precise rotor runout and thickness-variation measurements are worth the effort. A rotor can look acceptable and still produce a repeating brake-force variation.
What to Fix First
Repair the mechanical cause before paying for alignment or electronic recalibration. The order below keeps the diagnosis focused.
| Finding | Typical Repair Direction | What the Workshop Manual Should Confirm |
| Rotor thickness variation or rotor below service limit | Replace the affected axle’s rotors as a matched pair, inspect pads, clean hub faces | Minimum thickness, runout limit, caliper/bracket torque, wheel torque, bedding procedure |
| Glazed or unevenly worn pads | Replace pads as an axle set and correct the cause of uneven wear | Pad limits, hardware and slide-pin procedures |
| Sticking caliper or seized slides | Service or replace faulty caliper components | Lubricant requirements, slide-pin and bracket torque |
| Worn wheel bearing or loose hub | Replace the bearing/hub and required hardware | Hub-nut torque and tightening sequence |
| Worn tie rod, ball joint, or control arm bushing | Replace worn parts, then align | Joint torque, bushing procedure, alignment angles |
| Damaged or unbalanced tire | Repair/replace as appropriate and balance the wheel | Wheel torque and any model-specific wheel procedure |
Rotor resurfacing is not automatically the best answer. It is only appropriate when the disc remains above the specified limit after machining and is otherwise suitable for reuse. Cracks, severe heat damage, deep scoring, or insufficient remaining thickness point toward replacement instead.
The need for exact procedures also applies across other platforms in the supplied inventory. AutoServicePlus includes the Porsche workshop-manual catalog with the 2015-2016 Porsche Macan factory manual, and the Land Rover manual library with the 2015-2017 Discovery Sport L550 workshop manual. Use the vehicle’s own procedures for fasteners, sensor handling, brake service, and post-repair checks.
Why Vehicle-Specific Workshop Manual Data Matters
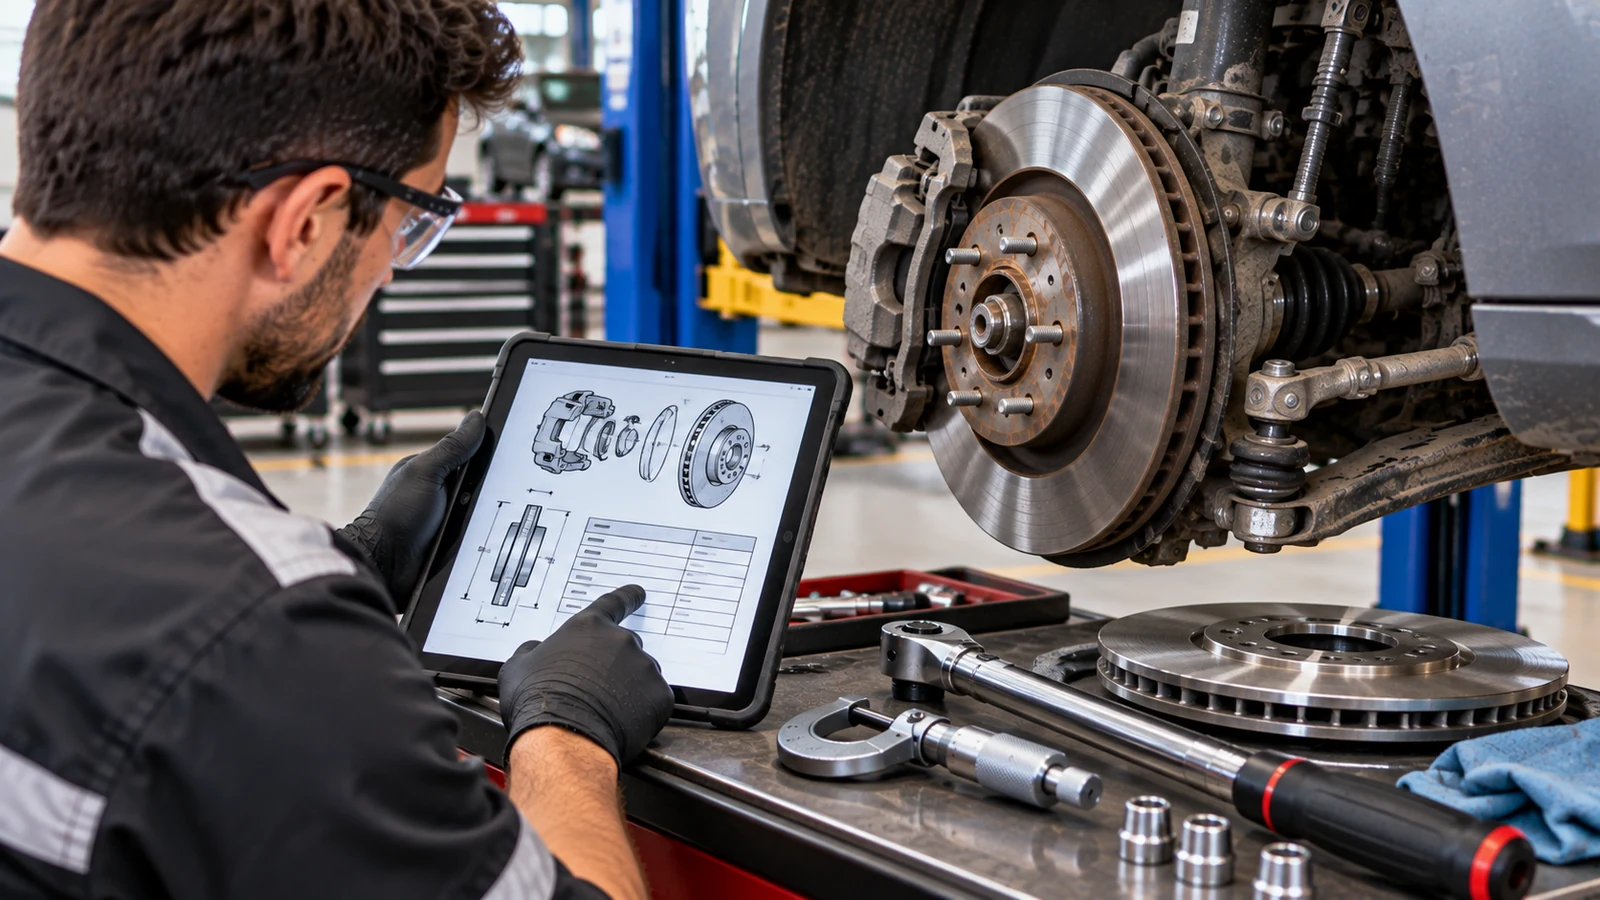
Generic brake advice can tell you what to inspect, but it cannot safely supply every number for every vehicle. Rotor minimum thickness, allowable runout, caliper fastener torque, hub-nut torque, lifting points, alignment settings, and ABS diagnostic steps can differ by model, year, drivetrain, and production configuration.
This matters even when two vehicles have similar symptoms. A steering-wheel shake during braking may lead both owners to inspect rotors, but the specifications and service sequence still need to match the exact vehicle.
AutoServicePlus’s supplied URL inventory covers a broad mix of platforms. For example, the Kia workshop-manual collection includes a 1997-2002 Kia Sportage EX 4WD manual, while the Mitsubishi repair-manual catalog includes the 2011-2013 Mitsubishi Outlander Sport AWD workshop manual. The Peugeot service-manual library also includes the 2013-2018 Peugeot 308 T9 factory workshop manual.
Those examples are not meant to imply that these models share one brake design. They show the opposite: use the general diagnostic logic in this guide, then confirm specifications and procedures against the exact manual for the vehicle on the lift.
How to Prevent the Shake From Returning
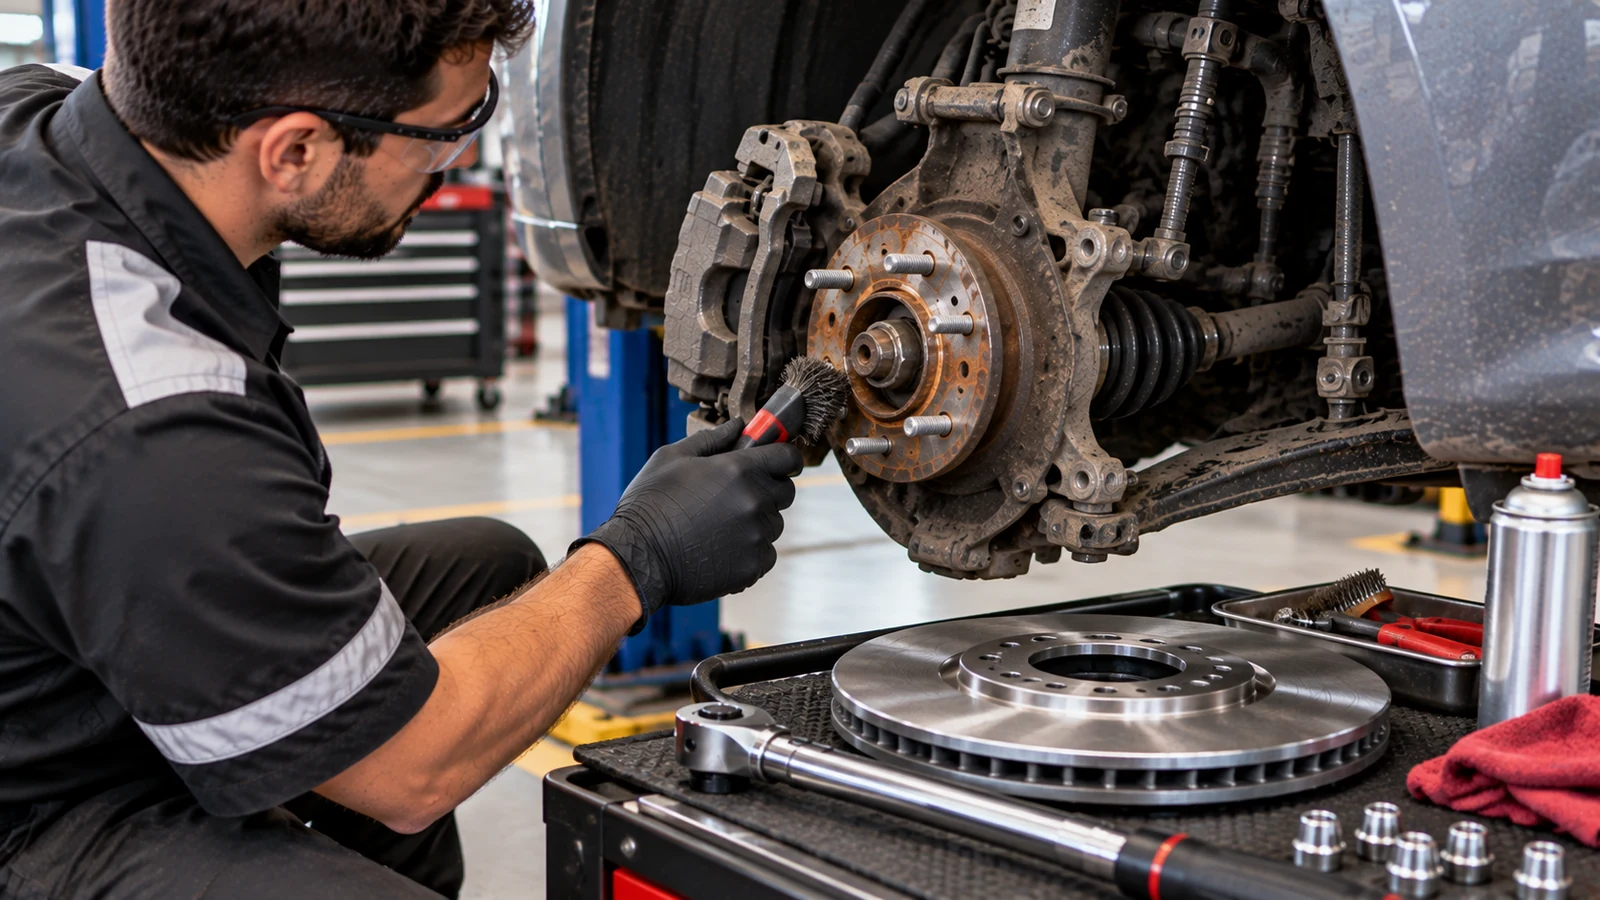
A correct repair can develop another vibration if you skip installation and finishing steps.
- Clean hub mating surfaces thoroughly. New rotors must sit flat against the hub.
- Use a calibrated torque wrench on wheel fasteners. Follow the specified tightening sequence and value.
- Bed new pads correctly. Follow the pad manufacturer’s guidance and any vehicle-specific instructions so the friction layer forms evenly.
- Service caliper hardware during brake work. Make sure slide pins, boots, clips, and contact points are in good condition.
- Avoid unnecessary brake overheating. Do not ride the brakes on long descents, and allow cooling after severe braking.
- Inspect friction material periodically. Brake-pad checks around the 6,000-10,000 mile range can help catch uneven wear early, while the vehicle’s maintenance schedule should remain the final reference.
- Repair worn steering and suspension parts before alignment. This prevents an alignment from being performed on components that can still move.
- Retest under the same conditions. A consistent before-and-after road test makes it easier to confirm that the vibration is actually gone.
Conclusion
When a steering wheel shakes when braking, start with the front brakes but keep the rest of the front axle in the diagnosis. Rotor thickness variation, uneven pad deposits, sticking calipers, tire or wheel problems, bearing play, and worn steering or suspension joints can all produce similar feedback.
Use the symptom pattern to decide where to begin, inspect from least invasive to most invasive, measure rotors instead of relying on appearance alone, and repair worn mechanical parts before alignment. Most importantly, use the exact workshop data for the vehicle when you need rotor limits, torque specifications, lifting points, bearing procedures, alignment settings, or ABS diagnostics.
Frequently Asked Questions
Is It Safe to Drive If the Steering Wheel Shakes While Braking?
A mild brake judder may not mean immediate brake failure, but it should still be inspected. The same symptom can also appear with a loose wheel, a worn bearing, a sticking caliper, or a worn suspension joint. If the vehicle pulls sharply, a brake warning light is on, the pedal sinks, or you hear a clunk when you move the wheel, stop driving normally and have the vehicle checked.
Why Does the Steering Wheel Shake More When Braking at Highway Speed?
Brake-force variation repeats with wheel rotation. At higher road speed, the pulses occur more rapidly and can excite the steering and suspension enough to become obvious at the steering wheel. As the vehicle slows, the frequency and intensity often decrease. If the steering also shakes at highway speed without braking, inspect wheel balance and tires first.
Can Brand-New Pads and Rotors Still Cause Brake Shake?
Yes. New parts can still vibrate if the hub face wasn’t cleaned, the rotor doesn’t sit flat, the wheel fasteners were tightened unevenly, a bearing has play, or the pads weren’t bedded correctly. Recheck installation before assuming the replacement parts are defective.
Will Wheel Balancing Fix A Steering Wheel that Shakes Only While Braking?
Usually not by itself. Wheel balancing mainly addresses vibration caused by uneven mass in the wheel-and-tire assembly, which is normally noticeable while cruising. A vibration that appears mainly when you apply the brakes points more strongly to the brakes or front-end movement, although both problems can occur together.
Is Steering-Wheel Shake the Same As ABS Pulsation?
No. ABS pulsation is normally a rapid pedal feedback during hard braking when traction is limited. A steering-wheel shake during routine braking that varies with road speed is more consistent with a mechanical issue with the brake, wheel, hub, or suspension. Diagnose warning lights or abnormal ABS behavior separately.
Can Rotors Be Resurfaced Instead Of Replaced?
Sometimes. The rotor must be suitable for machining, remain above its specified limit afterward, and be free from disqualifying damage such as cracks, severe heat damage, or deep scoring. Runout also needs to be within the applicable limit. Because these limits vary by vehicle, check the correct workshop data before deciding.
What Should I Check First If The Shake Started Right After A Brake Job?
Start with installation details: rotor seating on a clean hub, wheel-fastener torque, pad and caliper hardware, slide-pin movement, and bearing play. A new rotor mounted on rust or debris can run out of true, and incorrect tightening can create or worsen vibration.