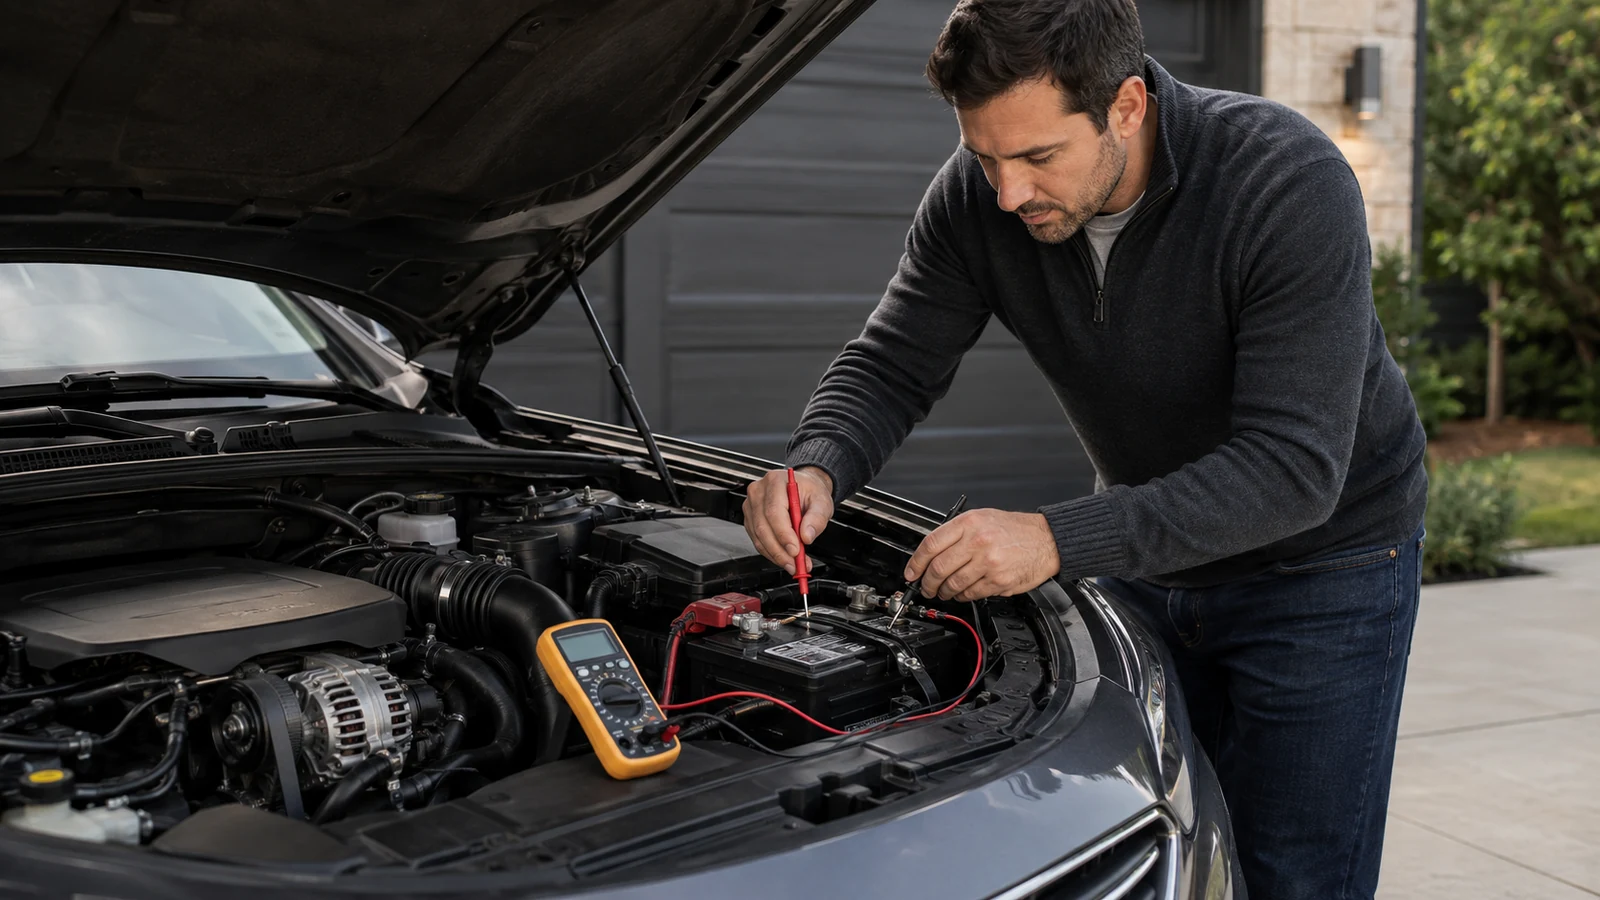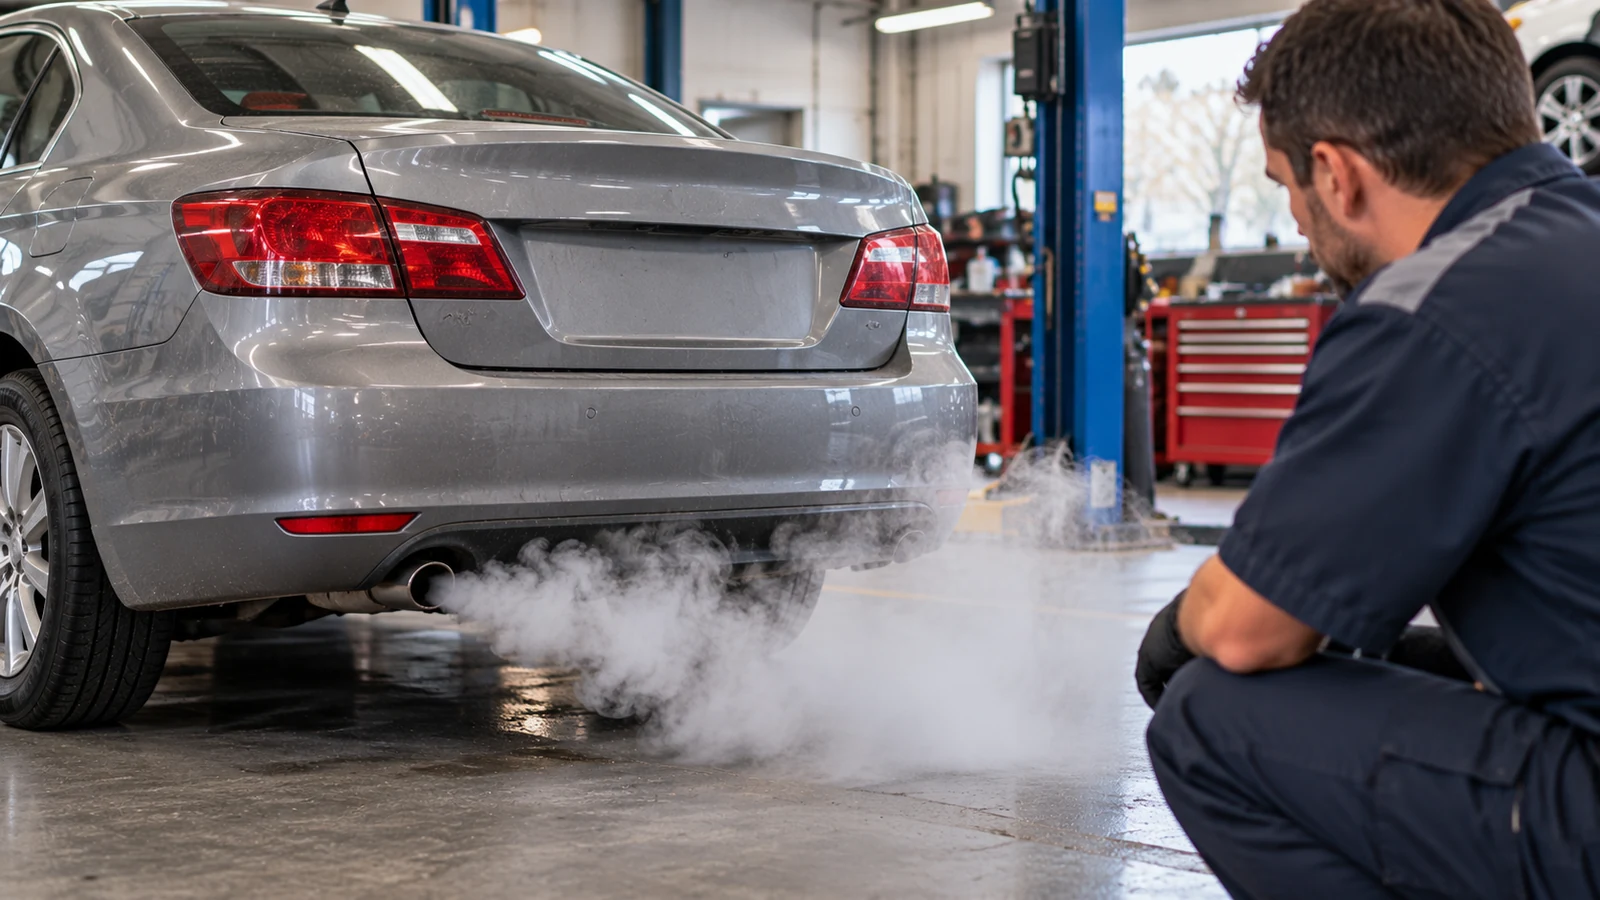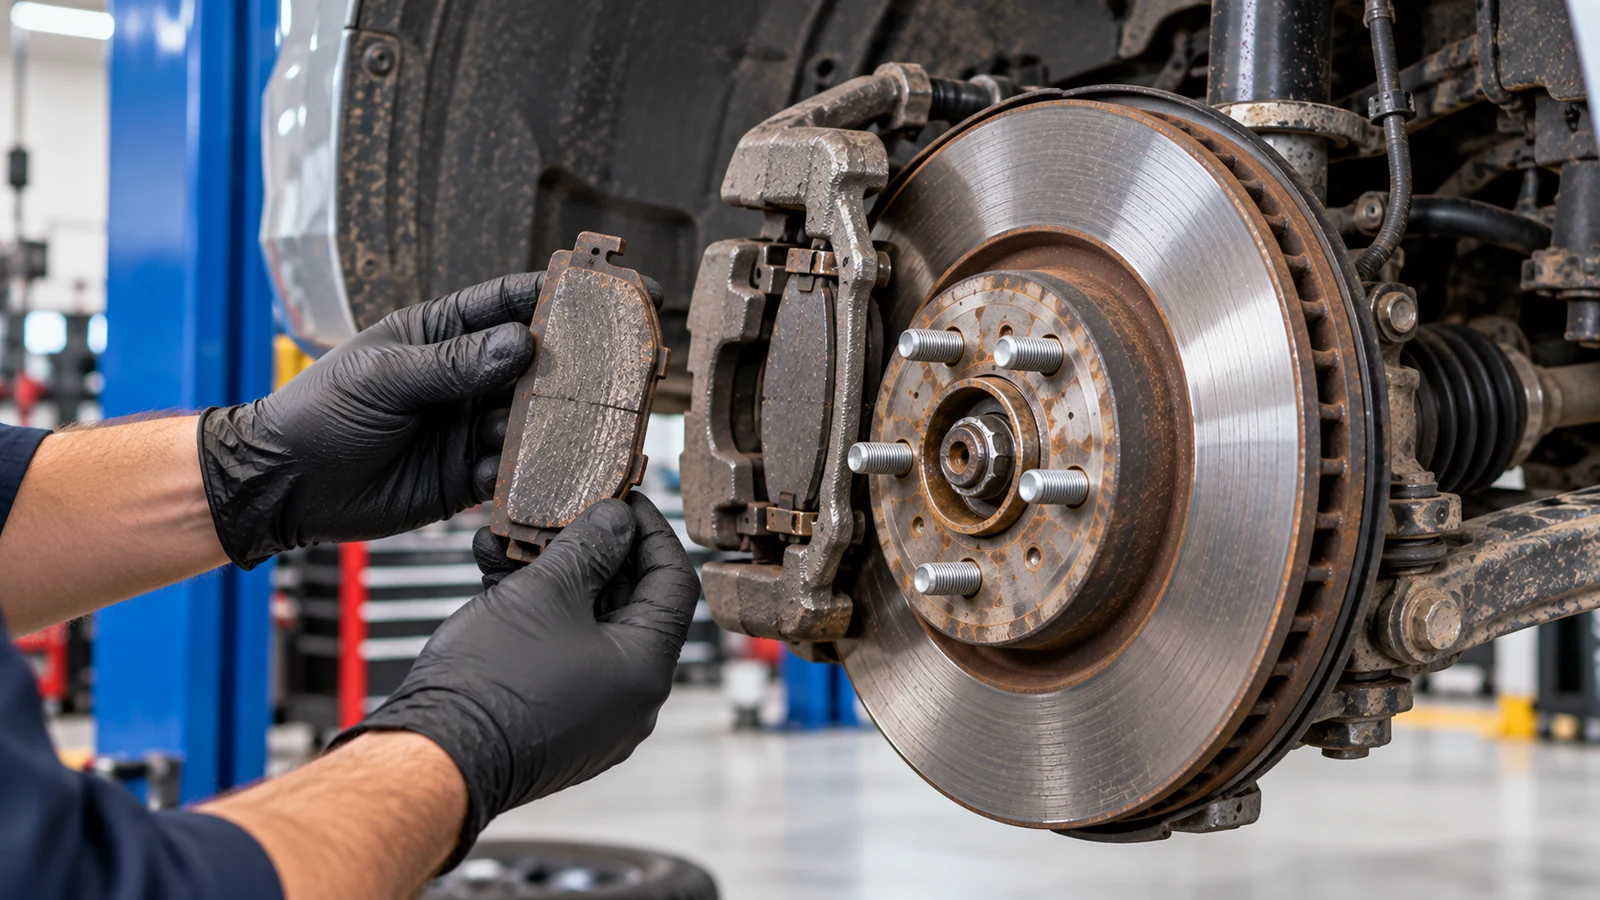
Brake pads and rotors wear every time the vehicle slows, but they usually don’t reach the end of their service life at the same time. That is why the right answer to when to replace brake pads and rotors is not a fixed mileage number. It comes from measuring the parts, checking their condition, and comparing the results with the specifications for the exact vehicle.
For most passenger vehicles, you replace brake pads before rotors. A rotor may remain serviceable through more than one pad set, but only if it stays above its minimum thickness, runs true, and has no cracks, severe scoring, hard spots, or damaging corrosion. Driving style, vehicle weight, towing, pad compound, caliper condition, and regenerative braking can all change the wear pattern.
This guide gives DIY owners, technicians, and repair shops a practical way to decide between pads only, pads with rotors, resurfacing, or further diagnosis.
When to Replace Brake Pads and Rotors: Quick Decision Guide
Start with measurements, then use symptoms and surface condition to refine the decision.
| What You Find | Likely Service Decision |
| Pads near 3 mm, rotors smooth and comfortably above minimum | Replace pads; rotors may be reusable |
| Pads at 2 mm or less | Replace pads promptly and inspect rotors carefully |
| Grinding with backing-plate contact | Replace pads and usually rotors |
| Rotor at or below stamped minimum thickness | Replace rotor and fit new pads on that axle |
| Deep grooves, cracks, hard spots, or severe corrosion | Replace pads and rotors |
| Brake pulsation with rotor thickness variation or excessive runout | Resurface only if allowed by spec; otherwise replace rotors |
| Uneven inner/outer pad wear | Correct caliper or hardware fault before fitting new pads |
| Soft or sinking pedal | Diagnose the hydraulic system; this is not solved by pads alone |
Treat a brake job as an axle service. Pads are replaced on both sides of the same axle, and rotors are normally replaced in left-right pairs so braking remains balanced.
Measurements Matter More Than Mileage
Mileage is useful for planning inspections, but it is a poor final replacement rule. The same model can wear brakes very differently in city traffic, highway use, towing, mountain driving, or short trips in wet climates.
Brake Pad Thickness: The Practical Replacement Point
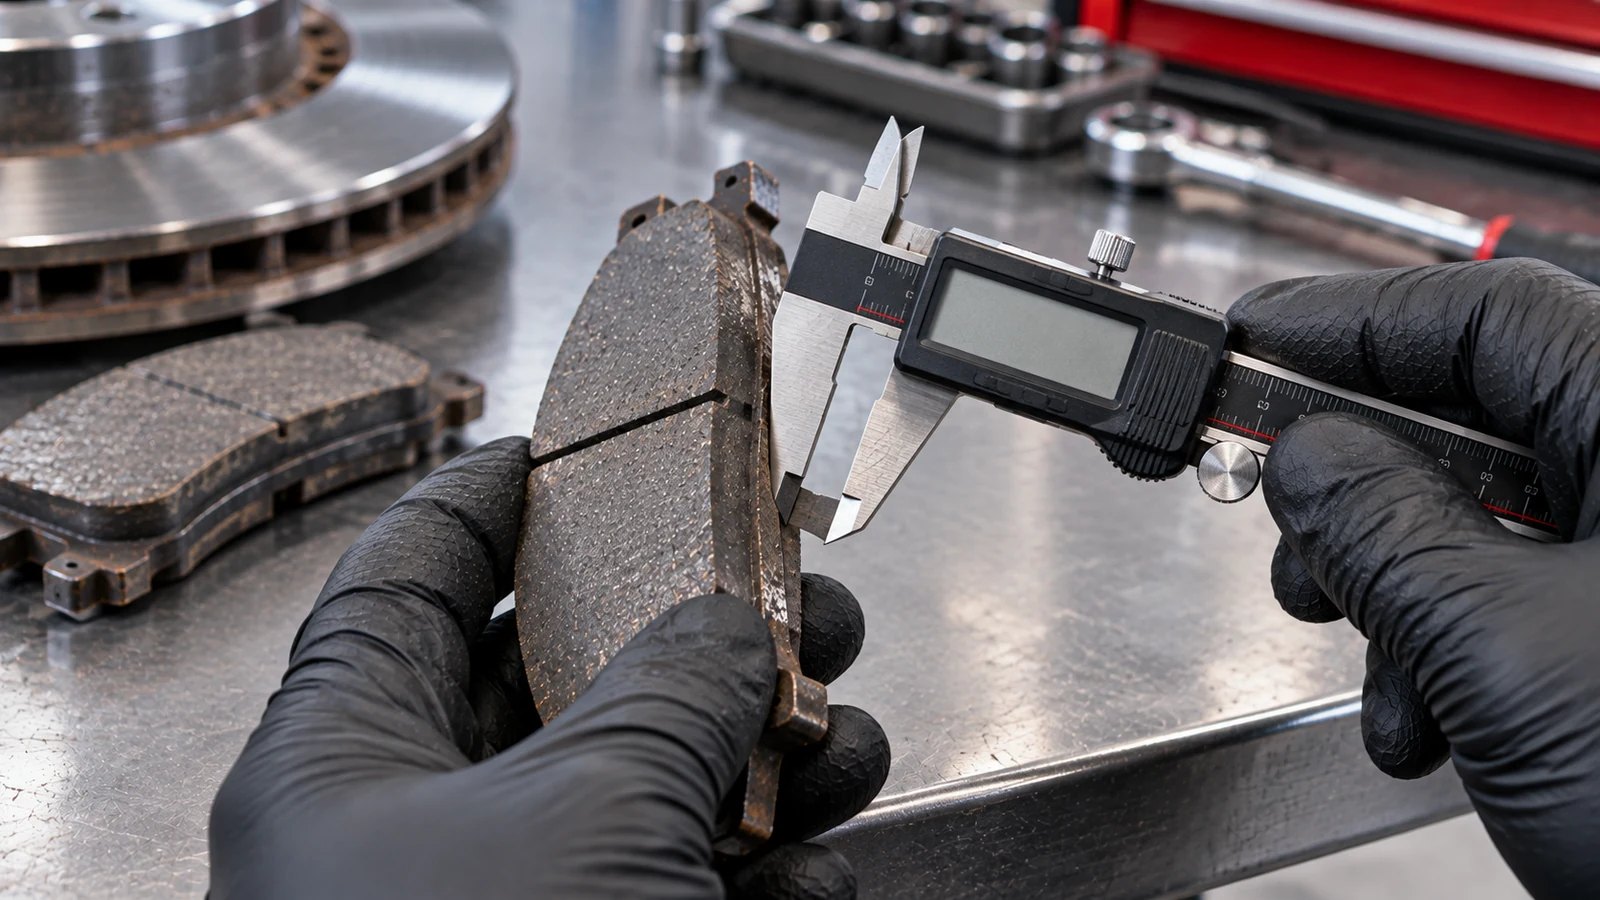
Measure the friction material only, not the steel backing plate. Check both the inner and outer pad because a sticking slide pin or caliper can make one side wear much faster.
| Friction Material Remaining | General Condition | Practical Action |
| 10-12 mm | Typical new-pad range | No replacement needed |
| 6-8 mm | Normal usable thickness | Recheck at routine service |
| 4-5 mm | Getting low | Plan replacement |
| About 3 mm | Practical replacement point | Replace pads on that axle |
| 2 mm or less | Critical wear | Replace promptly and inspect rotors |
The vehicle manufacturer’s published minimum should still be treated as the governing specification. The 3 mm figure is a useful planning threshold because thin pads have less material to manage heat and less remaining service margin.
Typical pad life can vary widely. Organic pads may last roughly 25,000-40,000 miles, semi-metallic pads about 35,000-50,000 miles, and ceramic pads often about 50,000-75,000 miles or more. Those are inspection-planning ranges, not guarantees.
Replace pads at any thickness if the friction material is contaminated with oil or brake fluid, glazed from overheating, cracked, crumbling, separating from the backing plate, or worn unevenly enough to indicate a mechanical fault.
Rotor Minimum Thickness, Runout and Thickness Variation
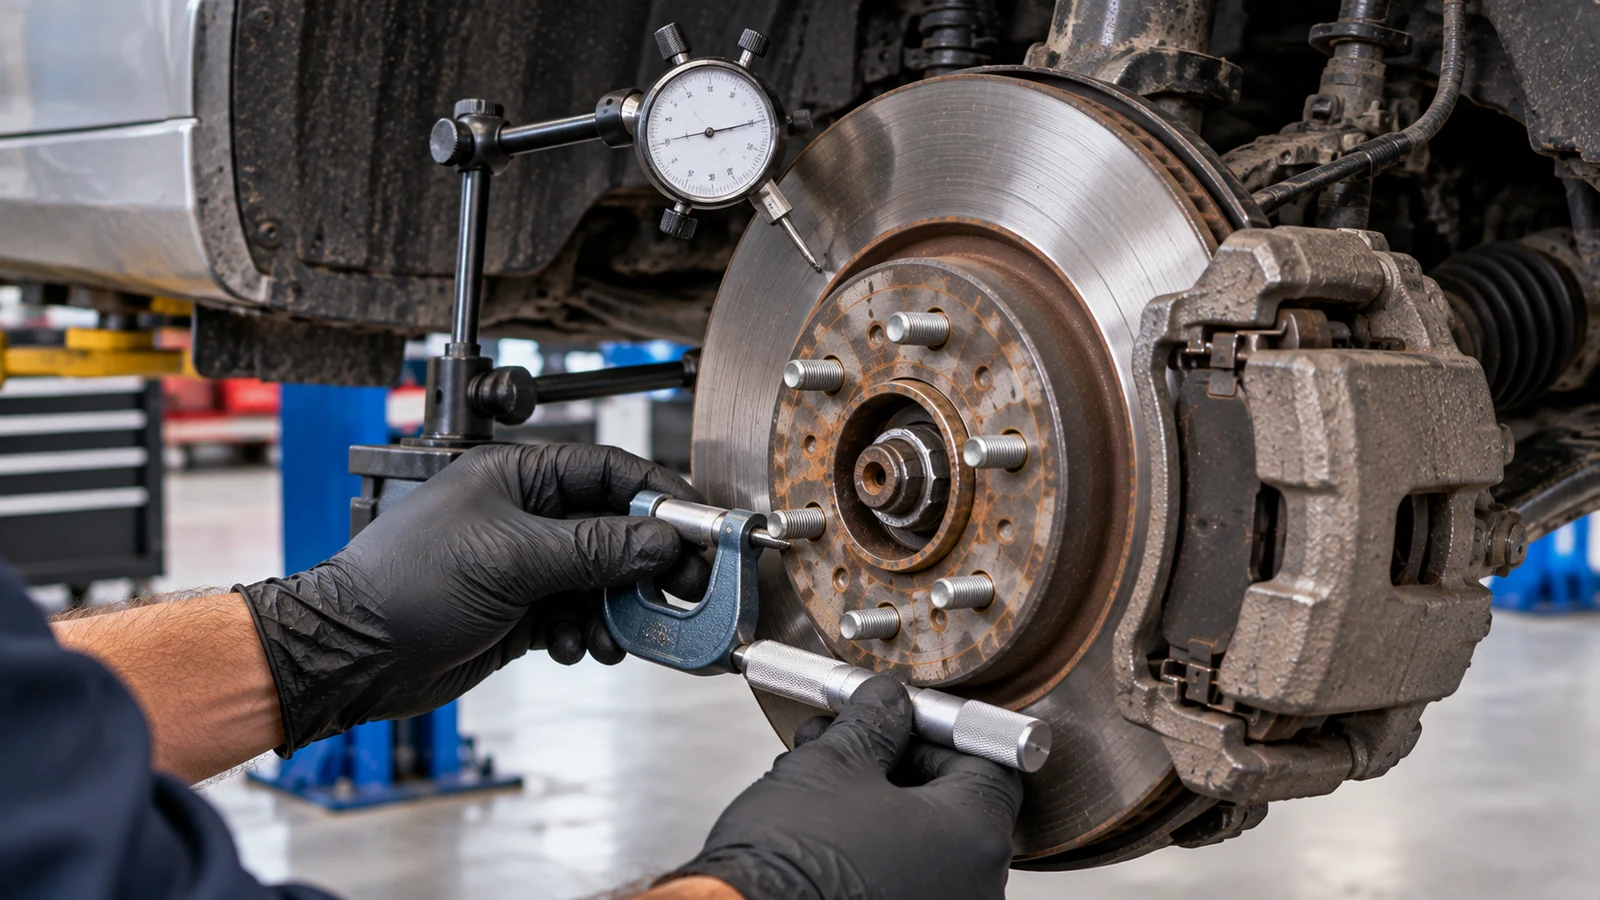
Brake rotors lose material much more slowly than pads, but they have a limited wear allowance. The minimum thickness is normally stamped or cast into the rotor and may be marked MIN TH or MIN THK.
Use an outside micrometer and measure at several points around the swept area. Use the lowest valid reading. Replace a rotor at or below its minimum thickness, even if the friction surface still looks smooth.
Thickness is not the only pass-or-fail test. A rotor can also require replacement for:
- Cracks that extend toward the edge or cooling vanes
- Severe heat spotting or hard spots
- Deep scoring
- Heavy corrosion on the braking surface or vanes
- Damage from metal-on-metal pad contact
- Disc thickness variation that cannot be corrected within specification
- Excessive lateral runout that cannot be corrected by cleaning the hub or other approved service steps
Brake pedal pulsation is often described as a “warped rotor,” but the more useful diagnostic terms are disc thickness variation (DTV) and lateral runout. Rust or debris between the hub and rotor, uneven wheel-fastener torque, bearing issues, or uneven pad deposits can all contribute.
When Rotor Resurfacing Still Makes Sense
Rotor machining can restore a flat surface if the damage is light and the rotor will remain above the manufacturer’s refinish limit after material is removed.
| Rotor Condition | Resurface? | Replace? |
| Light glazing or shallow grooves, enough thickness remaining | Possible | Optional |
| Minor thickness variation, enough material for machining | Possible | Optional |
| Below refinish limit but above discard limit | No | Reuse only if condition and factory guidance allow |
| At or below minimum/discard thickness | No | Yes |
| Cracks, hard spots, or deep scoring | No | Yes |
| Heavily worn drilled or slotted rotor | Usually not practical | Usually yes |
Many modern brake jobs use new rotors instead of machining because the remaining heat capacity matters and machining labor can approach the cost of replacement.
Symptoms That Make Brake Inspection Urgent
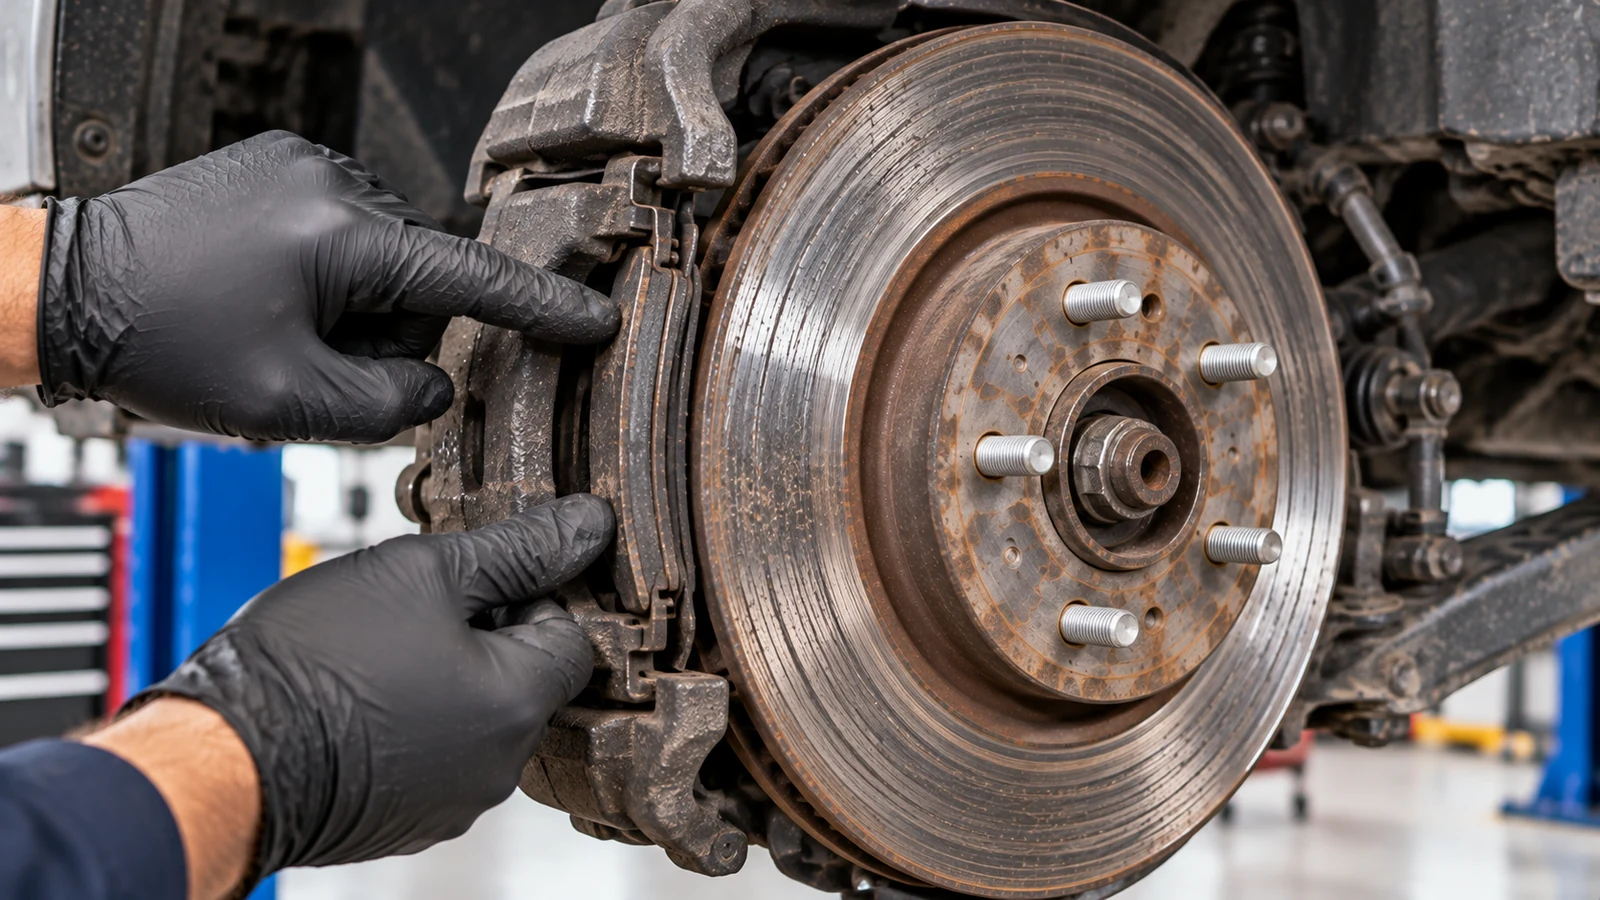
Noise and pedal feel can tell you that something changed, but they do not replace measurement.
| Symptom | Common Brake-Related Cause | Next Check |
| High-pitched squeal or chirp | Wear indicator, glazing or hardware noise | Measure pads and inspect shims/hardware |
| Metallic grinding | Friction material worn through or debris | Inspect pads and rotor immediately |
| Pedal pulsation while braking | DTV or rotor runout | Measure thickness and runout |
| Steering wheel shake during braking | Often front-brake variation or runout | Inspect front brakes, then tires/suspension if needed |
| Pulling under braking | Sticking caliper, contaminated pad, or hose issue | Compare pad wear and caliper movement side to side |
| Burning smell or one hot wheel | Dragging caliper or parking brake | Stop and inspect before further driving |
| Soft, spongy or sinking pedal | Air, leak or hydraulic fault | Diagnose hydraulics immediately |
| Brake or pad warning light | Wear sensor, low fluid, or system fault | Check pads, fluid and fault information |
A brief scraping sound after rain may simply be surface rust being cleaned from the rotor. Persistent grinding is different. Once the steel backing plate is contacting the rotor, damage can become expensive very quickly.
A soft pedal also deserves separate treatment. Pad and rotor replacement won’t fix air in the lines, a fluid leak, or a failing master cylinder.
When Pads-Only Service Is Reasonable
A pads-only brake job can be the correct repair when the rotor is still genuinely serviceable, not merely because replacing fewer parts is cheaper.
Conditions That Support Reusing the Rotors
Pads only may make sense when the rotors:
- Measure comfortably above minimum thickness
- Have enough remaining thickness to last through the next pad service interval
- Run within the vehicle’s lateral-runout tolerance
- Have no meaningful DTV
- Have smooth, usable friction surfaces
- Show no cracks, severe corrosion, hard spots, or deep grooves
The “comfortably above minimum” point matters. A rotor that barely passes today may fall below its limit before the new pads are worn out.
When Pads and Rotors Should Be Replaced Together
Replace pads and rotors on the axle when the rotors are at or near minimum thickness, damaged by grinding, badly scored, cracked, heavily corroded, heat damaged, or outside runout/DTV limits that cannot be corrected.
Replacing both can also make sense on hard-working vehicles where rotor heat capacity is important. The caliper and bracket are already being removed during many pad services, so the extra labor for rotor replacement may be modest compared with returning soon for a second brake job.
How Driving and Vehicle Type Change Brake Life
Brake wear is a heat-management problem as much as a mileage problem. The heavier the vehicle and the more often it slows down, the more energy the friction brakes must absorb.
Everyday Commuters and Family Cars
Stop-and-go driving can wear pads much faster than steady highway use. Frequent short trips can also leave rear rotors more exposed to moisture and corrosion because the brakes may not stay hot for long.
Owners working from vehicle-specific documentation can start with the available Toyota workshop manuals, Honda repair manuals, Hyundai workshop manuals, Kia service manuals, Nissan repair manuals, and Chevrolet factory manuals rather than assuming one generic brake specification applies across brands.
For daily driving, smoother deceleration, looking farther ahead in traffic, and avoiding repeated late hard stops can reduce heat. On long descents, using an appropriate lower gear can also reduce continuous brake loading.
Trucks, Towing and Heavy Loads
Vehicle mass and trailer load increase the energy the brakes must absorb at every stop. That is why thickness limits, rotor size, caliper hardware, and service procedures should come from the correct vehicle data, especially for pickups and SUVs used for towing.
AutoServicePlus currently provides manufacturer coverage for Ford workshop manuals, GMC service manuals, Ram workshop manuals, Jeep workshop manuals, and Lexus workshop manuals. These vehicle groups can differ significantly in brake hardware, wheel torque, parking-brake arrangement, and load-related service considerations.
Heavy-use vehicles deserve more frequent inspections before towing season or long trips, particularly when pads are already in the 4-5 mm range.
AWD and Performance-Oriented Vehicles
AWD layouts, larger brake packages, electronic wear sensors, performance pad compounds, and more complex parking-brake systems can make generic brake advice less useful.
For vehicle-specific references, the supplied inventory includes Subaru repair manuals, Mitsubishi repair manuals, Audi repair manuals, BMW workshop manuals, Mercedes-Benz service manuals, Volkswagen workshop manuals, Volvo service manuals, and Porsche workshop manuals.
Performance-oriented pads can tolerate more heat, but pad compound also affects noise, dust, rotor wear, and bedding requirements. Match the friction material to the vehicle’s intended use and avoid mixing different pad compounds across the same axle.
Hybrids and Regenerative Braking
Hybrids and electric vehicles can use regenerative braking for much of normal deceleration. That often extends friction-pad life, but it does not remove the need for brake inspections.
Because friction brakes may be used less often, corrosion and sticking hardware can become common service issues, especially at the rear. Some electrified vehicles also require a maintenance or service mode before caliper work. If the procedure reaches anything near high-voltage components, follow the vehicle-specific safety information rather than treating it like a conventional brake job.
Using Factory Workshop Data for Brake Service
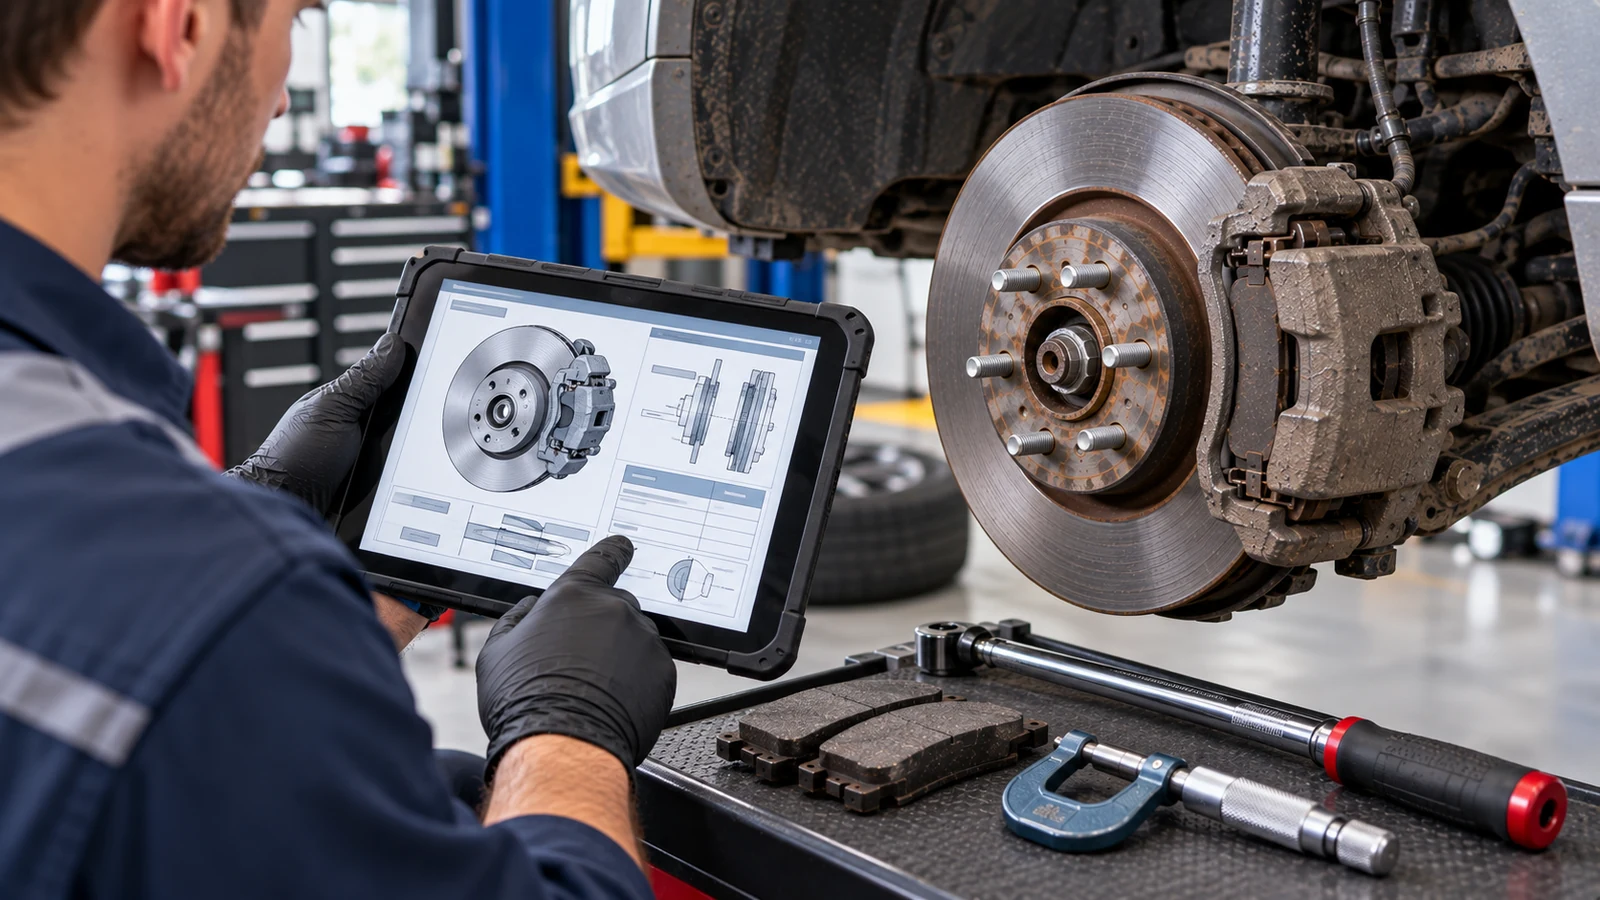
General rules help you know what to inspect. Factory data tells you the exact limits and procedures for the vehicle in front of you.
A workshop manual can provide pad lining limits, rotor nominal and minimum thickness, refinish limits, runout tolerance, caliper and bracket torque, wheel-fastener torque, bleeding order, wear-sensor information, electronic parking-brake procedures, and ABS-related service steps. Exact coverage varies by manual and vehicle.
Passenger Cars and Daily Drivers
Even apparently straightforward passenger cars can use different rotor sizes, calipers, fasteners, and electronic features across years and trims. The supplied AutoServicePlus inventory includes the 2016-2018 Honda Civic factory workshop manual, 2011-2013 Chevrolet Cruze workshop manual, 2015-2016 Hyundai Sonata workshop manual, and 2019-2023 Kia Forte workshop manual.
Other useful examples include the 2013 Nissan Altima sedan workshop manual, 2010-2013 Subaru Legacy workshop manual, and 2013 Ford Fusion AWD workshop manual. The point is not that these models share one brake specification. It is the opposite: each should be checked against its own service data.
Trucks and SUVs
For larger vehicles, factory data matters more because brake packages can vary by drivetrain, payload, towing configuration, and model year.
Examples in the supplied library include the 2003-2013 GMC Sierra Denali AWD workshop manual, 2007-2009 Ram 3500 HD 4WD workshop manual, and 2011-2013 Ford F-450 4WD Super Duty workshop manual.
SUV owners can also use model-specific information such as the 2014 Jeep Grand Cherokee WK2 workshop manual or 2010-2013 Lexus GX 460 workshop manual to verify torque values, brake-component procedures, and service details before disassembly.
European and Performance Applications
Performance and European vehicles strongly illustrate why brake service should not rely on a universal torque chart or a generic rotor limit.
The supplied manual library includes the 2006-2013 Audi A3 Quattro workshop manual, 2008-2011 BMW M3 Sedan E90 workshop manual, and 2010-2013 Mercedes-Benz S 400 workshop manual.
For other performance-oriented applications, the inventory also contains the 2012-2013 Volkswagen Golf R 4Motion workshop manual, 2005-2012 Porsche 911 Carrera S 997 workshop manual, and 2006-2007 Volvo S60R workshop manual.
Use the exact manual for the vehicle rather than transferring specifications between models that appear mechanically similar.
Hybrids and AWD Service Considerations
Regenerative braking, service modes, electronic controls, and drivetrain packaging make model-specific procedures particularly useful on hybrids and some AWD vehicles.
The supplied inventory includes the 2010-2013 Toyota Prius workshop manual and 2016 Toyota C-HR Hybrid workshop manual, along with the 2011 BMW X6 xDrive50i Hybrid E72 workshop manual and 2014-2015 Hyundai Sonata Hybrid workshop manual.
For an AWD crossover example, the 2011-2013 Mitsubishi Outlander Sport AWD workshop manual provides a vehicle-specific reference point rather than relying on a procedure written for a different platform.
DIY Brake Inspection Workflow
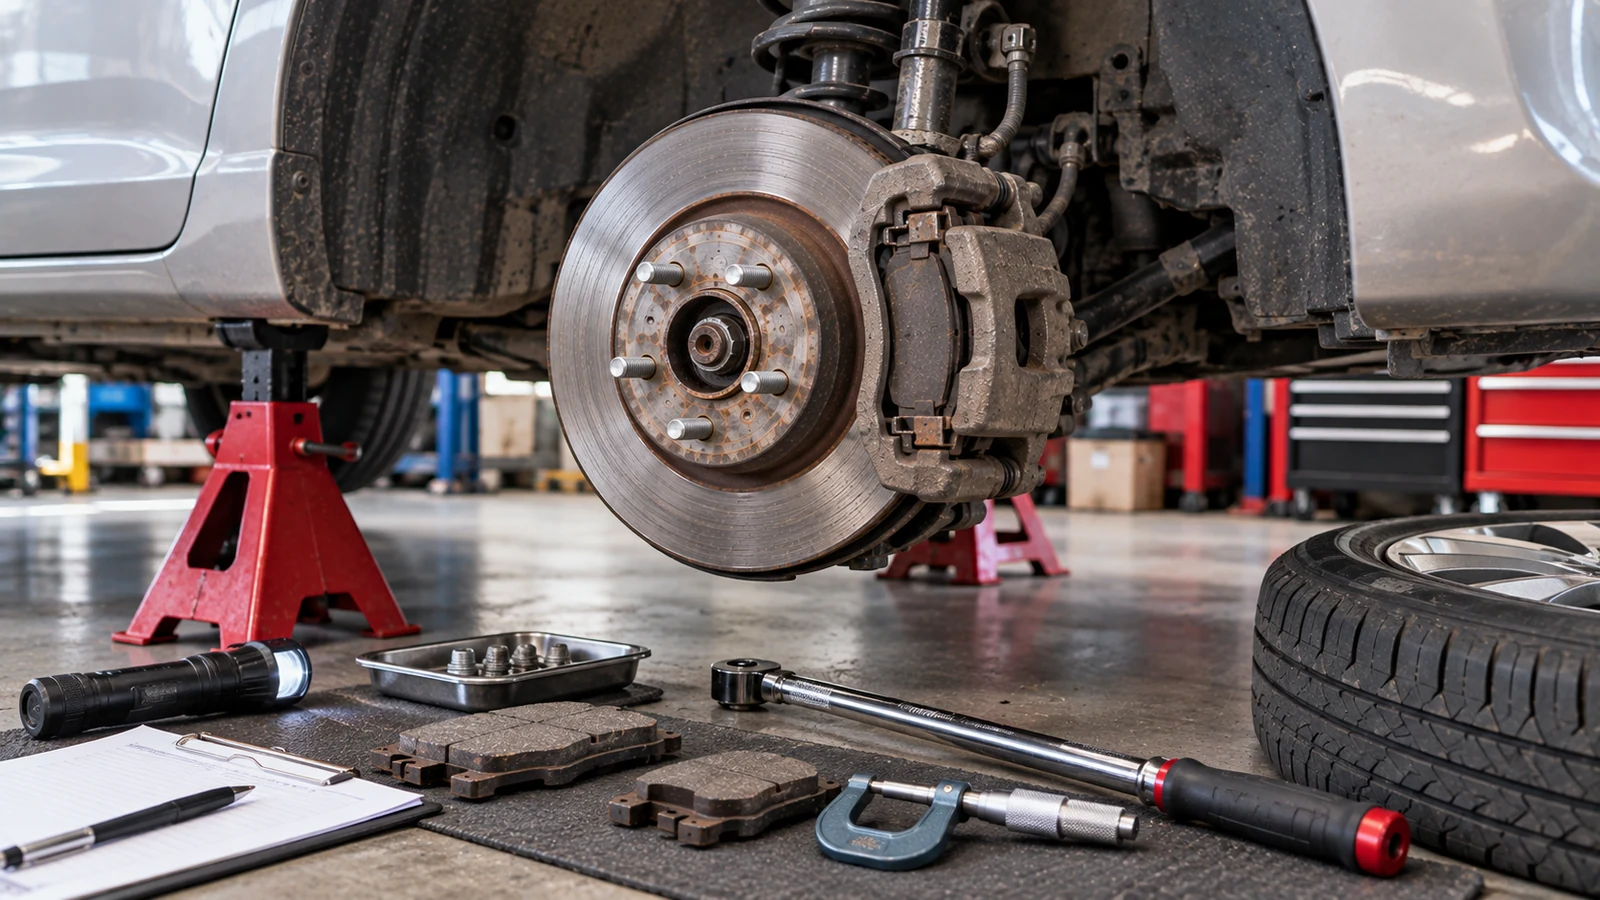
A careful inspection can often tell you whether the next job is pads only or pads and rotors together.
- Park on a level surface, secure the vehicle, and use the manufacturer’s approved lifting points.
- Raise the vehicle and support it on proper stands. Never rely on the jack alone.
- Remove the wheel so both the inner and outer brake pads are visible.
- Measure friction-material thickness and record the thinnest pad on each side.
- Measure rotor thickness at several points in the swept area, avoiding the outer rust lip.
- Inspect both rotor faces for cracks, scoring, heat spots, corrosion, or metal-on-metal damage.
- If there is pulsation, check lateral runout with a dial indicator and compare readings with factory limits.
- Check slide-pin movement, pad fit in the bracket, dust boots, hoses, and caliper condition.
- Check brake-fluid level and condition. A low level can accompany worn pads, but you must rule out a leak.
- Record measurements with date and mileage so future wear can be compared instead of guessed.
A useful inspection interval is at routine tire rotations or oil services, roughly every 6,000-10,000 miles, with immediate inspection if noise, pulling, pulsation, unusual heat, or pedal changes appear. Measure the rotors at every pad replacement.
Brake Pad and Rotor Replacement Costs
Typical per-axle pricing ranges are:
| Brake Job Per Axle | DIY Parts Only | Independent Shop | Dealership |
| Pads only | About When to Replace Brake Pads and Rotors: Signs, Limits and Costs image 665 | About When to Replace Brake Pads and Rotors: Signs, Limits and Costs image 7250 | About When to Replace Brake Pads and Rotors: Signs, Limits and Costs image 8370 |
| Pads and rotors | About When to Replace Brake Pads and Rotors: Signs, Limits and Costs image 9180 | About When to Replace Brake Pads and Rotors: Signs, Limits and Costs image 10450 | About When to Replace Brake Pads and Rotors: Signs, Limits and Costs image 11600+ |
Actual pricing can move well outside these ranges depending on rotor size, pad material, electronic wear sensors, performance brake packages, corrosion, labor rates, and whether calipers or hydraulic parts also need attention.
A low quote isn’t automatically a bargain if the rotor condition isn’t measured. Likewise, replacing rotors that are smooth, true, and well above minimum is not automatically necessary. The measurements should justify the parts list.
How to Make New Pads and Rotors Last
Correct installation matters just as much as choosing the right parts.
Service the Hardware and Hub Surface
Clean and inspect caliper slide pins, boots, pad abutment areas, shims, and anti-rattle hardware. Replace damaged or heavily corroded hardware. Use only the lubricant type and locations specified by the manufacturer, and keep lubricant away from friction surfaces.
Before installing a rotor, clean rust and debris from the hub mounting face. Even a small amount of contamination can introduce runout.
Torque Fasteners Correctly
Caliper guide pins, bracket bolts, and wheel fasteners can all have vehicle-specific torque requirements. Some fasteners may also be single-use or require a specified thread treatment.
Tighten wheel nuts or bolts evenly to specification. Uneven or excessive tightening can contribute to hub or rotor distortion and future pulsation.
Bed In the New Friction Surfaces
Bedding, also called burnishing, establishes an even friction layer between the pad and rotor. Follow the pad or vehicle manufacturer’s procedure.
A typical process uses a series of moderate stops followed by a cool-down period, but the exact sequence can differ. Avoid holding the brake pedal hard at a standstill immediately after heavy braking while the rotors are very hot.
Before moving the vehicle after piston retraction, pump the brake pedal until it feels firm.
Finish With Hydraulic and Electronic Checks
If a hydraulic line was opened, bleed the brakes using the correct sequence. Some ABS systems require a specific scan tool or bleeding routine.
Vehicles with electronic parking brakes may require service mode before rear caliper work. Do not force an electric parking-brake piston backward without confirming the correct procedure.
After the repair, verify fluid level, check for leaks, confirm a firm pedal, and perform a controlled road test for straight-line braking, noise, vibration, and warning lights.
Conclusion
The best answer to when to replace brake pads and rotors depends on condition and specifications. Plan pad replacement around the 3 mm range, treat 2 mm or less as urgent, and replace rotors when they reach minimum thickness or fail inspection for cracks, severe scoring, heat damage, corrosion, runout, or thickness variation.
Mileage can tell you when to look. Measurements tell you what to replace. Check both sides of the axle, correct sticking hardware or hydraulic faults before fitting new parts, use the vehicle’s factory specifications for limits and torque values, and bed the new friction surfaces correctly after the repair.
Frequently Asked Questions
Can I Replace Brake Pads Without Replacing the Rotors?
Yes. You can replace pads without rotors when the rotors remain comfortably above minimum thickness, are within runout and thickness-variation limits, and have no cracks, severe corrosion, hard spots, or deep grooves.
Consider how much thickness remains for the life of the new pads, not only whether the rotor passes today.
How Long Do Brake Rotors Last Compared With Pads?
There is no dependable rotor mileage interval. A rotor may last through more than one pad set, but it can also require replacement at the first pad change because of scoring, heat damage, corrosion, minimum thickness, or DTV.
Measure rotors whenever pads are replaced.
Is 3 mm Too Thin for Brake Pads?
About 3 mm is a practical point to schedule replacement. At 2 mm or less, the need becomes urgent.
Always compare the reading with the manufacturer’s specified minimum for the exact vehicle.
Is It Safe to Drive With Grinding Brakes?
Treat persistent metallic grinding under braking as urgent. It commonly means the friction material has worn through and the backing plate is contacting the rotor.
Continuing to drive can reduce braking performance and quickly damage the rotor.
Do Front and Rear Brakes Need Replacement at the Same Time?
Not necessarily. The front and rear axles can wear at different rates, so measure each axle separately.
What should not be mixed is left and right service on the same axle. Pads and rotors should be replaced in axle pairs.
Why Do New Brakes Sometimes Squeal or Vibrate?
Squeal can come from bedding, glazing, missing or incorrect hardware, or dry contact points.
Vibration after replacement can come from rotor runout, debris on the hub face, or uneven wheel-fastener torque. Measure before assuming the new parts are defective.
Do Hybrids Need Brake Pads and Rotors Less Often?
Regenerative braking often reduces pad wear, so pads can last longer. Rotors can still corrode or develop issues from limited friction-brake use.
Hybrid brake systems may also use service procedures that you should confirm before caliper work.