The check engine light can come on even when the engine runs normally. One common reason is an EVAP fault, which means the sealed fuel-vapor system can no longer control vapors as designed. A loose filler seal can cause it, but so can a failed valve, cracked line, or damaged canister.
The smartest first move is not replacing a purge valve. Start by identifying the code, checking the filler seal, and confirming what the system is actually failing to do.
This guide explains the EVAP system, its main parts, common warning signs, and a practical diagnosis path that reduces guesswork.
What Is the EVAP System: Why Small Leaks Matter
The EVAP system, short for evaporative emission control system, captures gasoline vapors before they escape from the fuel system. It stores those vapors in a charcoal canister, then sends them into the engine to be burned when operating conditions allow. Modern onboard diagnostics also monitor EVAP operation, so a leak or flow problem can trigger a check engine light even when the car drives normally.
| EVAP part | What it does | Common fault clue |
|---|---|---|
| Fuel tank and filler seal | Keeps fuel and vapor contained | Loose cap, damaged seal, cracked filler area |
| Vapor lines and hoses | Carry vapor between components | Cracks, loose fittings, rubbed-through lines |
| Charcoal canister | Stores fuel vapor temporarily | Fuel odor, restriction, canister damage |
| Purge valve | Meters stored vapor into the engine | Rough start after fueling, purge-flow fault |
| Vent valve | Controls fresh air and seals leak tests | Vent-related DTC, failed system test |
| Pressure or leak-test hardware | Helps the computer check integrity | Sensor or leak-detection fault |
What the EVAP System Actually Does
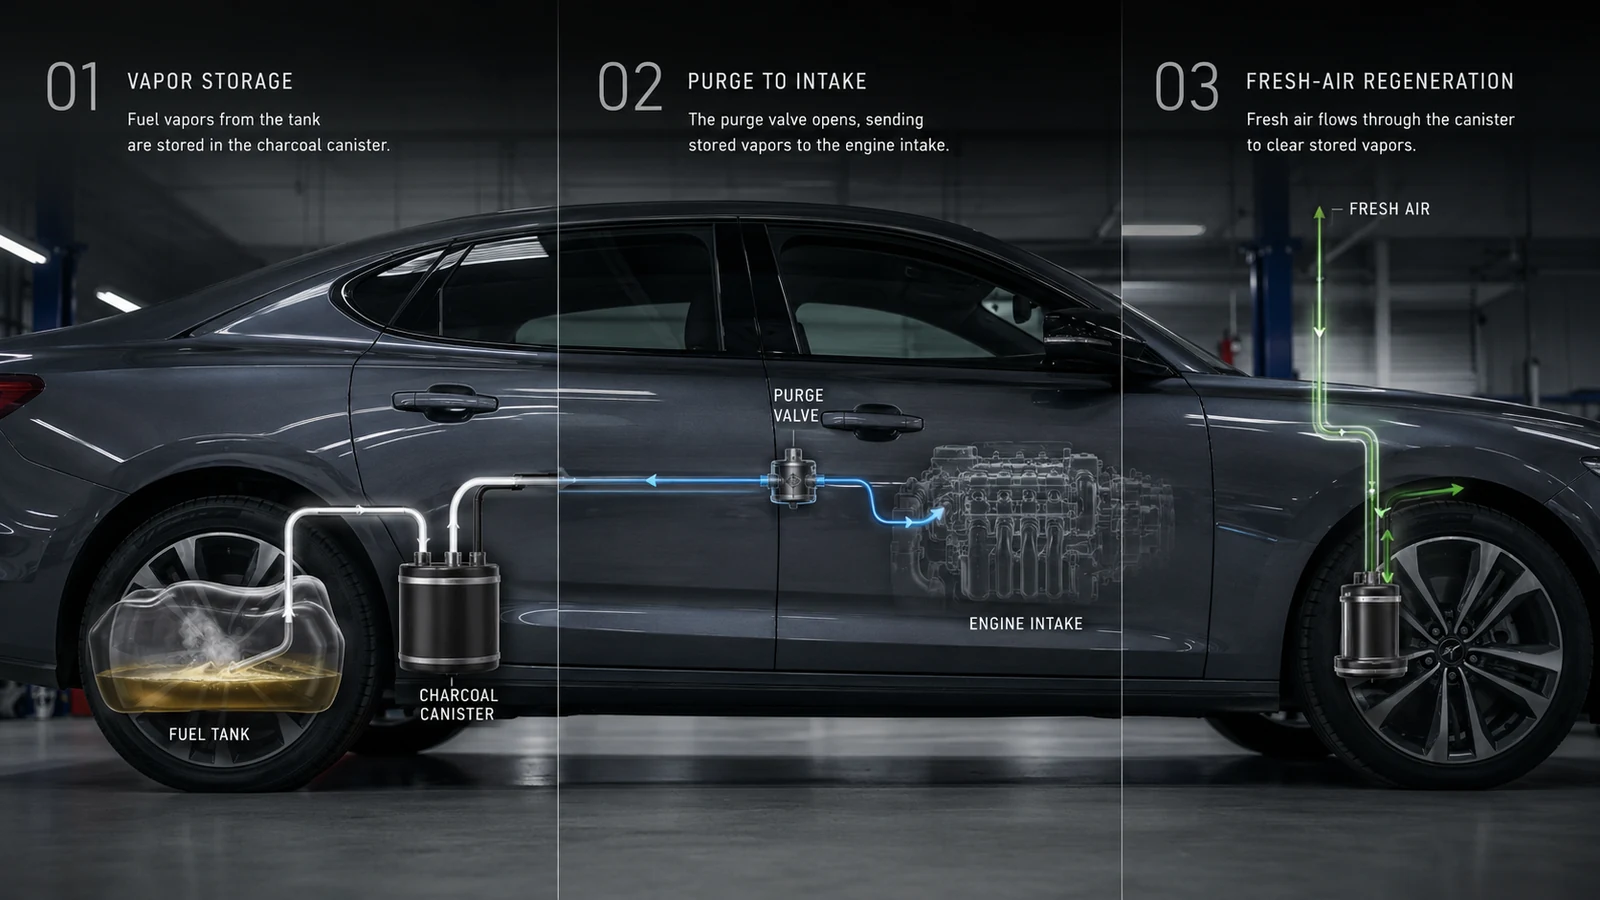
EVAP handles fuel vapor before it reaches the atmosphere. Gasoline produces hydrocarbon vapor in the tank and fuel system. Instead of venting it outside, the vehicle routes the vapor to activated carbon in the charcoal canister for temporary storage.
When operating conditions are suitable, the engine computer opens the purge valve. The stored vapor moves toward the intake and burns with the normal air-fuel mixture. This capture, storage, and purge process is the core function described in EPA evaporative-control material.
EVAP is different from the catalytic converter. The converter treats exhaust after combustion. EVAP controls gasoline vapors from the fuel system before they escape.
How the EVAP Cycle Works
Most gasoline EVAP systems work in three stages: storage, purge, and self-test. Hardware varies by vehicle, but the logic is similar.
- Fuel vapor forms in the tank. Heat, refueling, and normal fuel movement create vapor above the liquid fuel.
- The canister stores the vapor. Activated carbon keeps hydrocarbons from venting directly outside.
- The computer commands purge. The purge valve opens under suitable conditions and the engine draws vapor toward the intake.
- Fresh air regenerates the canister. Air enters through the vent side as stored vapor leaves.
- The system checks itself. Depending on design, the computer evaluates pressure, vacuum, flow, or leak-detection data.
EPA documentation notes that OBD systems monitor EVAP operation, purge flow, and vapor leaks. Some certification standards require detection of very small equivalent leak diameters, which explains why a tiny sealing fault can turn on the check engine light.
Signs an EVAP Fault Is Developing
The most common sign is a check engine light with little change in vehicle performance. A small vapor leak may not affect engine power because it is outside the main liquid-fuel delivery path.
Other clues can narrow the search. A gasoline odor near the rear of the vehicle can point to a leak around the tank, filler area, canister, or hoses. Hard starting or rough running just after refueling can occur on some vehicles when the purge system is faulty.
Refueling trouble also matters. If the pump nozzle repeatedly clicks off before the tank is full, a restricted vent path may be involved. A blocked hose, damaged canister, filler problem, or vent valve can create similar symptoms.
A visible liquid-fuel leak is different. OBD EVAP monitoring focuses on vapor-system faults and may not identify a liquid leak. Treat dripping fuel or a strong persistent raw-fuel smell as a safety issue that needs immediate inspection.
What EVAP Codes Tell You
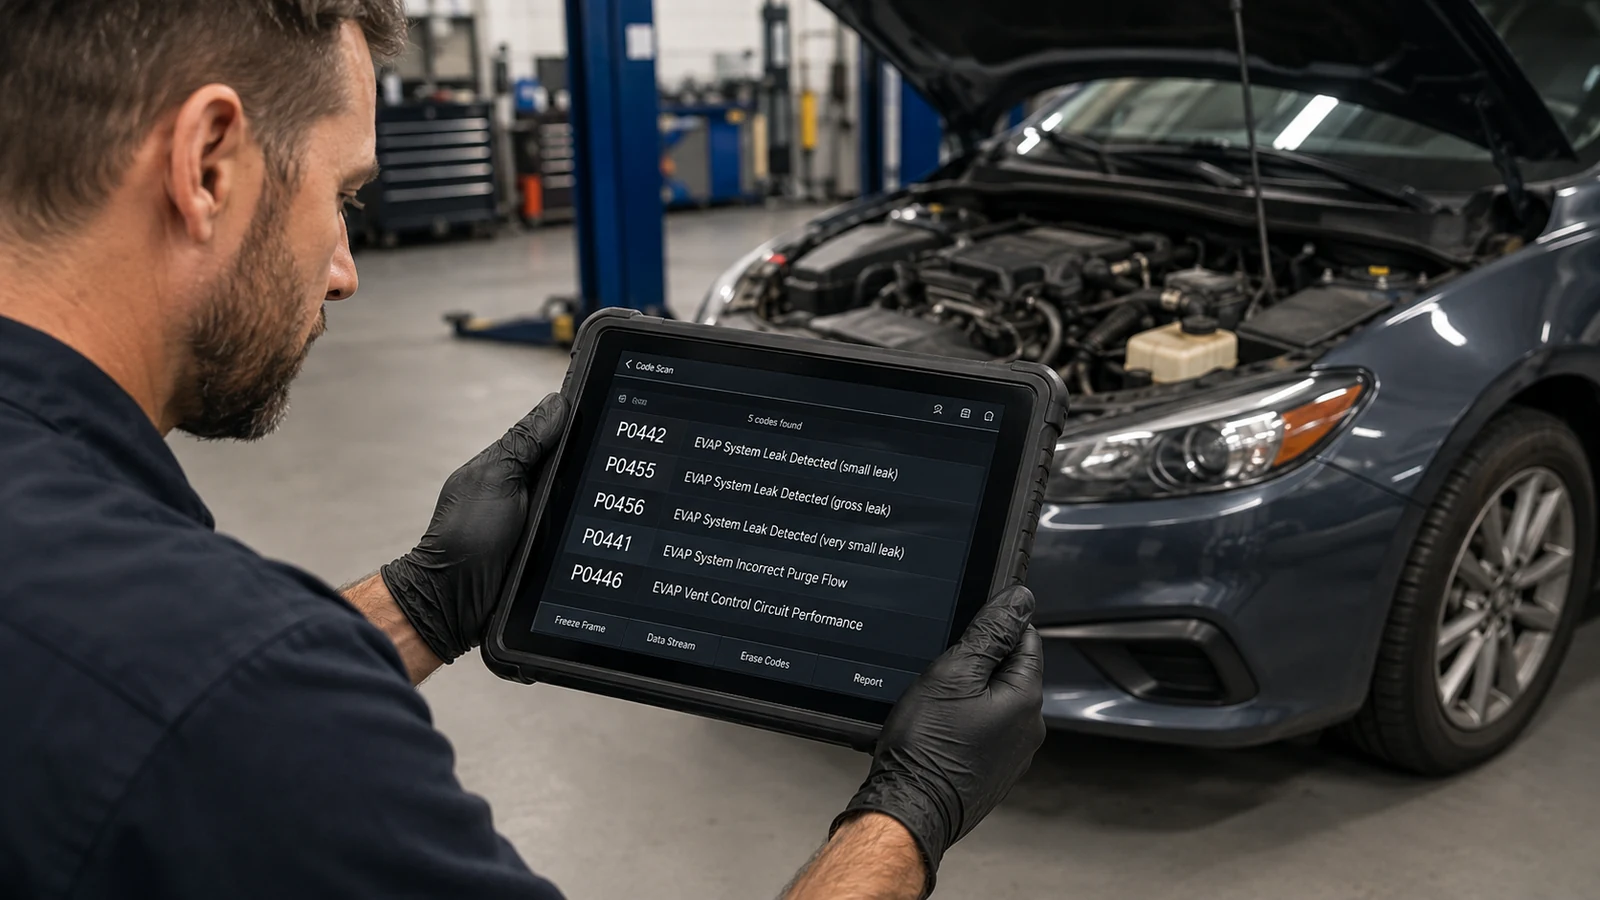
Common examples include P0442 for a small leak, P0455 for a gross leak, P0456 for a very small leak, P0441 for incorrect purge flow, and P0446 for a vent-control circuit malfunction. EPA OBD documents list these EVAP code families and distinguish leak, purge, vent, and pressure-sensor faults.
Start with the code description, freeze-frame data if available, and the conditions required for the monitor to run. AutoServicePlus explains why it helps to read trouble-code steps in factory manuals before assuming the named component is bad.
A leak code can come from a loose filler cap, a capless filler seal, a split vapor hose, a cracked canister, a leaking valve, or another sealing problem. The code gives you a direction. Testing identifies the cause.
How to Diagnose an EVAP Leak
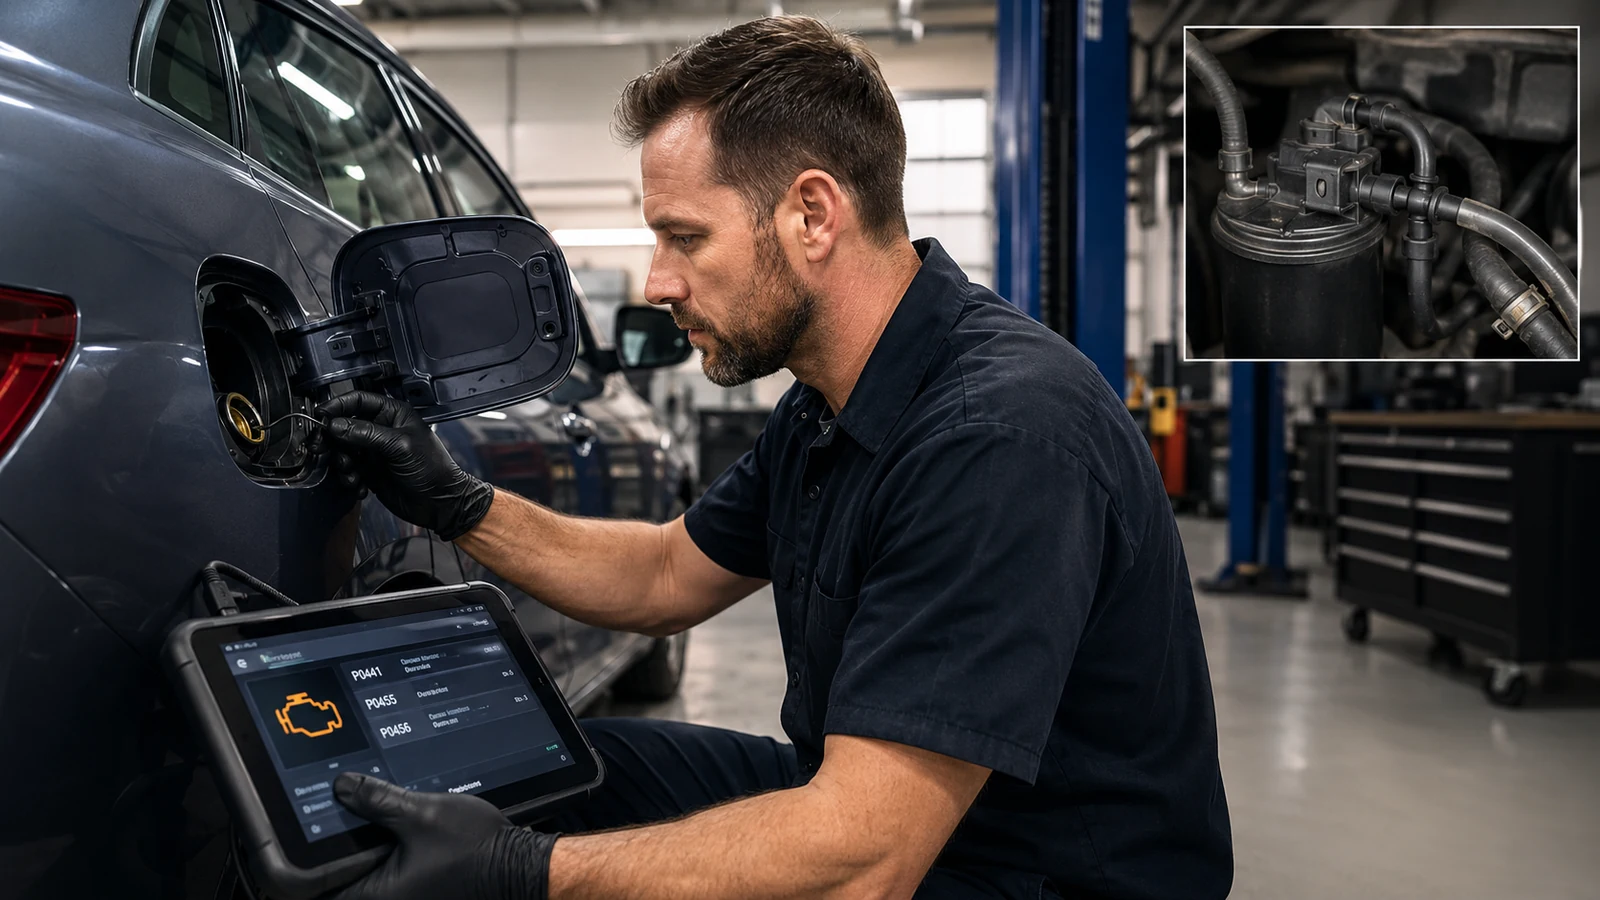
Start with components that can visibly break the seal. Check the fuel cap or capless filler seal, then inspect accessible vapor lines for cracks, disconnected ends, damaged quick-connects, or rubbed-through sections.
Next, scan stored and pending codes. Do not clear them before recording the information. EVAP monitors run only when their enabling conditions are met, and clearing codes can reset useful readiness data.
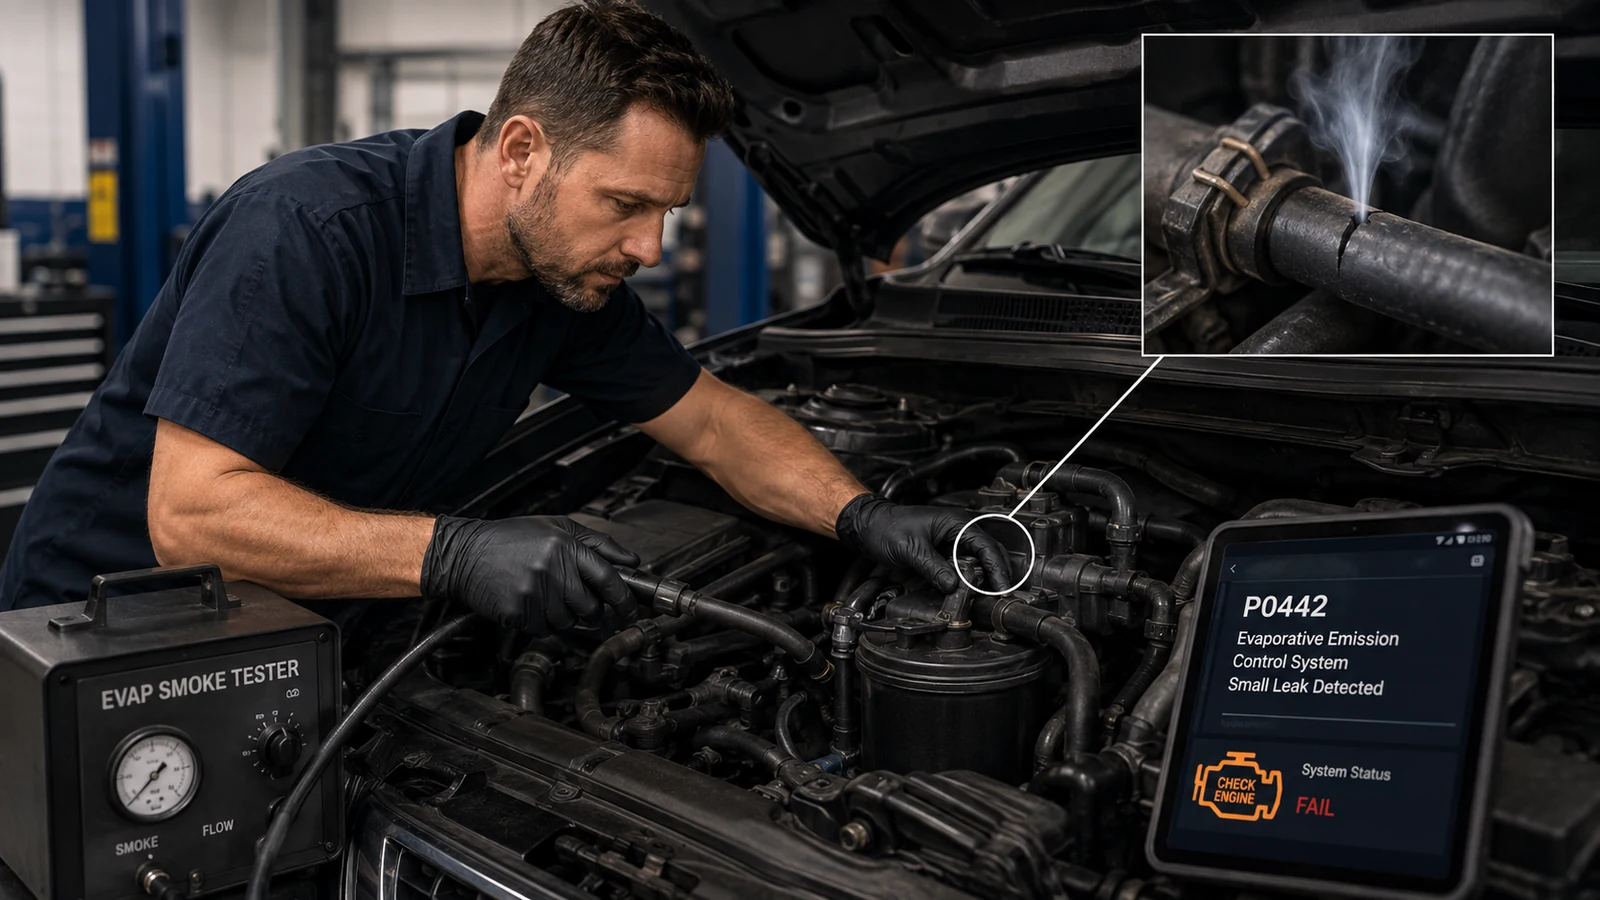
If no obvious leak appears, a smoke test can reveal leaks too small to see. Following the vehicle-specific procedure, a technician introduces low-pressure test vapor and watches for smoke escaping at hoses, valves, the canister, filler area, or tank connections.
For flow or control faults, follow the manufacturer’s sequence. A factory diagnostic flowchart helps keep purge, vent, pressure, wiring, and sealing checks in the right order.
Test Valves and Sensors Before Replacing Them
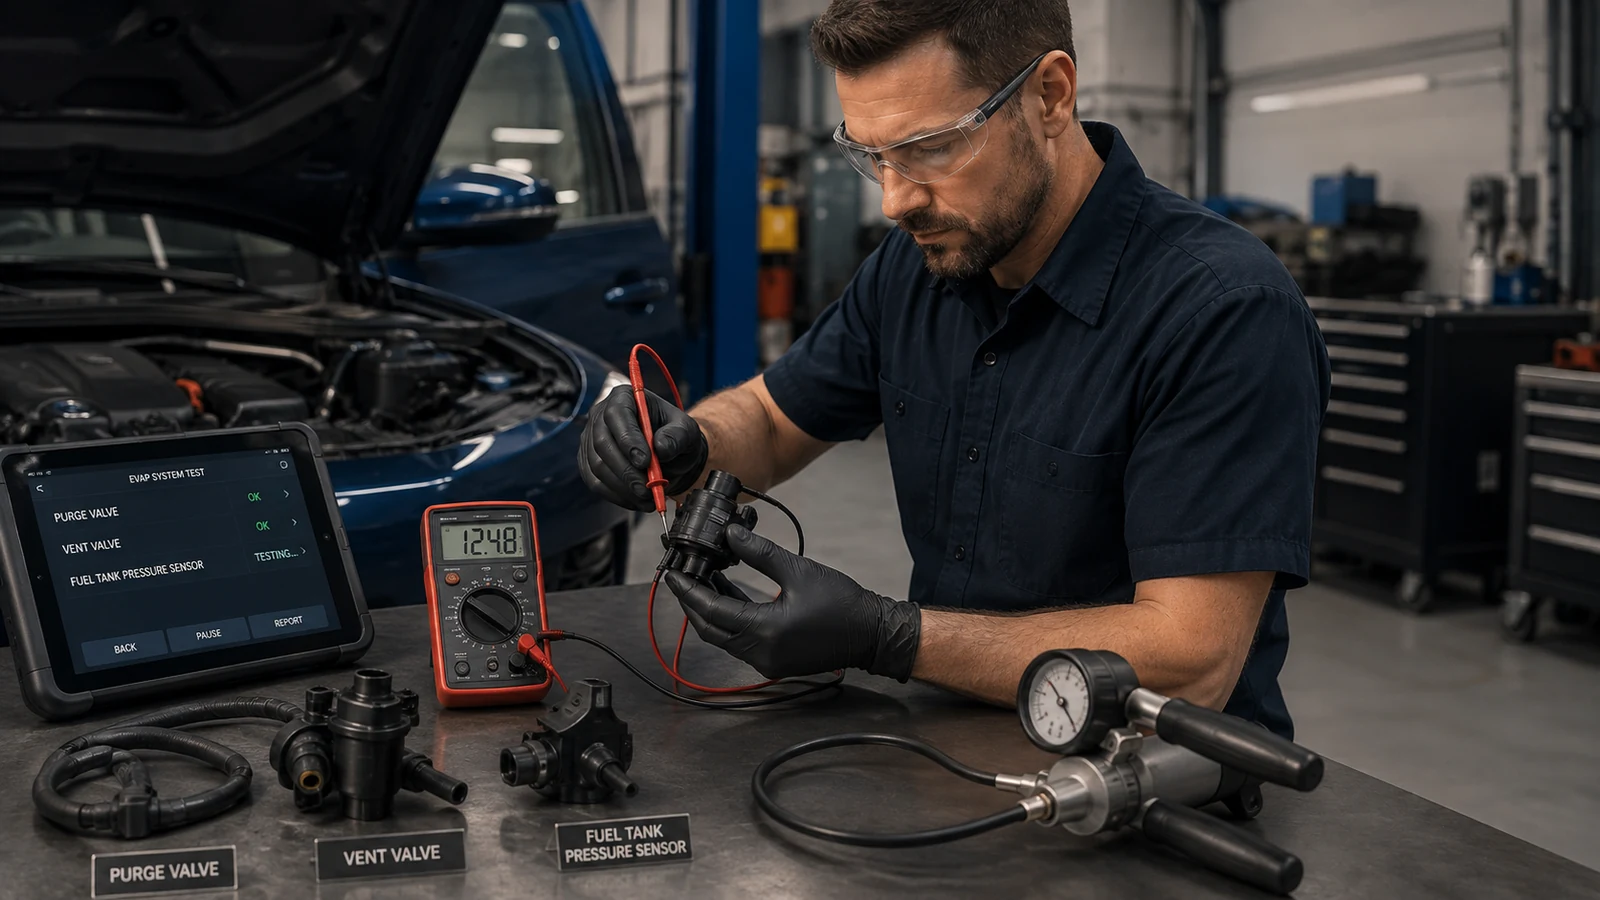
A purge valve can fail mechanically even when its electrical circuit works. A vent valve can click but still fail to seal. A fuel tank pressure sensor can show a believable value yet respond incorrectly during a test.
Ask a specific test question. Does the valve hold vacuum when closed? Does it flow when commanded? Does the pressure signal change in the expected direction? When checking a sensor, use the correct vehicle specification and test sensors against it.
Electrical checks also depend on the correct terminal. Before back-probing a purge valve, vent valve, pressure sensor, or leak-detection pump, verify connector pin orientation. A mirrored connector view can turn a valid test into a wrong diagnosis.
When a Purge Valve Affects Driveability
Most small EVAP leaks cause little noticeable change in how the car runs. A purge valve stuck open is different because it can create an unwanted vapor path into the intake.
After refueling, the tank and canister may hold more vapor. If the valve leaks when it should be closed, some vehicles can experience an extended crank, rough start, unstable idle, or brief stumble. Ford service information, for example, documents hard-start-after-refueling conditions associated with EVAP purge-valve faults on certain models.
Don’t condemn the purge valve based on symptoms alone. Confirm the DTC, test whether the valve seals, and compare scan data with the factory procedure. Other fueling or intake faults can feel similar.
When You Should Stop Driving
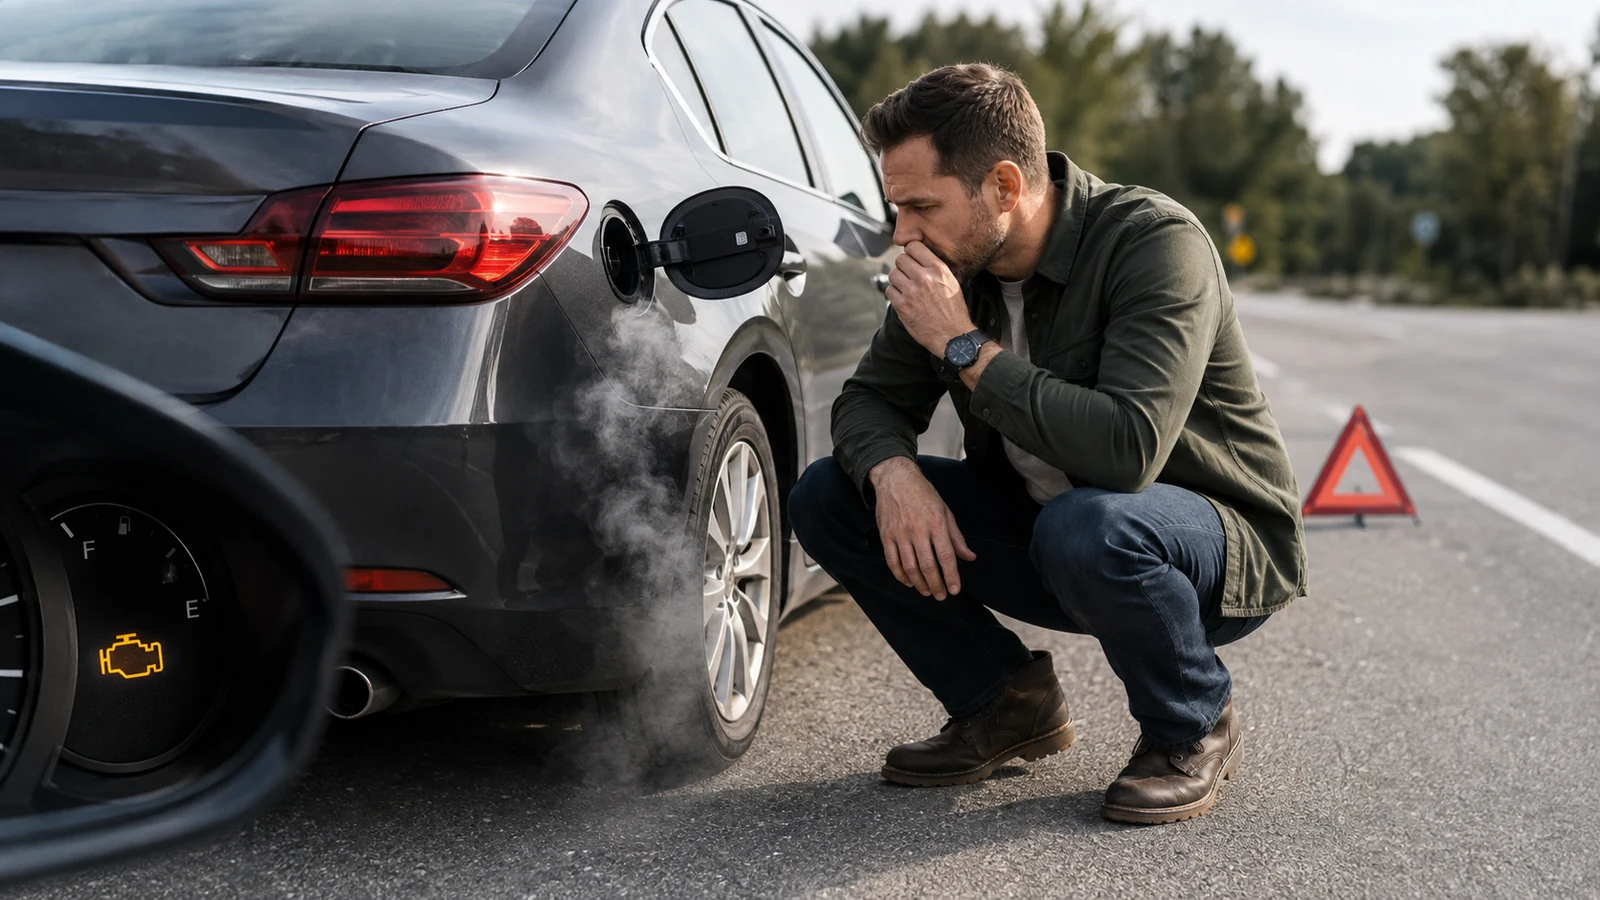
A small EVAP leak does not automatically mean the vehicle will stop running. If the car drives normally and there is no strong fuel odor, visible fuel, smoke, or major running problem, you can usually diagnose the fault without treating it as an immediate engine failure.
The situation changes when raw fuel is present. Do not ignore visible liquid fuel, a strong fuel smell in or around the cabin, dripping fuel, or vapor near a hot component. Fuel-system warnings from manufacturers emphasize avoiding ignition sources around gasoline vapor.
An active EVAP fault can also keep the malfunction indicator light on and affect emissions-inspection readiness. Repair the cause, then complete the manufacturer’s required verification procedure.
The Right Repair Order
Use a repair order that eliminates simple, visible, and testable faults before expensive parts. Start with the filler seal and obvious hoses. Retrieve the exact DTCs, inspect the relevant circuit, smoke-test when needed, then test the purge, vent, sensor, or leak-detection hardware according to service information.
After the repair, verify that the system seals and commanded components respond correctly. Clear codes only when appropriate, complete the required drive cycle, and rescan for pending faults.
The key is to treat EVAP as a system, not a single valve. The computer tells you what failed its test. A disciplined inspection and test sequence tells you why.
Commonly Asked Questions About the EVAP System
How Much Does EVAP Repair Cost?
EVAP repair cost depends on what failed, so a code alone cannot give a reliable price. A loose cap or damaged filler seal can be inexpensive, while a buried vapor line, charcoal canister, leak-detection pump, or tank-related repair can require more labor.
Diagnosis may also include scan-tool testing and a smoke test before replacing any part. The best way to control cost is to pay for a confirmed diagnosis instead of guessing from the DTC.
Ask what test proved the failure, whether the system was smoke-tested, and whether the repair includes a post-repair EVAP monitor check. That prevents you from paying for a valve that wasn’t the actual leak source.
Will a Tight Gas Cap Clear the Light?
It can, but not immediately in every vehicle. If a loose gas cap or poor filler seal caused the EVAP leak, tightening it restores the seal, but the vehicle’s computer still needs to run the EVAP monitor again and see a passing result.
That may require specific fuel level, temperature, and driving conditions. Do not clear the code just to make the light disappear before you record it, because clearing codes also resets readiness monitors. Inspect the cap seal for cracks, dirt, damage, or a weak ratcheting mechanism.
On capless systems, check the filler-door sealing surfaces. If the same code returns after the monitor runs, continue diagnosis instead of replacing caps repeatedly.
Can an EVAP Leak Hurt Gas Mileage?
A small EVAP leak usually does not cause a dramatic fuel-economy change because the fault involves fuel vapor containment rather than normal liquid-fuel delivery. However, some EVAP failures can affect engine operation.
A purge valve stuck open may allow vapor into the intake when the computer doesn’t expect it, which can disrupt mixture control, idle quality, and starting after refueling. A large vapor leak also means fuel hydrocarbons are escaping instead of being stored and burned.
If mileage has dropped sharply, do not assume the EVAP code explains everything. Check fuel trims, misfire data, tire pressure, operating temperature, and other engine-management faults so you don’t overlook a separate problem.
Why Is Starting Hard After Refueling?
Hard starting immediately after refueling often makes technicians check the EVAP purge system because the tank and canister can hold a higher vapor load after filling. If the purge valve is stuck partly or fully open, excess vapor may enter the intake during cranking and make the mixture harder to control.
The engine may crank longer, start rough, or stumble for several seconds. This pattern is a clue, not proof. A leaking injector, fuel-pressure problem, contaminated fuel, or another intake fault can produce similar symptoms.
Confirm the stored codes, test whether the purge valve seals when de-energized if the factory procedure specifies that state, and compare live data with vehicle-specific service information before replacement.
Why Is the EVAP Monitor Not Ready?
The EVAP readiness monitor does not run continuously. The computer waits for specific enabling conditions, which can include fuel level, ambient temperature, coolant temperature, time since startup, battery voltage, and a particular driving or soak pattern.
Those conditions vary by manufacturer. Clearing codes or disconnecting the battery also resets readiness, so the monitor must complete another valid self-test. First, confirm no stored faults prevent the test from running.
Then check the fuel level and follow the vehicle-specific drive-cycle procedure rather than driving randomly. If EVAP remains “not ready,” review scan data for disabled conditions and use factory service information to identify the exact monitor prerequisites.