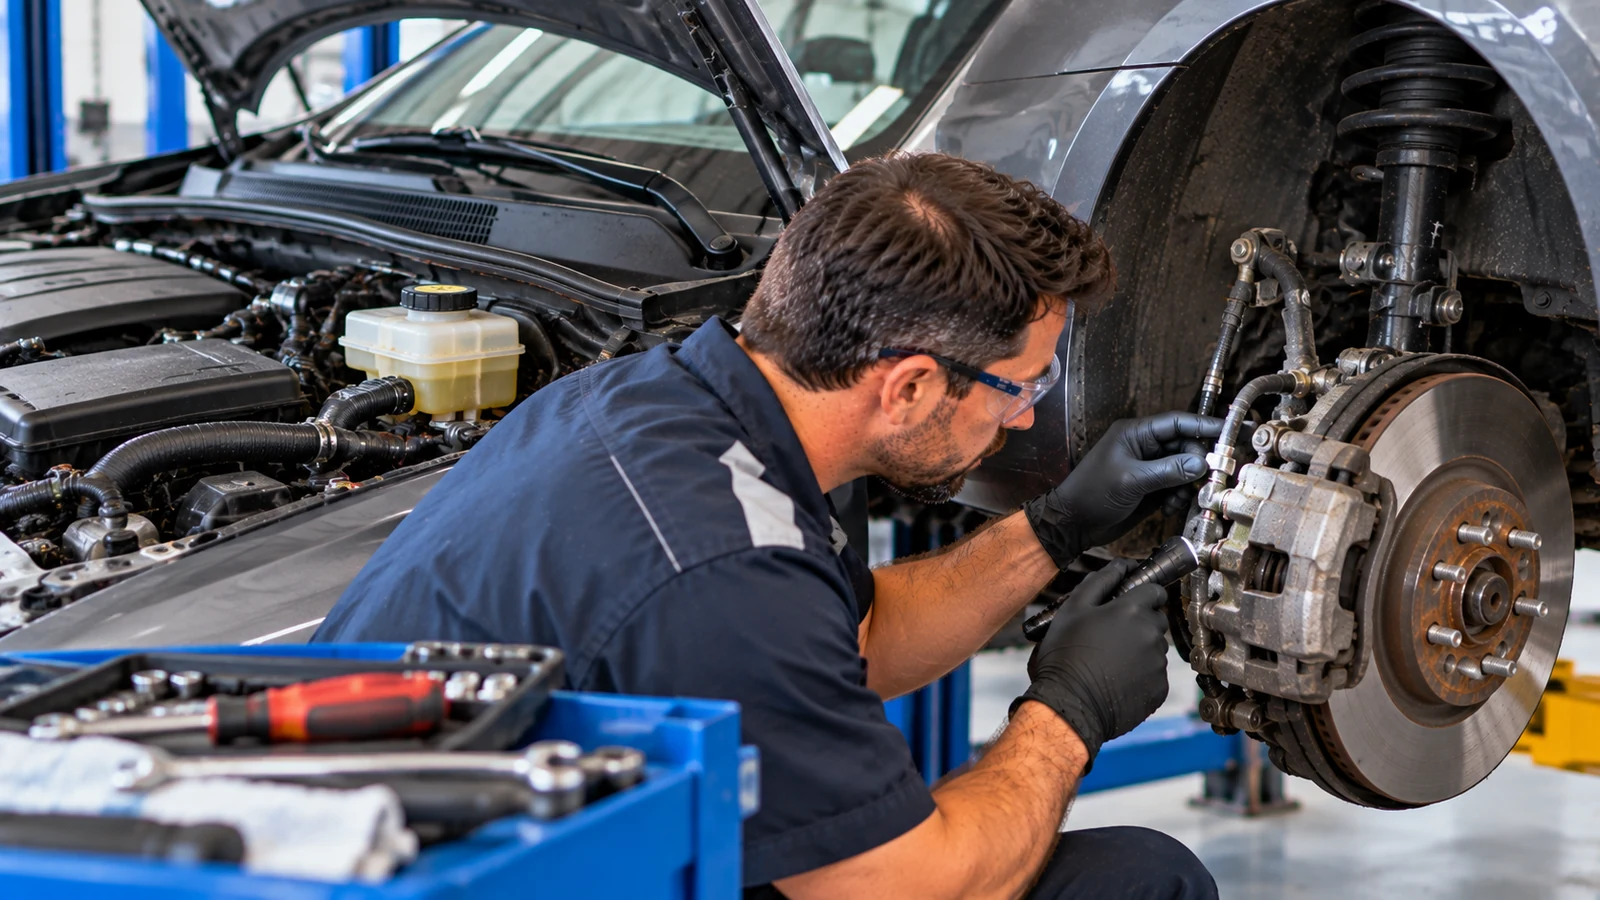
Brake bleeding and brake fluid replacement use many of the same tools, but they are not exactly the same job. Bleeding mainly removes trapped air from the hydraulic system. A full fluid replacement pushes aged, moisture-contaminated fluid out of every brake circuit and replaces it with fresh fluid of the correct specification.
For a careful DIY mechanic, the work is manageable on many conventional vehicles. The part that cannot be treated generically is the vehicle-specific procedure. Brake fluid grade, wheel sequence, ABS service routines, bleeder torque, electronic brake precautions, and even the number of bleed points can vary. The safest approach is to understand the general method first, then confirm the exact procedure for your vehicle before opening a bleeder screw.
Key Takeaways
- Use only the brake fluid grade approved for your vehicle. DOT 3, DOT 4, and DOT 5.1 are glycol-based, while DOT 5 is silicone-based and must not be mixed with them.
- Bleeding removes air. A flush or complete fluid replacement removes old fluid throughout the hydraulic system.
- Never let the master-cylinder reservoir run low during bleeding. Pulling air into the master cylinder can turn a simple service into a much longer job.
- The traditional farthest-to-nearest wheel order is only a general rule. The manufacturer’s published bleed sequence always takes priority.
- If air has entered an ABS hydraulic control unit, you may need a scan-tool bleed routine.
- Some hybrids, EVs, and vehicles with electronic brake boosters need service or maintenance mode before you begin hydraulic work.
- If a pedal remains soft after a proper bleed, diagnose it rather than repeatedly flushing it.
Decide First: Bleed the Brakes, Flush the Fluid, or Diagnose a Fault?
Before lifting the vehicle, decide what problem you are actually trying to solve. That choice determines how much fluid you need, how many wheels to bleed, and whether a routine DIY procedure is appropriate.
| Situation | Best Starting Point | Why |
|---|---|---|
| A caliper, hose, line, or wheel cylinder was opened | Bleed the affected circuit, then follow the vehicle procedure | Air may have entered during the repair |
| Fluid is old or has failed a condition test | Complete brake fluid replacement | The goal is to replace moisture-laden fluid throughout the system |
| Pedal is soft after hydraulic work | Bleed, but also verify the repair and sequence | Air is likely, but a leak or component fault is also possible |
| Reservoir ran dry | Check the factory procedure before continuing | Air may have reached the master cylinder or ABS unit |
| Brake or ABS warning light is on | Diagnose the warning before assuming fluid is the cause | Low fluid, leaks, sensor faults, ABS faults, or other problems may be involved |
| Pedal slowly sinks while held | Stop and inspect for hydraulic faults | Repeated bleeding will not repair a leak or internal master-cylinder bypass |
If you have just replaced one component, do not automatically assume all four wheels must be bled. On some vehicles, the affected corner may be enough if the reservoir stayed full and no upstream air entered. On others, the factory procedure may call for a broader sequence. A model-specific manual such as the 2007-2013 Acura MDX factory workshop manual is the right place to confirm the required sequence for that exact vehicle.
Older vehicles deserve another check before you begin: make sure the bleeder screws actually move. Corroded hardware can turn a fluid service into caliper or wheel-cylinder replacement. For an older platform such as a 1997-1999 Suzuki Swift, use the manual to identify the bleed points and the correct tightening information before applying force to aged hardware.
Choose the Correct Brake Fluid and Know When It Needs Replacing
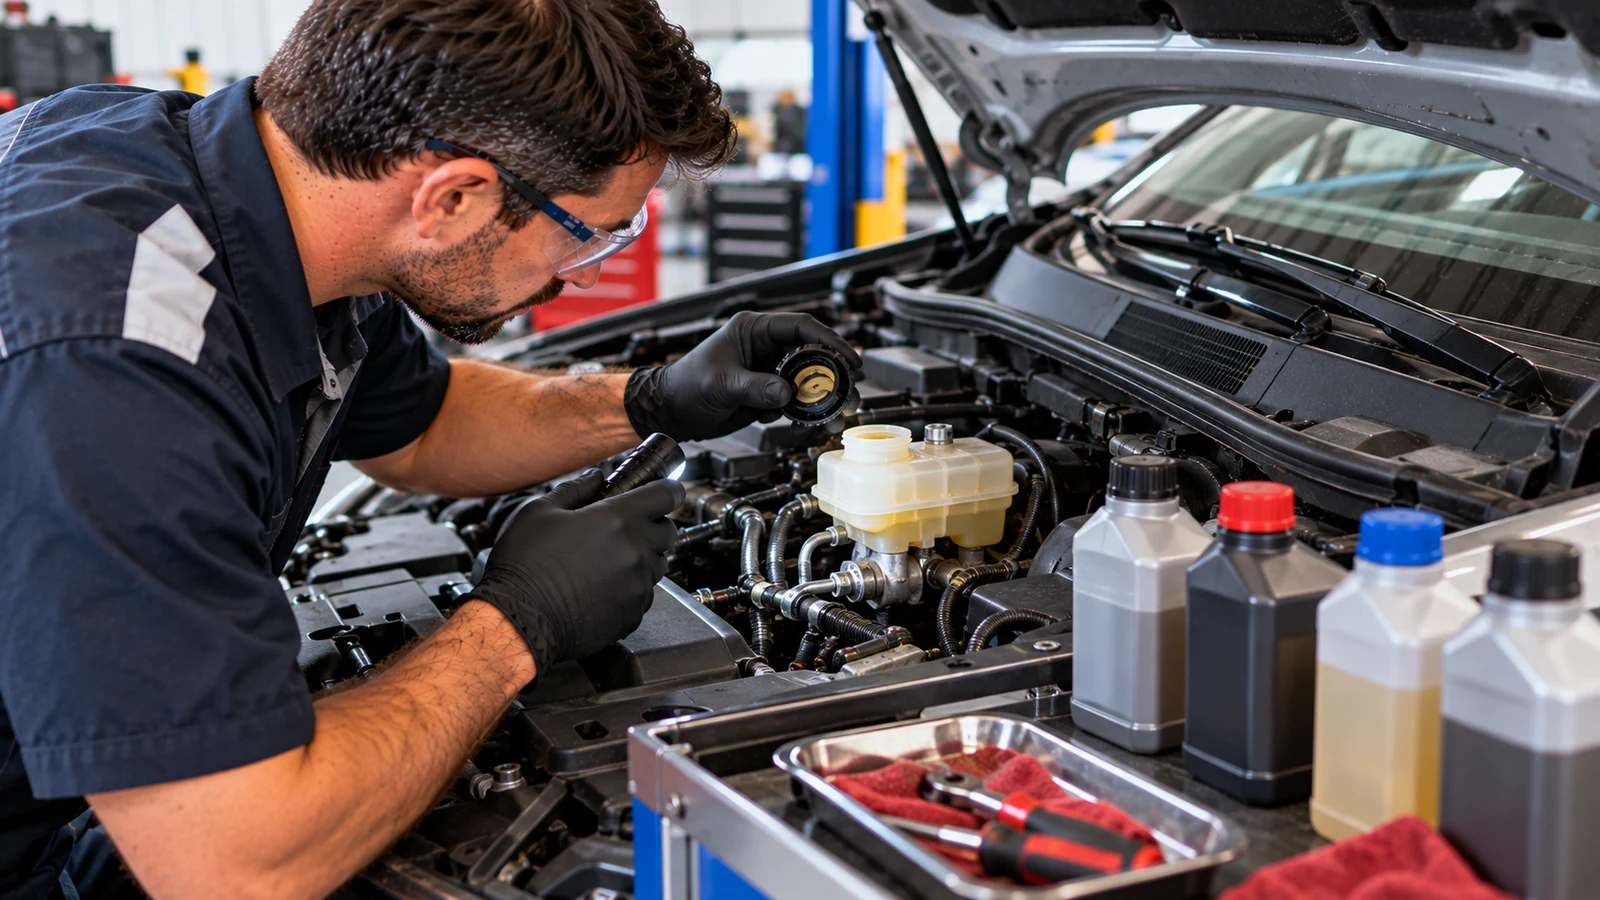
DOT 3, DOT 4, DOT 5, and DOT 5.1 Compared
The FMVSS 116 minimum boiling-point requirements provide a useful baseline comparison:
| Brake Fluid | Base Chemistry | Minimum Dry Boiling Point | Minimum Wet Boiling Point | Moisture Absorbing? |
|---|---|---|---|---|
| DOT 3 | Glycol ether | 205°C / 401°F | 140°C / 284°F | Yes |
| DOT 4 | Glycol ether with borate esters | 230°C / 446°F | 155°C / 311°F | Yes |
| DOT 5 | Silicone | 260°C / 500°F | 180°C / 356°F | No |
| DOT 5.1 | Glycol ether with borate esters | 260°C / 500°F | 180°C / 356°F | Yes |
DOT 3, DOT 4, and DOT 5.1 can chemically mix because they are glycol-based, but that does not mean mixing is good practice. The final blend no longer has a simple, predictable performance rating. Use only an approved grade and perform a complete fluid replacement when changing between approved glycol grades.
DOT 5 is different. It is silicone-based and should not be mixed with DOT 3, DOT 4, or DOT 5.1.
The exact specification can include more than the basic DOT number. Some modern systems call for low-viscosity variants to improve cold-temperature flow through ABS and stability-control valves. That is why you should use an Audi A4 Quattro workshop manual, a Mercedes-Benz C 280 factory repair manual, a Volkswagen Jetta Mk6 workshop manual, or a Peugeot 308 T9 repair manual to confirm the required fluid, rather than choosing it based only on age, brand, or market segment.
Why Brake Fluid Ages Even When the Vehicle Is Parked
Glycol-based brake fluid is hygroscopic, which means it absorbs moisture from the atmosphere over time. That moisture lowers the boiling point and contributes to internal corrosion as the fluid and its protective additives age.
This is why brake fluid is commonly serviced by time rather than mileage. Many manufacturers use intervals in the two- to three-year range, while others call for inspection, testing, and replacement when needed. Prioritize the vehicle’s maintenance information.
Conditions that can justify closer monitoring include:
- frequent towing or heavy loads.
- long mountain descents.
- humid operating environments.
- repeated hard braking.
- track or autocross use.
Do not rely on color alone. Dark fluid can be a warning sign, but apparently clean fluid can still contain moisture. Shops may use copper test strips, electronic moisture testers, or boiling-point testers for a better assessment.
Confirm the Vehicle-Specific Bleed Requirements Before Opening the System
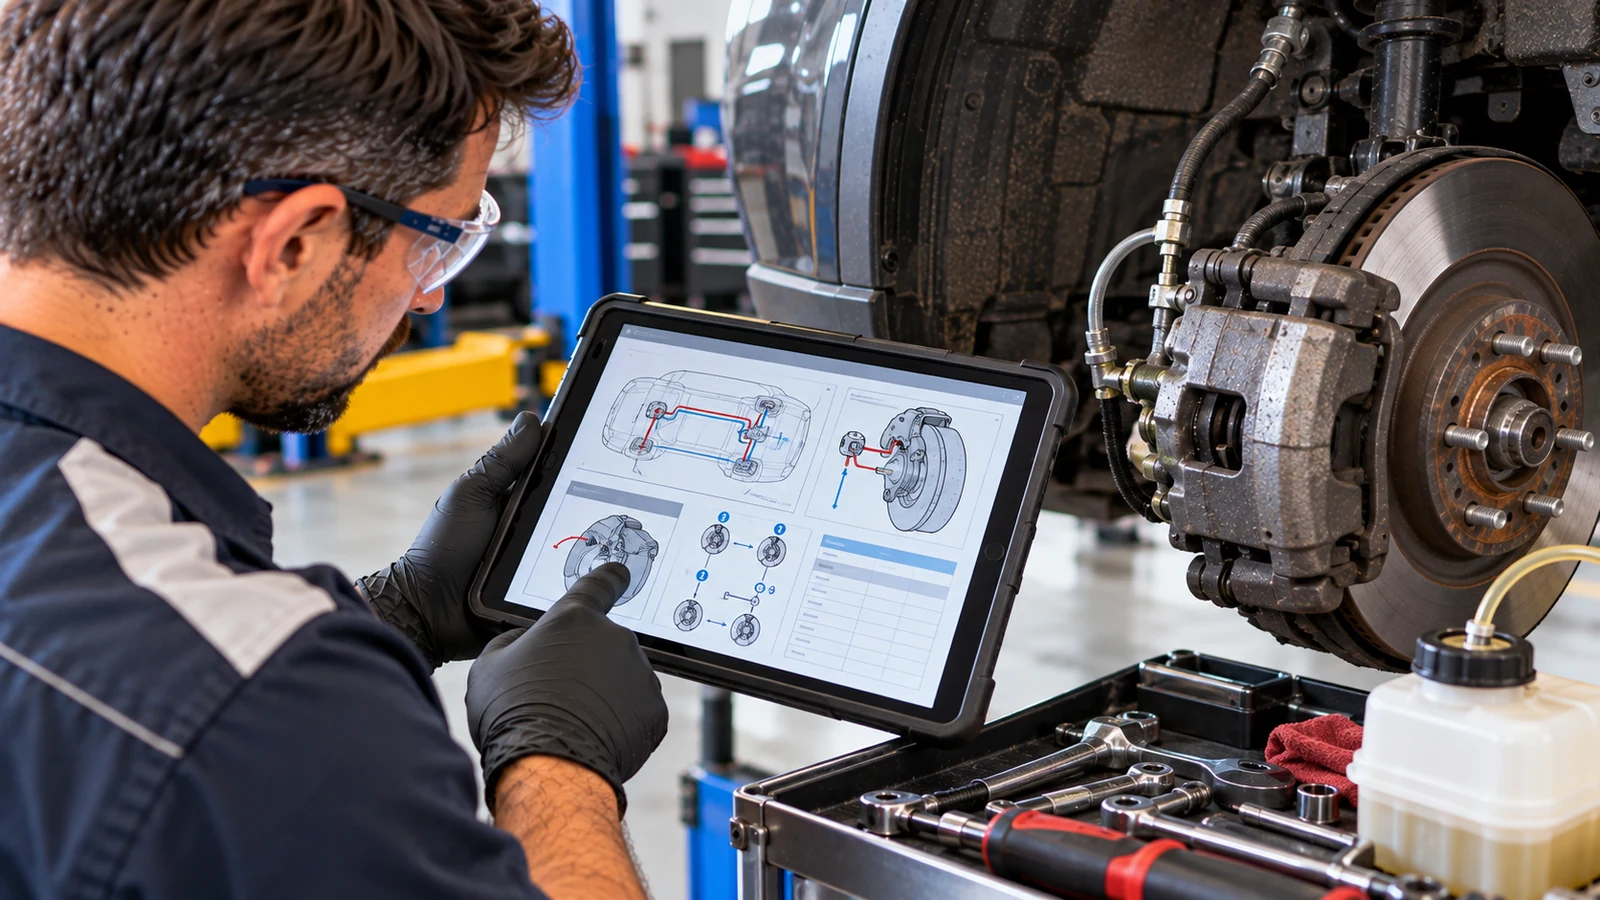
Opening a bleeder is simple. The hydraulic layout behind it may not be.
Do Not Assume the Same Wheel Order Fits Every Vehicle
The traditional sequence on many left-hand-drive vehicles is right rear, left rear, right front, then left front. The reasoning is to begin with the longest hydraulic run. But diagonal-split systems, ABS routing, manufacturer-specific procedures, and unusual component layouts can change the order.
Treat the traditional sequence as a fallback concept, not a specification.
For example, before servicing a BMW 3 Series F30, Porsche Macan, or Jaguar XF X260, verify the published wheel order and any ABS-related instructions for the exact model and build. The purpose of the manual is not to make a simple job complicated. It prevents a generic rule from overriding the vehicle’s actual hydraulic design.
ABS Can Change the Procedure
A normal fluid replacement on an ABS-equipped vehicle may still be possible with a conventional bleed if no air enters the hydraulic control unit. The situation changes when:
- the reservoir has run dry.
- the ABS hydraulic unit has been replaced.
- a line feeding the ABS unit has been opened.
- air is suspected inside the pump or valve block.
In those cases, the factory procedure may require a scan tool to cycle the ABS pump and valves while bleeding the system. Pedal pumping alone may not purge air trapped inside the hydraulic control unit.
Hybrids, PHEVs, and Electronic Brake Systems Need Extra Caution
Some electrified vehicles and electronically boosted brake systems can generate hydraulic pressure without a conventional pedal input. The manufacturer may require a service mode, power-down sequence, scan-tool command, or other preparation before a bleeder is opened.
Do not assume a generic hybrid procedure. For vehicles such as the Toyota Prius PHV, Hyundai Sonata Hybrid, Kia Niro PHEV, or Lexus RX 450h AWD, check the exact brake-service procedure before touching the hydraulic system.
Look for Designs That Can Trap Air
A workshop manual can also reveal details that are easy to miss during a visual inspection:
- calipers with more than one bleeder.
- proportioning or load-sensing valves.
- rear drum wheel-cylinder bleed points.
- shared brake and clutch reservoirs.
- master-cylinder or ABS-unit bleed screws.
- service positions or ride-height requirements.
- caliper orientation that places the bleeder above trapped air.
A caliper installed on the wrong side of the vehicle can put its bleeder below the trapped air pocket. In that condition, fluid may flow from the bleeder while the pedal still stays soft.
Tools and Safe Setup for Brake Bleeding
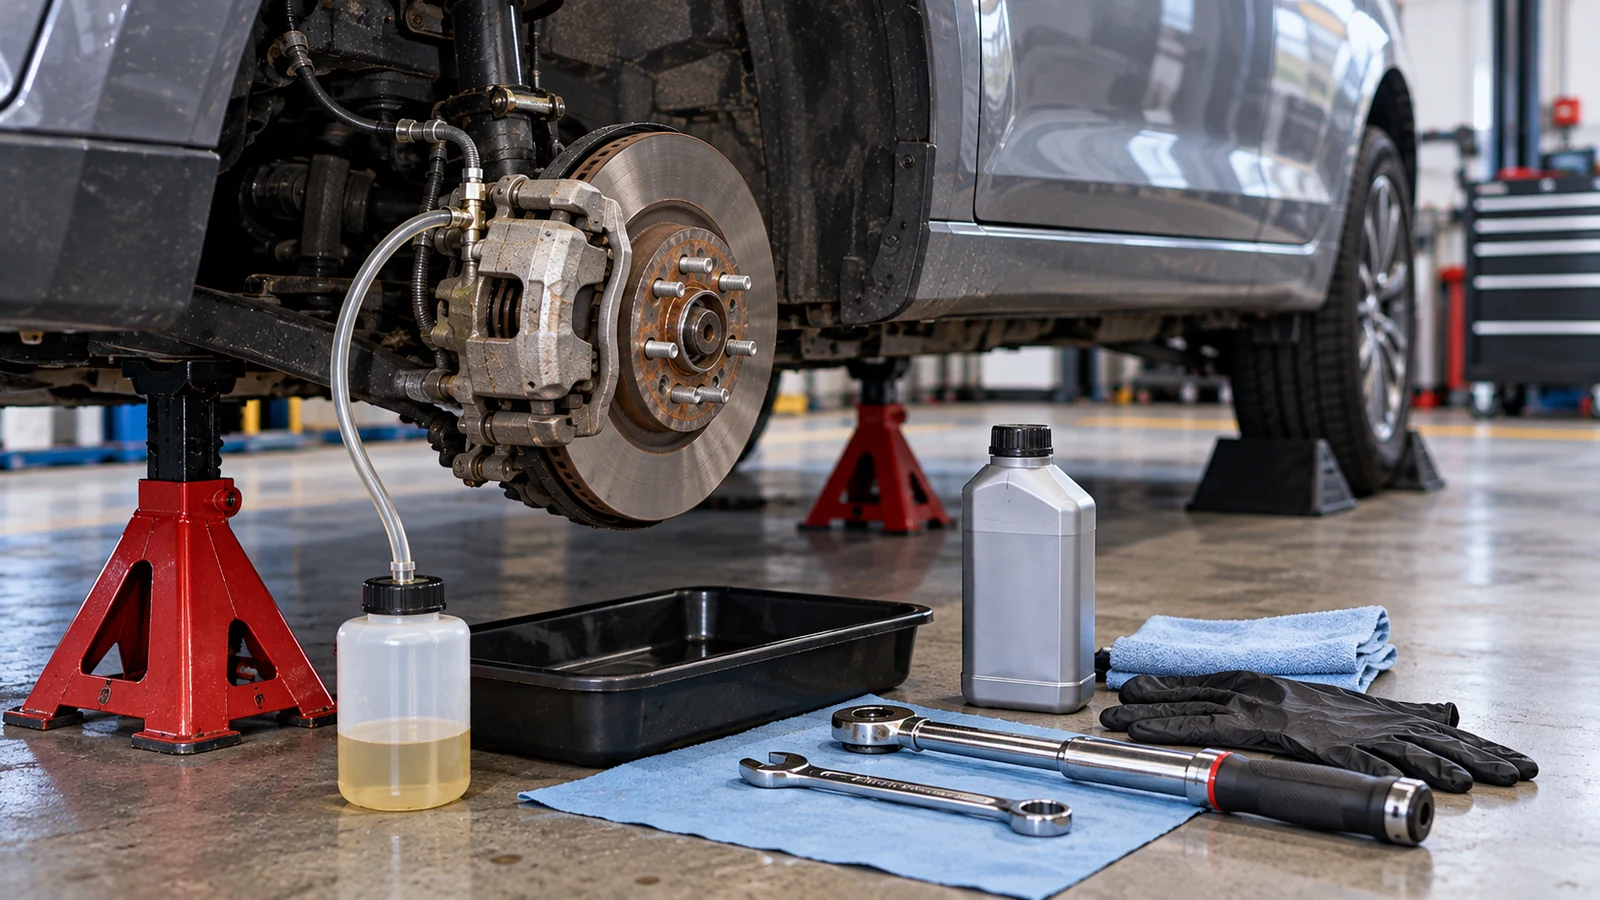
Good preparation reduces the chance of introducing new air, damaging a bleeder screw, spilling fluid on paint, or working unsafely under the vehicle.
Basic Tools and Supplies
You will typically need:
- fresh brake fluid in sealed containers.
- the correct six-point box-end or flare-nut wrench.
- clear tubing that fits the bleeder nipple tightly.
- a catch bottle.
- a syringe or fluid extractor for reservoir fluid.
- floor jack, jack stands, and wheel chocks.
- torque wrench.
- nitrile gloves and eye protection.
- lint-free rags.
- water for rinsing glycol brake-fluid spills.
- penetrating oil and a wire brush for corroded bleeders.
For one-person work, you may also use a check-valve hose, vacuum bleeder, pressure bleeder, or a suitable scan tool.
Larger vehicles may require more fluid for a complete replacement, and you must still follow wheel-removal details such as lift points and lug-nut torque. Owners working on a Ford F-150 SuperCrew, 2020 GMC Sierra, or 2014-2018 Chevrolet Tahoe/Suburban should confirm the factory lifting and wheel-fastener information along with the brake procedure.
Safety Rules Worth Treating as Non-Negotiable
Never work under a vehicle supported only by a jack. Use stands on solid, level ground at approved lift points.
Brake fluid can damage painted surfaces. Cover nearby bodywork and rinse glycol-based fluid spills promptly with water. Wear eye protection because a hose can slip from a bleeder under pressure.
Clean around the reservoir cap before opening it. Dirt introduced into the hydraulic system can create a problem that did not exist before the service.
Never reuse drained brake fluid. Once it has been through the system or exposed to air in the catch bottle, treat it as waste fluid.
Step-by-Step: Two-Person Brake Bleeding and Full Fluid Replacement
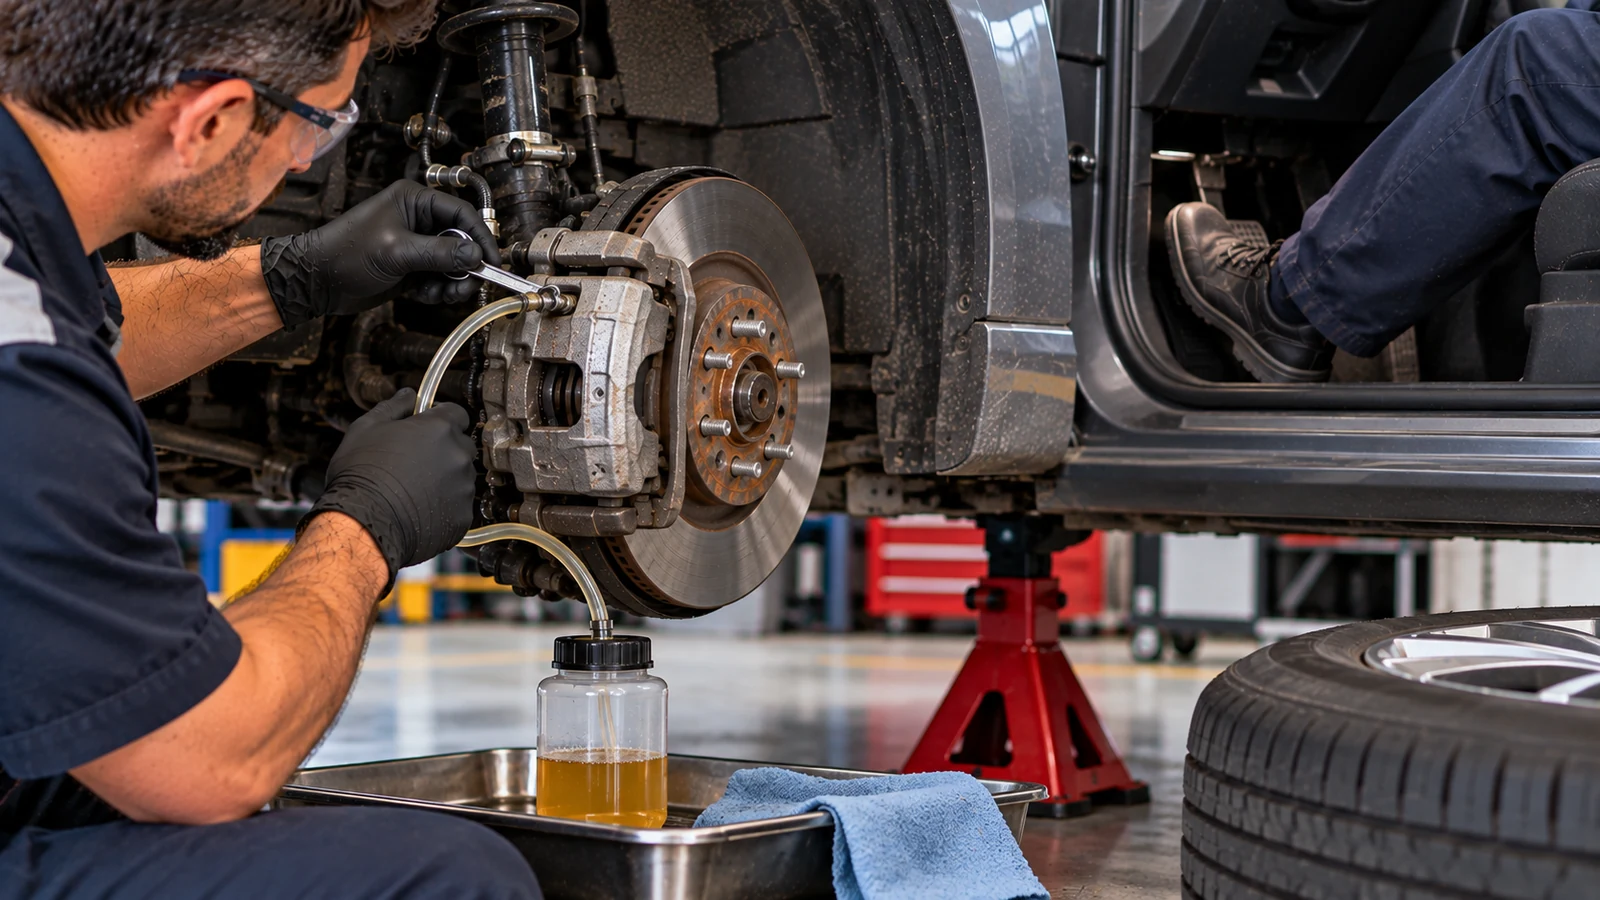
The pump-and-hold method remains useful because it requires very little specialized equipment. The same basic process can remove air or replace the fluid completely. The difference is how long you continue at each wheel.
1. Prepare the Vehicle
Park on a level surface and secure the vehicle. Loosen wheel fasteners as needed, raise the vehicle at its correct lift points, and support it on stands.
Remove the wheels if necessary for reliable access to the bleeder screws.
Before continuing, locate every bleed point and confirm the required sequence. Use a Honda Accord workshop manual, Nissan Altima service manual, Mazda CX-5 AWD repair manual, Subaru Forester workshop manual, or your vehicle’s documentation to verify the correct order instead of relying on a generic diagram.
2. Prepare the Reservoir
Clean around the reservoir cap before opening it.
For a complete fluid replacement, remove as much old reservoir fluid as practical with a clean syringe or extractor, but do not uncover the outlet ports at the bottom of the reservoir. Refill with fresh fluid to the MAX mark.
Use fluid from a sealed or recently opened container. Brake fluid left in a partly used bottle for a long period can absorb moisture from the air.
3. Fit the Bleeder Hose
At the first wheel in the prescribed sequence:
- Clean dirt and rust from around the bleeder.
- Place the correct wrench on the bleeder screw.
- Push clear tubing firmly over the nipple.
- Route the other end into a clear catch bottle.
- Keep the hose arranged so you can see bubbles and fluid color.
Submerging the hose end in a small amount of clean fluid can help reduce the chance of drawing air backward during the pump-and-hold method.
4. Pump, Hold, Open, Close, Release
Agree on simple verbal commands with your helper.
- Ask the helper to press the pedal slowly several times.
- Have the helper hold steady pressure.
- Open the bleeder roughly a quarter to half turn.
- Allow fluid and air to move through the tube as the pedal drops.
- Close the bleeder before the helper releases the pedal.
- Repeat until no air bubbles appear.
If you are only bleeding air from a repair, stop once the circuit is free of air, and the procedure is complete.
If you are replacing all the fluid, continue until fresh, clean fluid reaches the bleeder.
5. Watch the Reservoir Constantly
Check the reservoir every few cycles and refill it before the level approaches the outlet ports.
Allowing the reservoir to run dry can introduce air into the master cylinder and possibly the ABS hydraulic unit. This can require additional bleeding steps or a scan-tool routine.
6. Protect an Older Master Cylinder
On a high-mileage vehicle, avoid unnecessarily forcing the brake pedal beyond its normal working travel. Some technicians place a block beneath the pedal to limit stroke. This helps avoid pushing master-cylinder seals into a corroded or dirty part of the bore they rarely contact in normal driving.
7. Move Through the Complete Sequence
When one wheel is finished:
- close the bleeder
- tighten it to the specified value
- remove the hose
- clean any spilled fluid
- reinstall the bleeder dust cap
- refill the reservoir
- Move to the next wheel in the specified order
Continue until every required circuit is complete. A typical passenger-car flush often uses around one liter of fluid, but vehicle size, ABS design, and shared clutch hydraulics can increase the amount needed.
One-Person Brake Bleeding Methods Compared
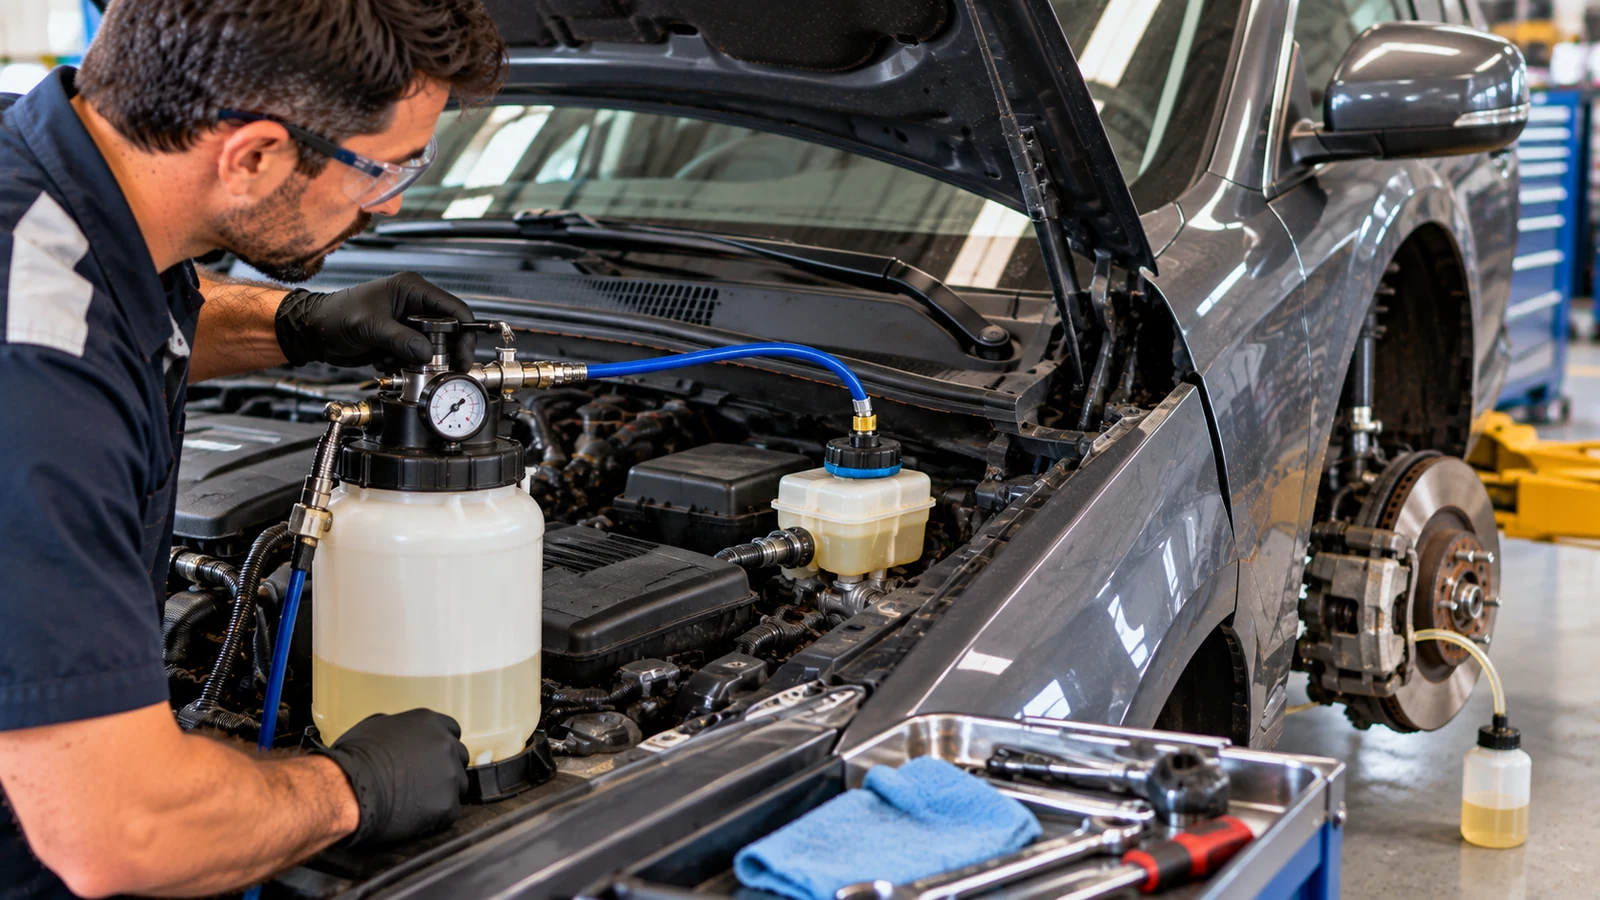
You do not always need a helper. Each one-person method has different strengths and different ways it can mislead you.
| Method | Main Advantage | Main Limitation | Best Use |
|---|---|---|---|
| One-way valve hose | Cheap and simple | Valve quality matters | DIY bleeding and routine fluid replacement |
| Gravity bleeding | Very little equipment | Slow and may not clear stubborn air | Gentle fluid replacement |
| Vacuum bleeding | Fast and easy for one person | Can pull false bubbles past bleeder threads | Quick flushing |
| Pressure bleeding | Keeps fluid moving from the reservoir side | Requires correct cap adapter and controlled pressure | Repeated service and workshop use |
One-Way Valve Hose
A check valve lets fluid leave the caliper while resisting reverse flow when the pedal is released. Open the bleeder, pump slowly, and monitor the reservoir carefully.
This can work well on straightforward systems, but the published sequence still matters. If you are servicing a SEAT Leon or Skoda Octavia, use the vehicle-specific procedure to confirm the order and any ABS instructions before assuming a universal one-person routine applies.
Gravity Bleeding
Gravity bleeding relies on fluid moving slowly from the reservoir to an open bleeder. It is inexpensive and gentle, but it may not dislodge trapped air as effectively as a pressure-assisted method.
It can be useful during fluid replacement on a simple system, but a firm pedal and the correct final checks still determine success.
Vacuum Bleeding
A vacuum bleeder pulls fluid outward at the wheel. It can be fast, but it may draw air around the loose bleeder-screw threads. Those bubbles can look like trapped air even when the brake circuit itself is clear.
Judge the result using fluid condition, pedal feel, and leak checks rather than continuing indefinitely because of tiny bubbles at the threads.
Pressure Bleeding
A pressure bleeder attaches to the reservoir and pushes fresh fluid through the system. It is efficient for full fluid replacement because the reservoir can remain supplied with fluid while each wheel is serviced.
Use only a correct reservoir adapter and stay within the pressure limits specified by the equipment and vehicle procedure. Excess pressure can damage plastic reservoirs or create leaks.
How to Know the Brake Fluid Replacement Is Complete
A full flush is finished when fresh fluid has reached every required bleed point, not simply when bubbles disappear.
| What You See | What It Usually Means | Action |
|---|---|---|
| Dark fluid with bubbles | Old fluid and air are still leaving | Continue |
| Dark fluid without bubbles | Air may be cleared, but old fluid remains | Continue for a full flush |
| Fresh fluid with occasional tiny bubbles | Possible air around bleeder threads | Check the setup and pedal feel |
| Fresh fluid flowing steadily | That bleed point is usually complete | Close, torque, and move on |
If the vehicle uses a shared brake and clutch reservoir, check whether the clutch hydraulic circuit is included in the service procedure. If the manufacturer specifies an ABS activation routine, perform it as directed in the manual, then repeat any required wheel bleeding.
Post-Service Checks Before Driving
Do not lower the vehicle and immediately return to normal road speeds. Verify the hydraulic system first.
Check Pedal Feel With the Engine Off
Pump the pedal a few times. It should become firm and high.
Then hold steady pressure for roughly 30 seconds. A pedal that keeps sinking can indicate an external leak or an internal hydraulic fault.
Check Pedal Feel With the Engine Running
When engine vacuum or brake assist becomes active, a small initial pedal drop can be normal. The pedal should still stop firmly well above the floor.
Inspect Every Bleeder and Hose Connection
Wipe the fittings dry and check for seepage while you hold pressure on the pedal.
Recheck any connection that was opened during the repair.
Refit Wheels Correctly
Install the wheels, lower the vehicle safely, and torque the wheel fasteners to the vehicle specification.
Do not guess at wheel torque. Factory information is especially useful when brake work has been combined with other service.
Road-Test Gradually
Start at very low speed in a safe, open area. Make several gentle stops, then progressively firmer stops if the pedal remains consistent.
Stop the test if:
- the pedal feels soft or unusually long
- the vehicle pulls strongly to one side
- a warning light appears
- braking changes noticeably from one stop to the next
- a leak is found
Recheck the reservoir level and bleed points after the first short drive.
Troubleshooting a Soft or Spongy Pedal After Bleeding
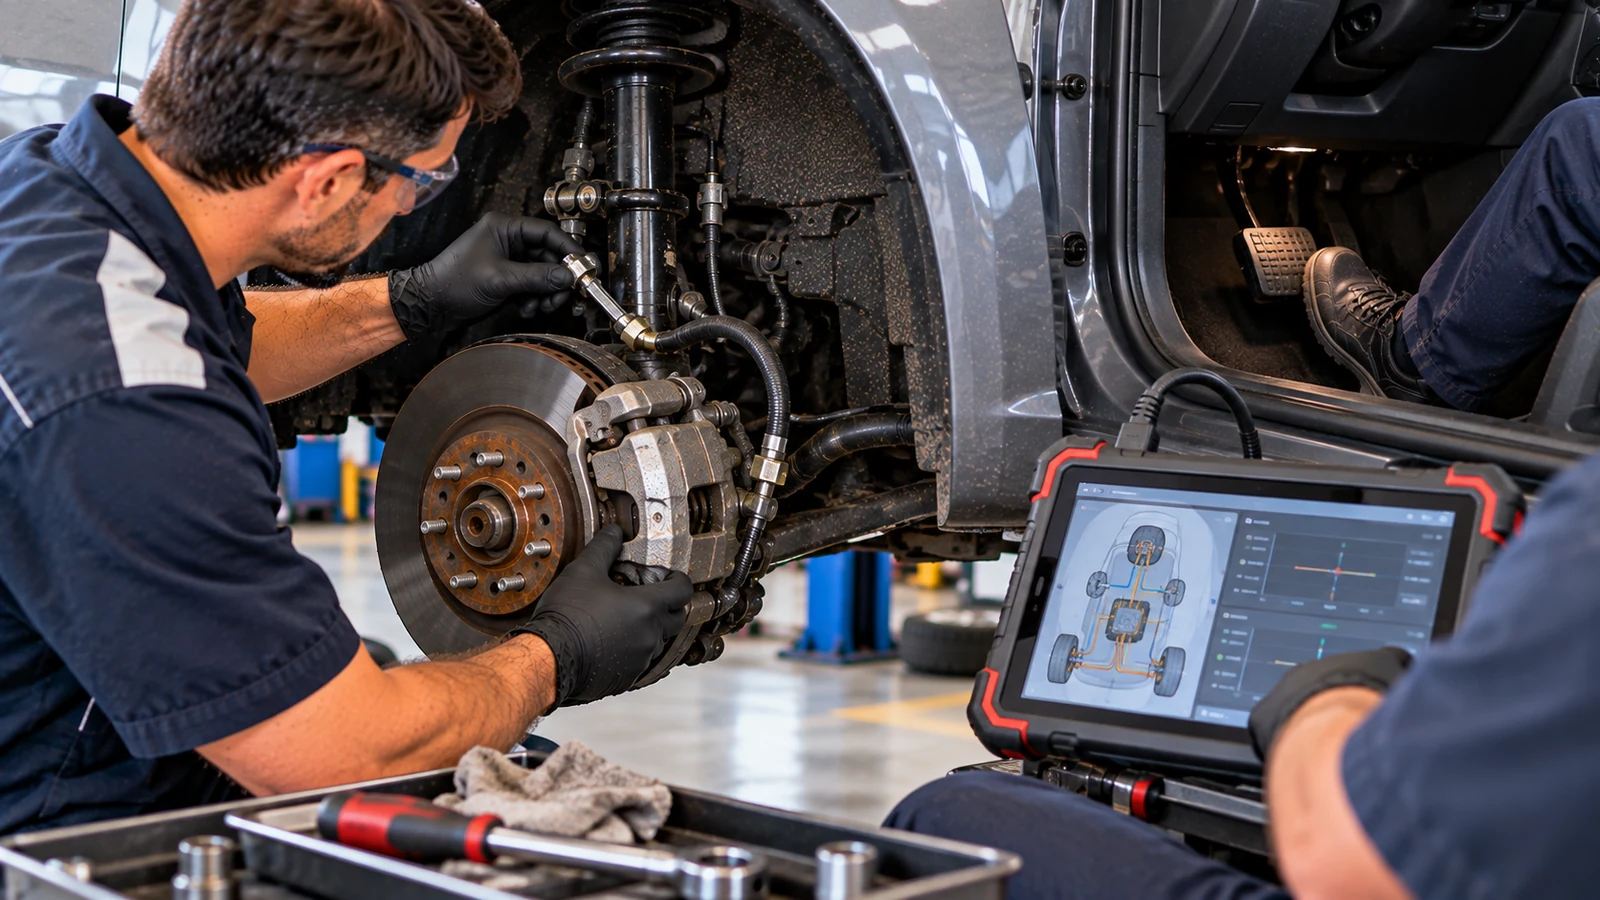
If a careful bleed does not restore a firm pedal, more fluid is not automatically the answer. Match the symptom to the most likely next check.
| Symptom | Possible Cause | Next Check |
|---|---|---|
| Pedal firms when pumped | Air remains in a line, caliper, or ABS unit | Verify sequence and ABS procedure |
| Pedal slowly sinks while held | External leak or internal master-cylinder bypass | Inspect hydraulics and test master cylinder |
| Soft pedal after master-cylinder replacement | Master cylinder may still contain air | Confirm bench-bleed procedure |
| Long travel but firm at the bottom | Rear drum adjustment or pad position | Inspect adjustment and piston position |
| Pedal softens after ABS activation | Air may remain in ABS hydraulic unit | Follow scan-tool bleed procedure if specified |
| Hose visibly expands under pressure | Aged flexible hose | Replace hose and bleed again |
| Pedal is hard, but braking is weak | Assist or booster issue, not trapped air | Diagnose brake assist |
| Pedal pulsates during braking | Rotor or friction problem, not fluid | Inspect rotors and pads |
Vehicle-specific hydraulic diagrams can shorten this diagnosis. For example, use the factory documentation for a Jeep Grand Cherokee WK2, RAM 1500 4WD, Mitsubishi Outlander, or Volvo XC90 AWD to identify component locations, hydraulic routing, torque specifications, and any model-specific bleed instructions before replacing parts.
Common Bleeding Errors to Recheck
The most common avoidable mistakes are:
- reservoir allowed to run too low
- helper released the pedal before the bleeder was closed
- loose clear hose allowed air to enter at the nipple
- wrong bleed order used for the vehicle
- bleeder positioned below trapped air because of incorrect caliper installation
- old, moisture-contaminated fluid used from an opened bottle
- silicone DOT 5 introduced into a glycol-based system
- required ABS routine skipped
- leak overlooked because the system was repeatedly bled instead of diagnosed
If a bleeder is seized or rounded, stop before damaging the caliper or wheel cylinder. Penetrating oil, a wire brush, and a correctly fitting six-point wrench are safer than excessive force. A snapped bleeder can make component replacement the more practical repair.
DIY Brake Fluid Replacement vs Professional Service
A conventional brake-fluid service is often a reasonable DIY job when the vehicle has accessible bleeders, you know the correct procedure, and the hydraulic system is otherwise healthy.
A typical professional brake-fluid service may cost about $80 to $150, with dealer work and procedures involving additional ABS equipment potentially costing more.
| Factor | DIY Service | Professional Service |
|---|---|---|
| Direct cost | Brake fluid plus tools | Commonly about $80-150 for routine service |
| Equipment | Basic hand tools, tubing, stands, helper or solo bleeder | Pressure bleeders, testers, scan tools |
| Time | Often one to two hours for an experienced DIYer | Usually completed in one appointment |
| ABS routines | Requires a capable scan tool when specified | More likely to have required equipment |
| Risk | You are responsible for confirming every step | Shop assumes responsibility for the service performed |
A professional shop is the better choice when the reservoir has run dry and the ABS system needs a scan routine you cannot perform, when bleeders are badly corroded, when the vehicle requires an electronic brake service mode you cannot verify, or when the pedal remains abnormal after a careful bleed.
A modern luxury SUV can be a good example of why procedure access matters. Before servicing a vehicle such as a 2023 Land Rover Range Rover L460, confirm the factory brake-service requirements rather than assuming that the same process used on an older conventional system applies.
Using Workshop Manuals to Verify the Details That Matter
A general brake-bleeding guide explains the process. A workshop manual supplies the vehicle-specific information that prevents guesswork.
For brake fluid service, look for:
- specified fluid grade and any low-viscosity requirement.
- exact wheel or circuit bleed sequence.
- ABS or stability-control bleed routine.
- service mode for electronic brake systems.
- master-cylinder preparation.
- shared clutch-hydraulic procedures.
- bleeder-screw torque.
- wheel-fastener torque.
- hydraulic routing diagrams.
- maintenance interval.
- safe lifting points.
- component removal procedures if a bleeder, hose, caliper, or master cylinder must be replaced.
AutoServicePlus currently has brand-level workshop-manual collections for manufacturers including Toyota, Honda, Ford, BMW, Mercedes-Benz, Volkswagen, Hyundai, Kia, Subaru, and Volvo. Use the brand collection to locate documentation that matches the exact model, model year, engine, drivetrain, and brake-system configuration.
The rule is simple: the general procedure explains what bleeding aims to accomplish, but the factory procedure dictates exactly how to do it on your vehicle.
Conclusion
Learning how to bleed brakes and replace brake fluid is mainly about controlling air, cleanliness, fluid quality, and sequence. Use fresh fluid of the correct specification, keep the reservoir supplied, close the bleeder before releasing the pedal, and verify the result with a firm-pedal test and leak inspection.
The most important final step is vehicle-specific confirmation. Before starting, check the workshop manual for the fluid grade, bleed order, ABS requirements, service modes, torque values, and any unusual bleed points. That is what turns a general brake-fluid method into a safe repair procedure for the vehicle you are actually working on.
Commonly Asked Questions About Brake Bleeding and Fluid Replacement
How Often Should Brake Fluid Be Replaced?
There is no universal interval. Many manufacturers use a time-based schedule, often around two to three years, while others specify inspection or testing. Follow your vehicle’s maintenance schedule, and consider earlier service if the fluid fails a condition test or the vehicle operates under heavy braking conditions.
Can I Bleed Brakes By Myself?
Yes. A one-way valve hose, vacuum bleeder, gravity bleed, or pressure bleeder can all support one-person work. You must still monitor the reservoir constantly and follow the vehicle-specific bleed sequence.
Do I Always Have To Bleed All Four Wheels After Changing One Caliper?
Not necessarily. If you opened the hydraulic system only at one corner and the reservoir remained full, you may only need to bleed the affected circuit. If air may have entered the master cylinder or ABS unit, or the fluid is due for full replacement, a complete sequence may be appropriate. Use the manufacturer’s procedure to decide.
Can DOT 3 and DOT 4 Be Mixed?
They are both glycol-based and will mix, but the blend no longer has the simple performance characteristics of a single fresh specification. Use only manufacturer-approved fluid and perform a full replacement when changing between approved glycol grades. Never mix silicone DOT 5 with glycol-based DOT 3, DOT 4, or DOT 5.1.
Why Is My Brake Pedal Still Soft After Bleeding?
Common causes include trapped air, air in the ABS hydraulic unit, a master cylinder that wasn’t properly prepared, a hydraulic leak, flexible hoses expanding under pressure, or rear drum brakes that are out of adjustment. Diagnose the symptom before repeatedly bleeding the system.
Does A Hybrid or PHEV Still Need Brake Fluid Changes?
Yes. Regenerative braking can reduce friction-brake use, but the hydraulic fluid still ages and absorbs moisture. The main difference is procedural: some electrified braking systems require a specific service mode or scan-tool routine, so factory instructions are especially important.
How Much Brake Fluid Is Needed For A Full Flush?
A typical passenger car often uses around one liter, but the required amount varies with hydraulic capacity, ABS design, vehicle size, and whether a clutch circuit shares the reservoir. Buy enough fresh fluid to complete the procedure without risking an empty reservoir.
Is Dark Brake Fluid Proof That It Must Be Replaced?
Dark or cloudy fluid can indicate age and contamination, but color alone is not a complete test. Moisture content, copper contamination, boiling point, and the manufacturer’s service schedule provide better evidence.
What Should I Do With Used Brake Fluid?
Collect it in a sealed, clearly labeled container and take it to an appropriate hazardous-waste or automotive-fluid collection facility. Do not pour it onto the ground, into a drain, or into household waste, and keep it separate from other fluids unless the disposal facility specifically instructs otherwise.