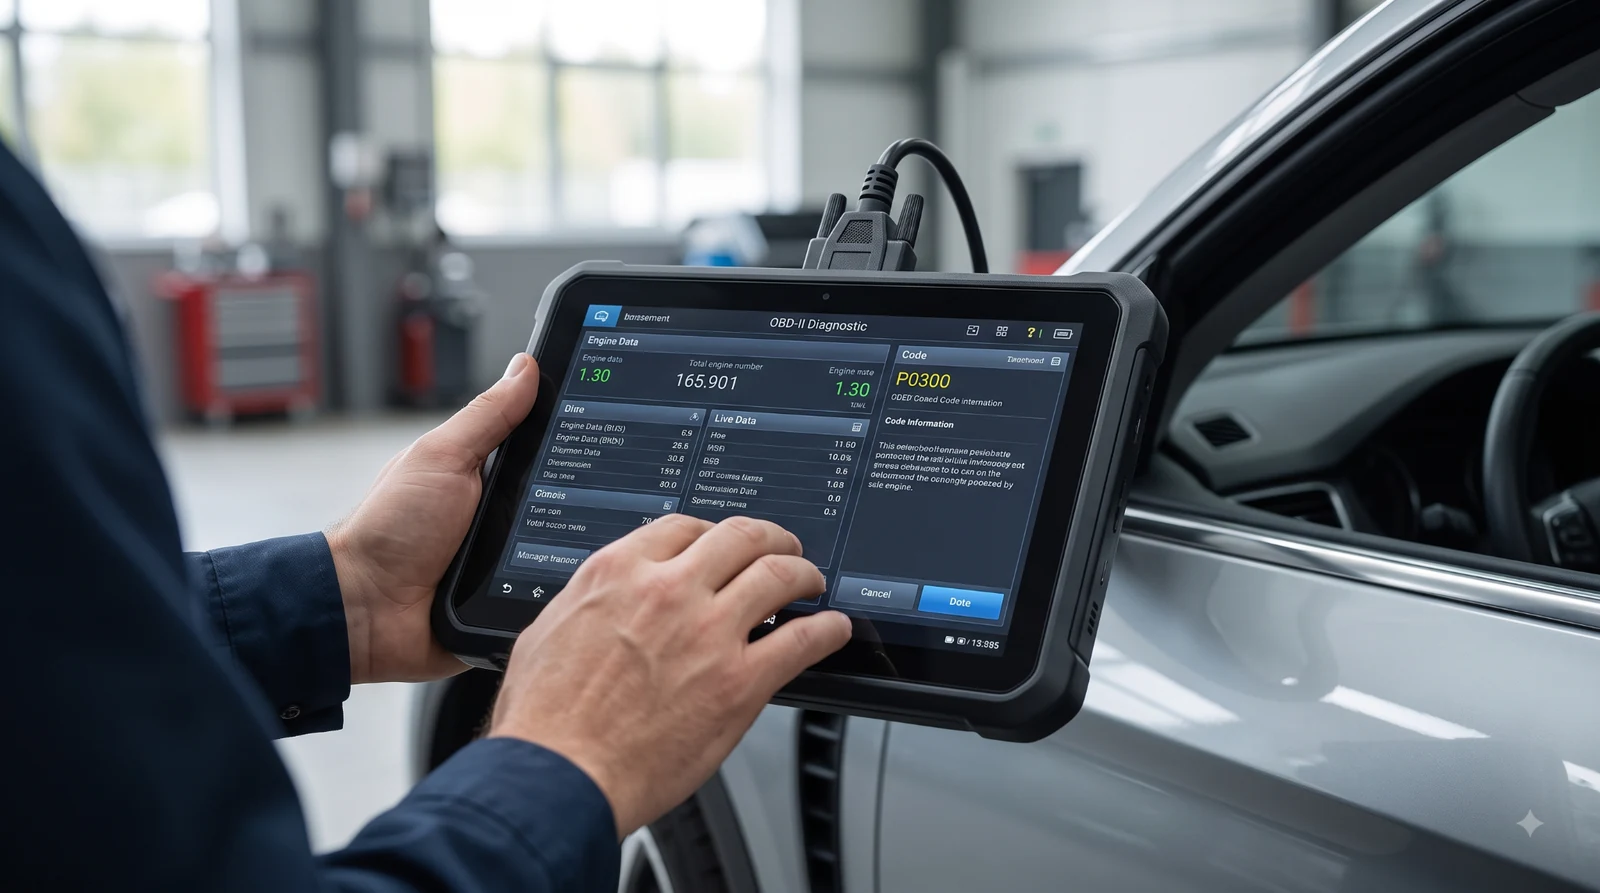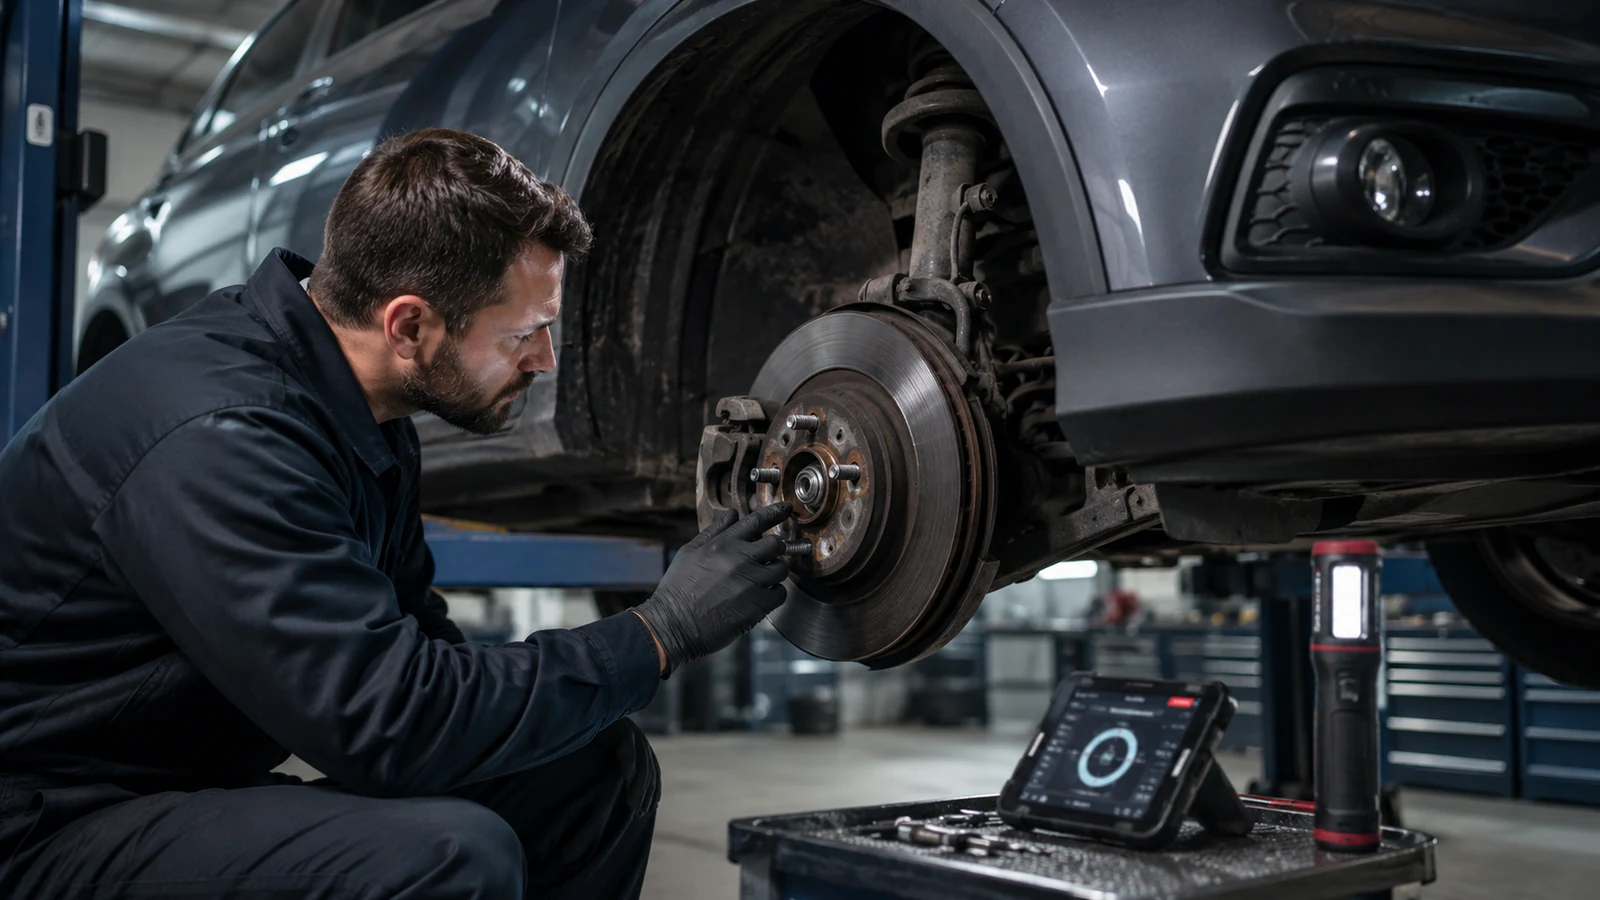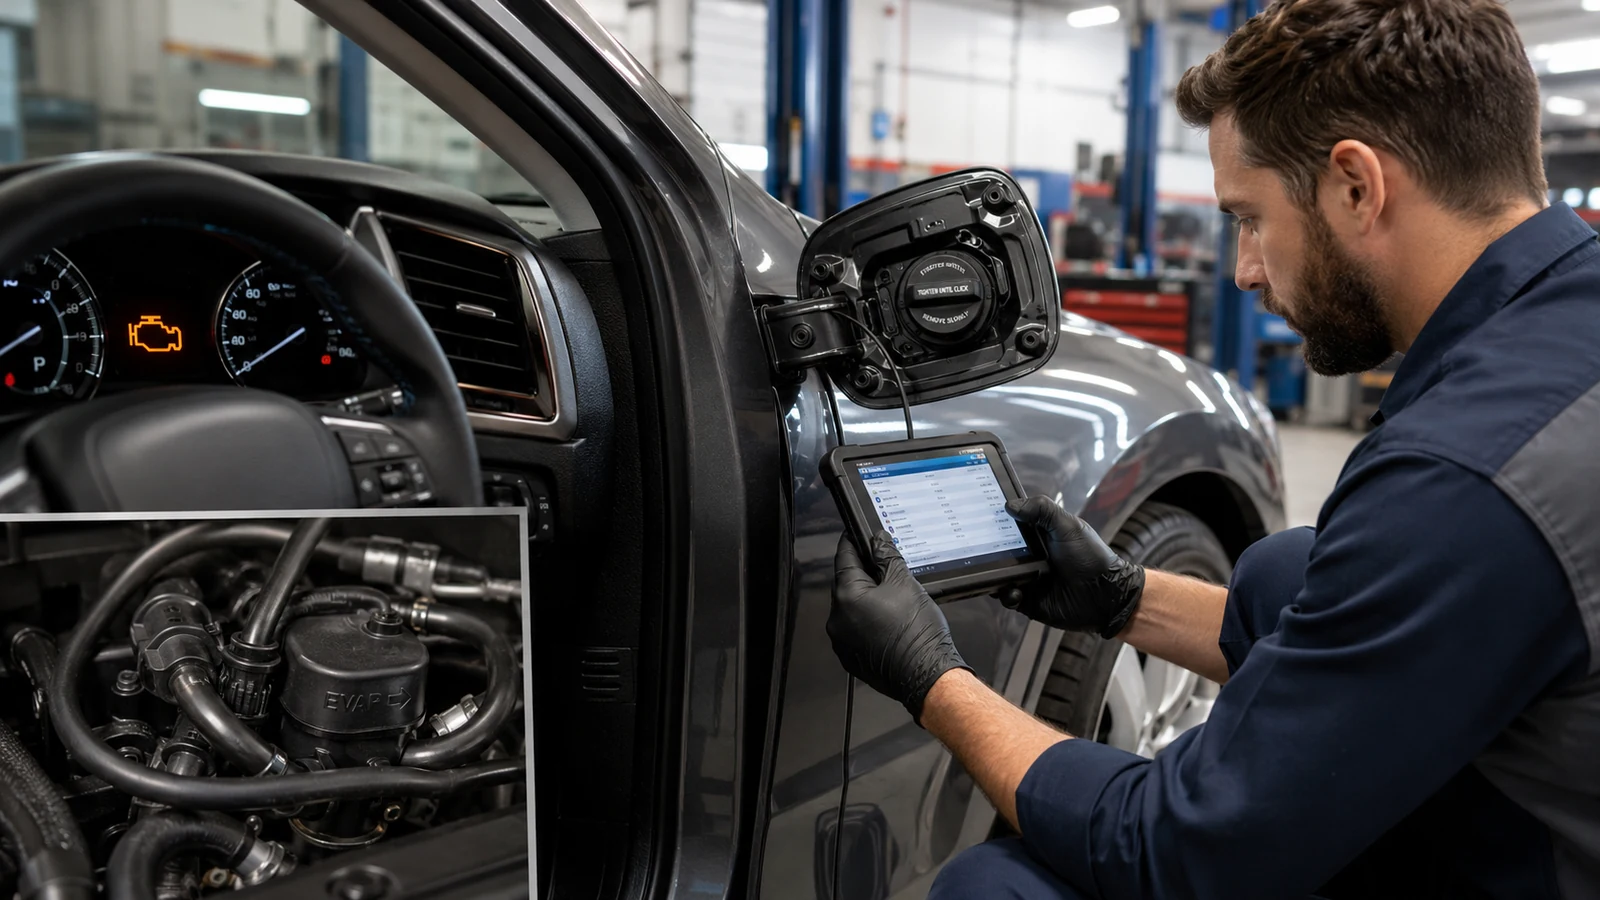
A check engine light can appear even when the engine runs normally. One common reason is an EVAP fault. The problem may be as simple as a loose fuel cap, but it can also involve a cracked vapor line, stuck valve, or leaking canister.
The first clue is the diagnostic code. Don’t treat that code as a failed-part label. It tells you what the vehicle detected, not which component to replace.
A good EVAP diagnosis follows the vapor path, checks the system’s ability to seal, and tests the components that control purge and venting. Here’s how that system works and what to check when it reports a fault.
What Is EVAP: The Fuel-Vapor System Explained
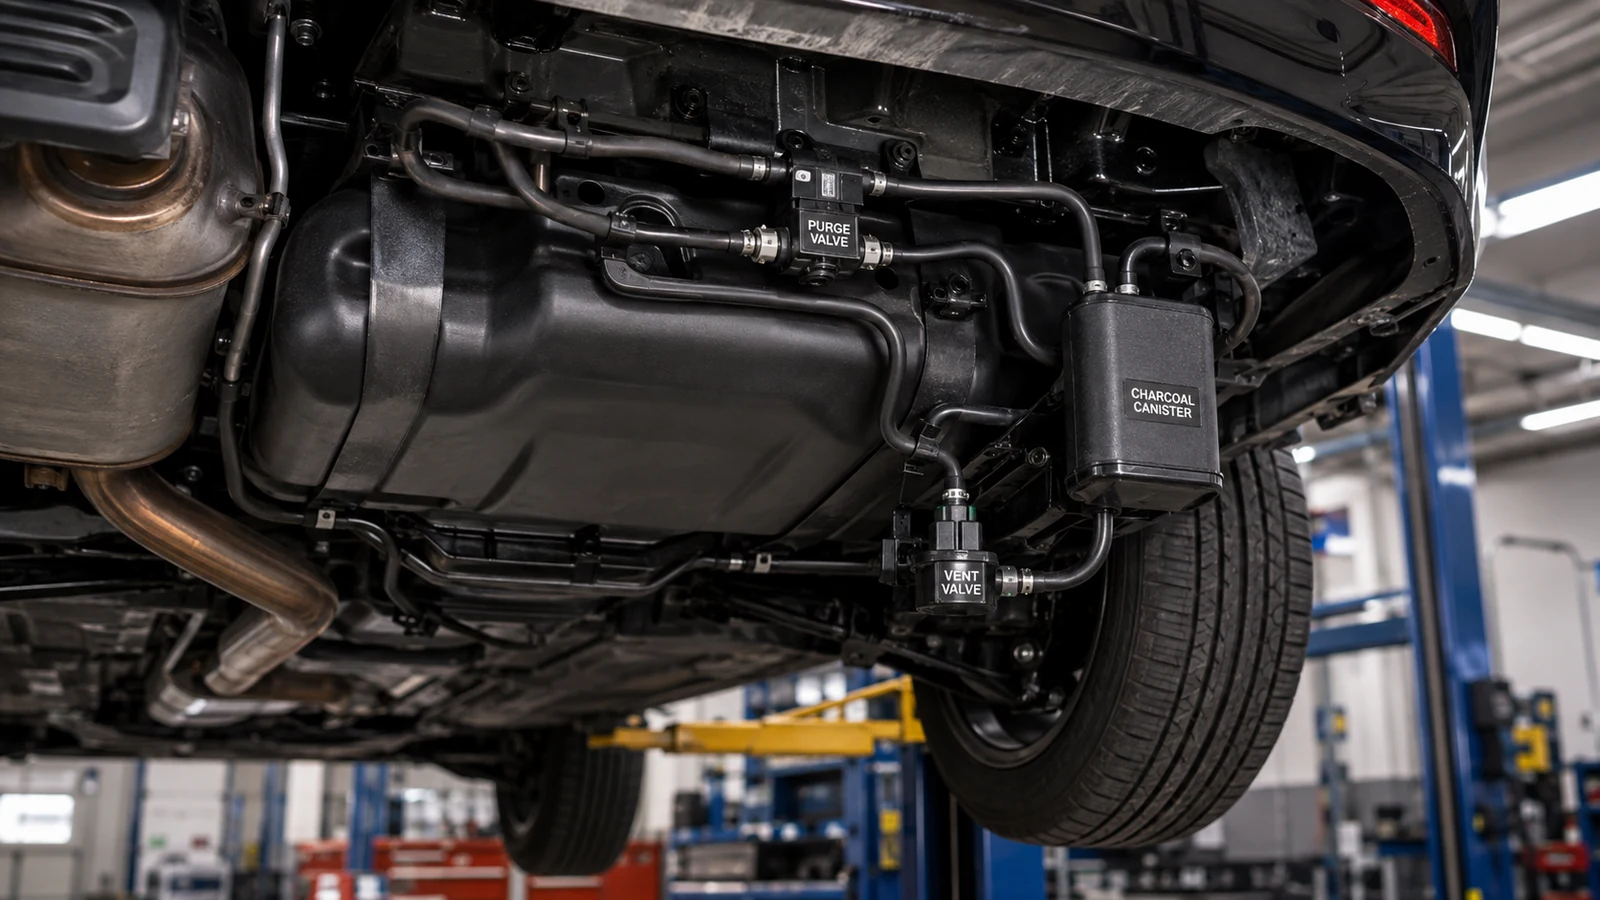
EVAP, short for evaporative emission control system, keeps gasoline vapors from escaping freely from the fuel system. It stores those vapors in a charcoal canister, then routes them into the engine when operating conditions are right. On many modern vehicles, the powertrain control module also checks the system for leaks and incorrect flow.
| EVAP component | What it does | Common failure clue | First check |
|---|---|---|---|
| Fuel cap and filler neck | Seals the refueling opening | Leak code after refueling | Cap seal, fit, debris |
| Vapor lines and hoses | Carry fuel vapor through the system | Small or large leak code | Cracks, loose joints |
| Charcoal canister | Stores fuel vapor | Fuel smell, venting issue | Damage, saturation |
| Purge valve | Meters vapor into the engine | Rough start, incorrect purge flow | Valve sealing and command |
| Vent valve | Lets filtered air in and seals for tests | Leak or vent-control code | Valve movement and blockage |
How EVAP Controls Fuel Vapor
Gasoline produces vapor as temperature changes and while the vehicle sits, runs, or refuels. The EVAP system contains much of that vapor instead of venting it directly to the atmosphere. Activated charcoal inside the canister adsorbs hydrocarbons, and the stored vapor is later purged into the engine to be burned.
The purge valve controls when vapor can move from the canister toward the intake. The engine computer opens it under suitable conditions and meters the flow. The exact strategy varies by vehicle, so purge activity that looks normal on one model may not match another.
The vent valve serves a different job. It normally allows filtered air to enter the canister as vapor is purged. During an EVAP leak test, many systems close the vent so you can check the fuel-vapor circuit as a sealed system.
That distinction matters. A purge valve stuck open can create unwanted vapor flow into the intake. A vent valve stuck open can prevent the system from sealing. Both can trigger EVAP-related trouble codes, but for different reasons.
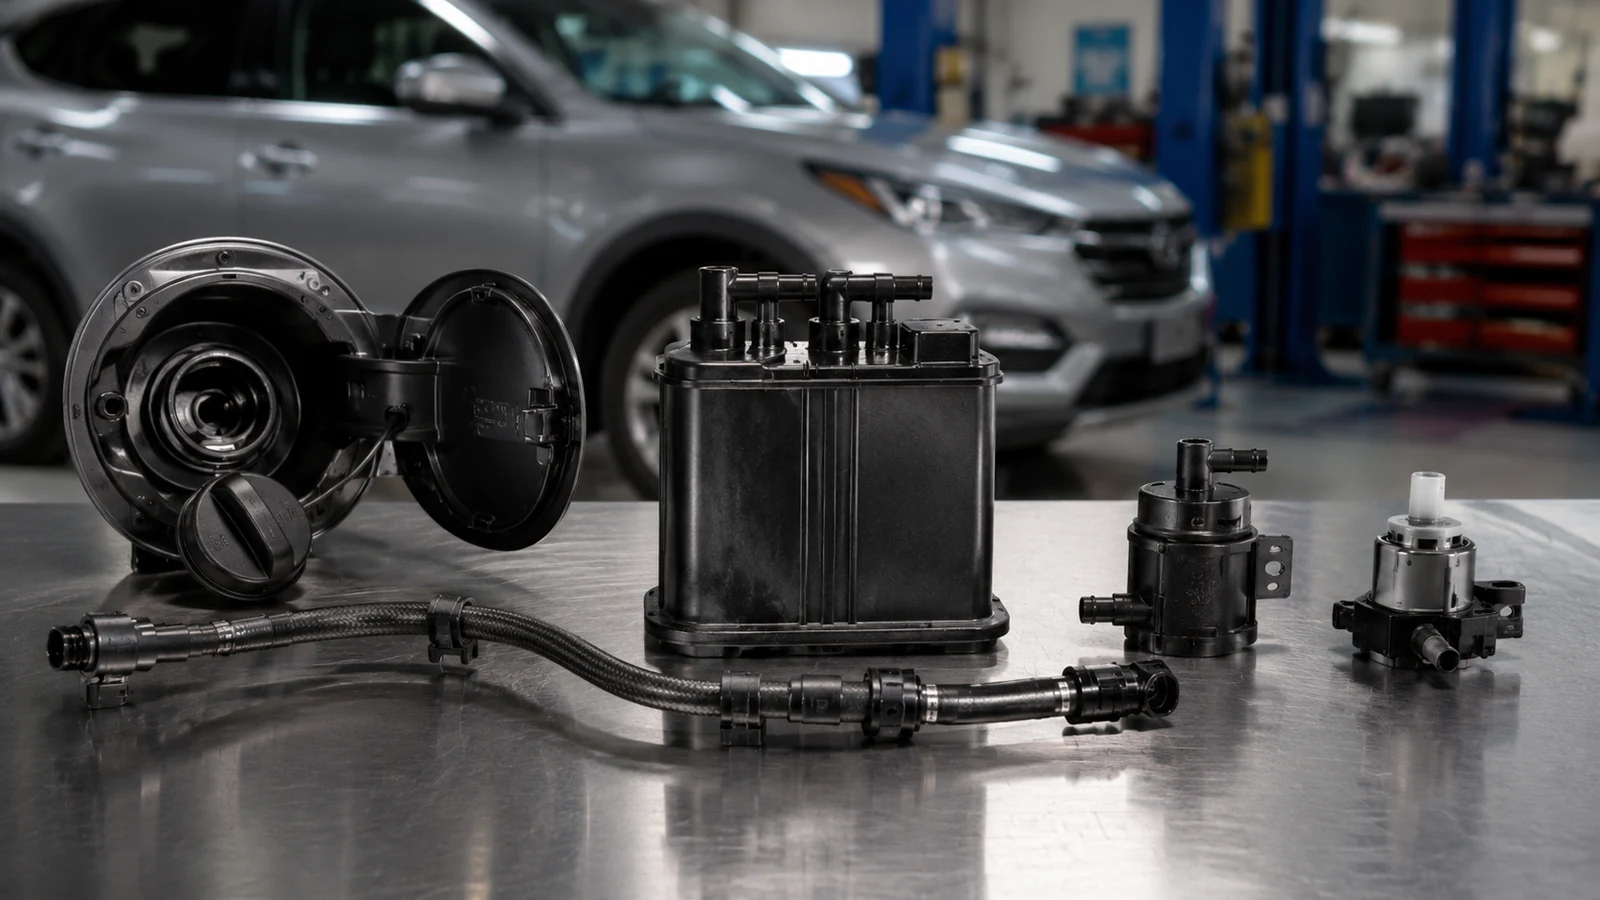
What the Five Main Parts Do
The fuel cap and filler neck are among the most obvious sealing points. A loose cap, damaged gasket, incorrect cap, debris on the sealing surface, or a damaged filler neck can let vapor escape. Ford’s current owner guidance for capless systems also directs drivers to check the filler valve for debris when it fails to close properly.
The vapor hoses and hard lines connect the fuel tank, canister, valves, and engine. Heat, age, road debris, corrosion, and loose connectors can create leaks too small to spot quickly. A hose may look fine until you flex it or test it with smoke.
The charcoal canister stores vapor. It needs airflow through the vent side and controlled purge flow toward the engine. Liquid fuel contamination, impact damage, internal breakdown, or blocked passages can interfere with the system’s breathing.
The purge valve should normally seal when commanded closed and flow when commanded open, although exact operation depends on the design. If it leaks when closed, manifold vacuum may pull vapor into the intake at the wrong time.
The vent valve controls fresh-air entry and helps seal the system for self-testing. Dust, water, corrosion, damaged wiring, or a failed valve can stop it from moving correctly. If electrical control is suspect, follow a structured sensor and circuit testing process instead of assuming the valve itself is bad.
Some vehicles also use a fuel tank pressure sensor or a leak-detection pump. These devices help the control module judge pressure, vacuum, or system integrity. Their presence and test strategy depend on the manufacturer and model year.
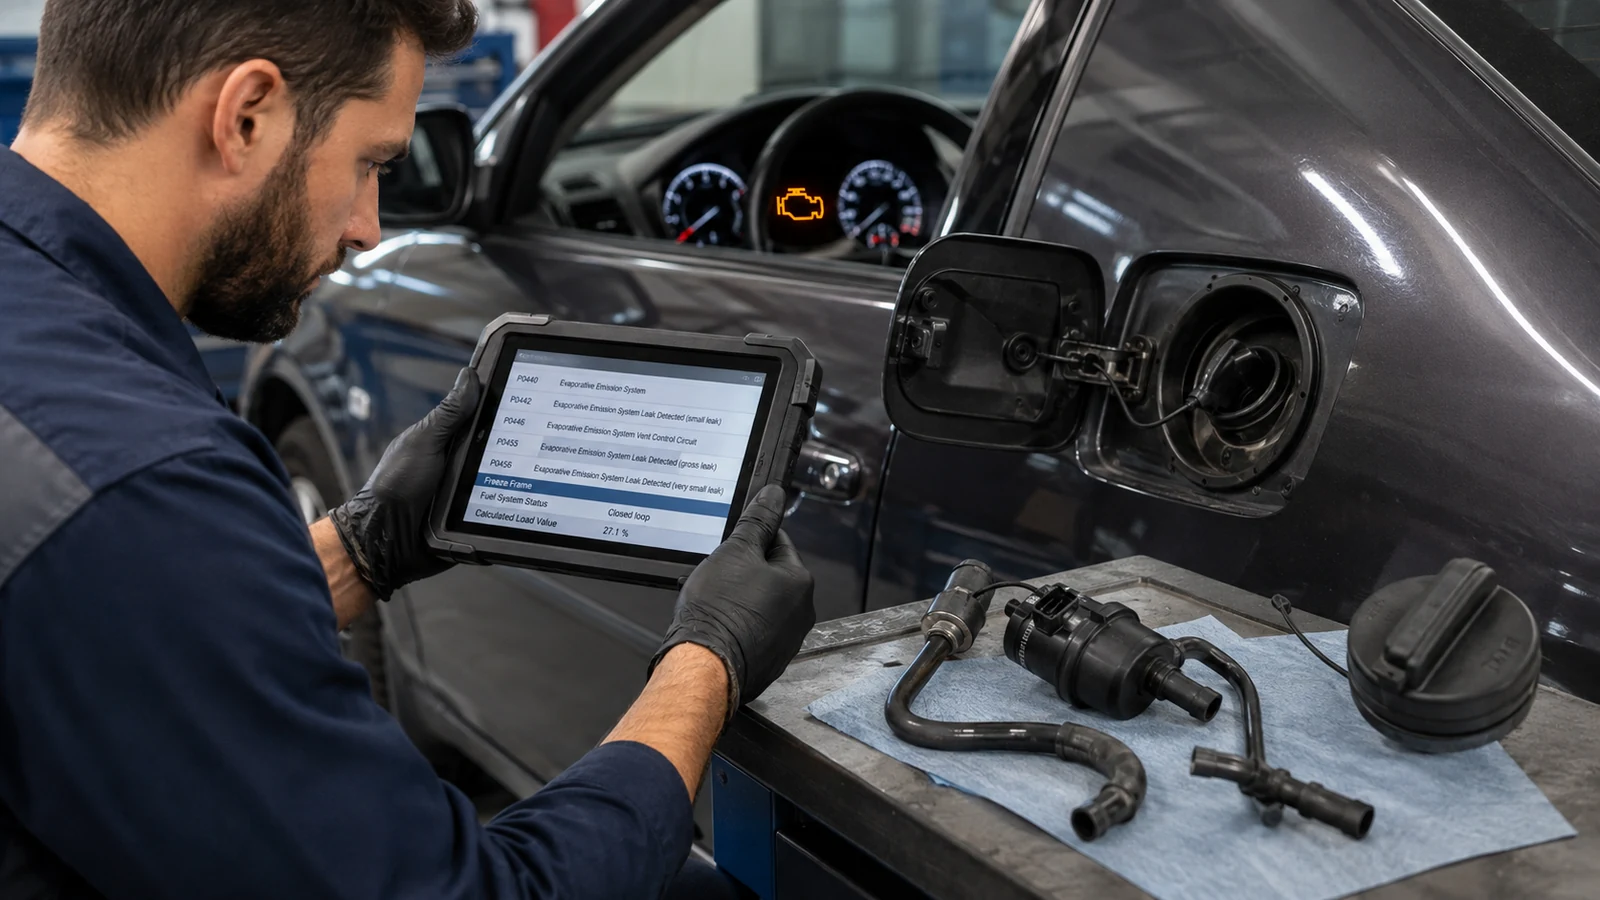
Why EVAP Codes Appear
An EVAP code means the vehicle detected a problem with vapor containment, purge flow, vent operation, pressure behavior, or an electrical circuit. It does not automatically identify the failed component.
For example, a leak-related code may result from a loose fuel cap, a cracked line, a valve that won’t seal, a damaged canister, a filler-neck leak, or another sealing issue. A purge-flow code may involve a valve, restriction, hose routing problem, pressure input, wiring fault, or a combination of conditions.
This is why reading the code definition matters before touching parts. This trouble-code diagnosis process helps because it separates the fault description from the part you eventually prove defective.
Common generic EVAP codes include P0440, P0441, P0442, P0455, and P0456. Their exact diagnostic meaning and test thresholds can vary by manufacturer. Ford service information, for example, directs technicians to model-specific EVAP diagnostic procedures even when familiar generic codes such as P0442 or P0456 are stored.
A check engine light with an EVAP code often appears without obvious drivability symptoms. That makes the fault easy to ignore. It can still indicate escaping fuel vapor or create an emissions-related problem that needs diagnosis.
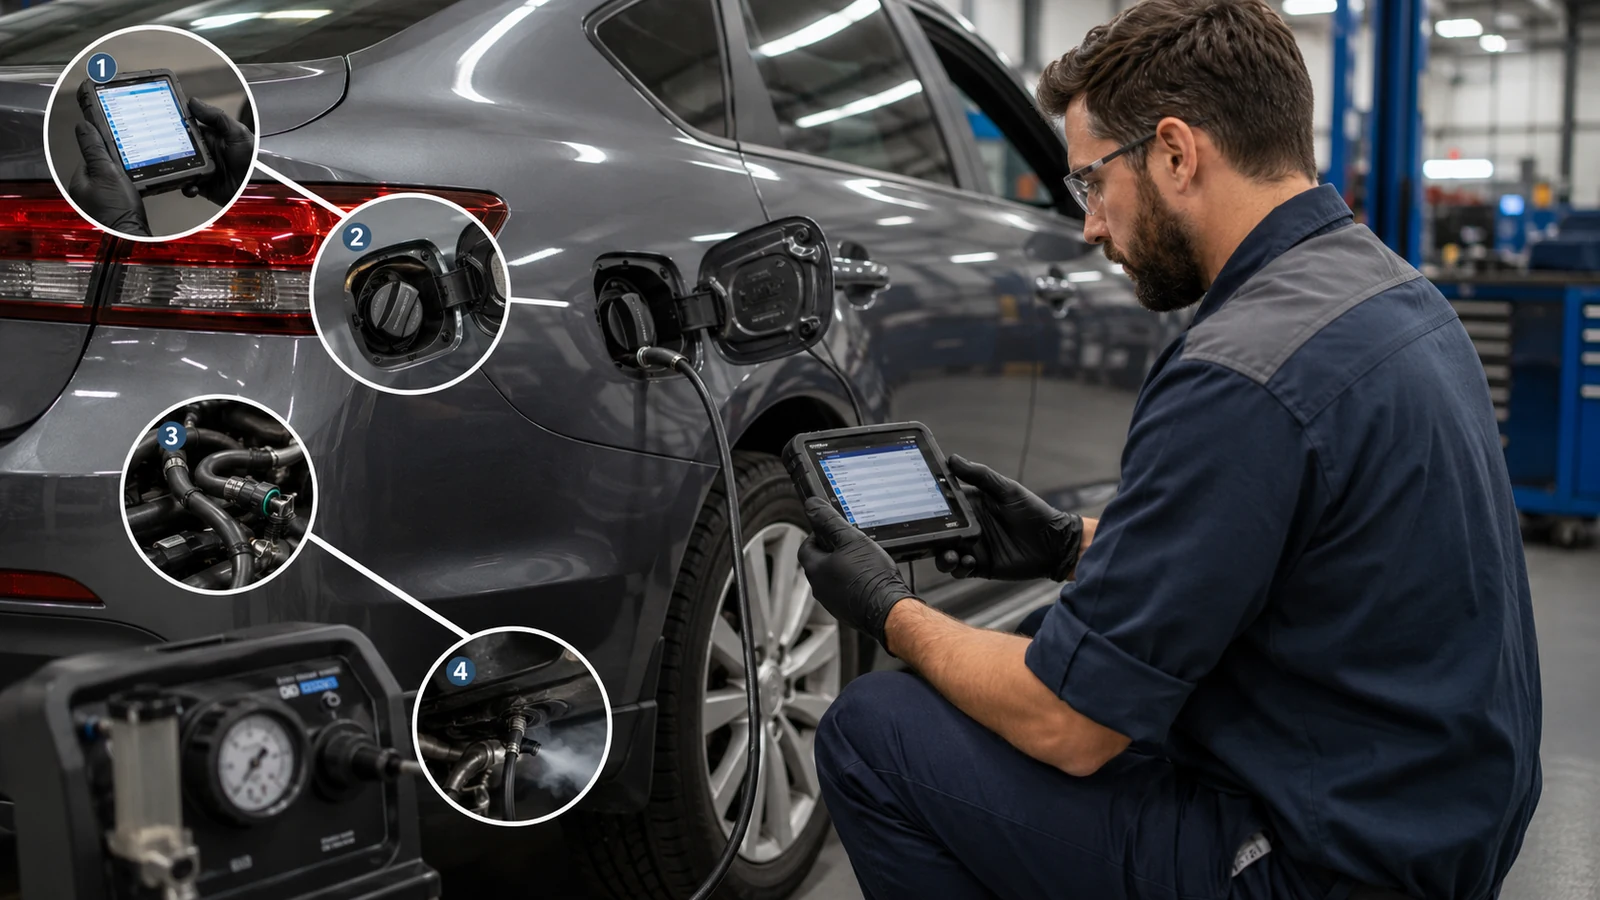
Diagnose an EVAP Problem in Order
Start with the code and freeze-frame data. Record every stored, pending, and permanent code before clearing anything. Multiple codes can reveal whether the fault is a leak, flow problem, electrical issue, or a broader concern.
Next, inspect the fuel cap and filler area. Check the cap seal for cuts, flattening, dirt, or hardening. Confirm the correct cap is fitted and that the filler-neck sealing surface isn’t rusted, damaged, or contaminated.
Then inspect accessible EVAP hoses, quick-connects, and lines. Look for disconnected fittings, rubbed-through sections, split elbows, broken plastic lines, and damage around the canister. Pay attention to areas recently disturbed during other repairs.
After the visual inspection, test the purge valve. A scan tool with bidirectional control can command the valve on many vehicles. You may also need a vacuum test, resistance check, power and ground verification, or manufacturer-specific functional test.
Test the vent valve next. Confirm that the valve responds to commands and that its fresh-air path is not packed with dirt or debris. A good electrical actuator can still create an EVAP problem if the vent path is physically blocked.
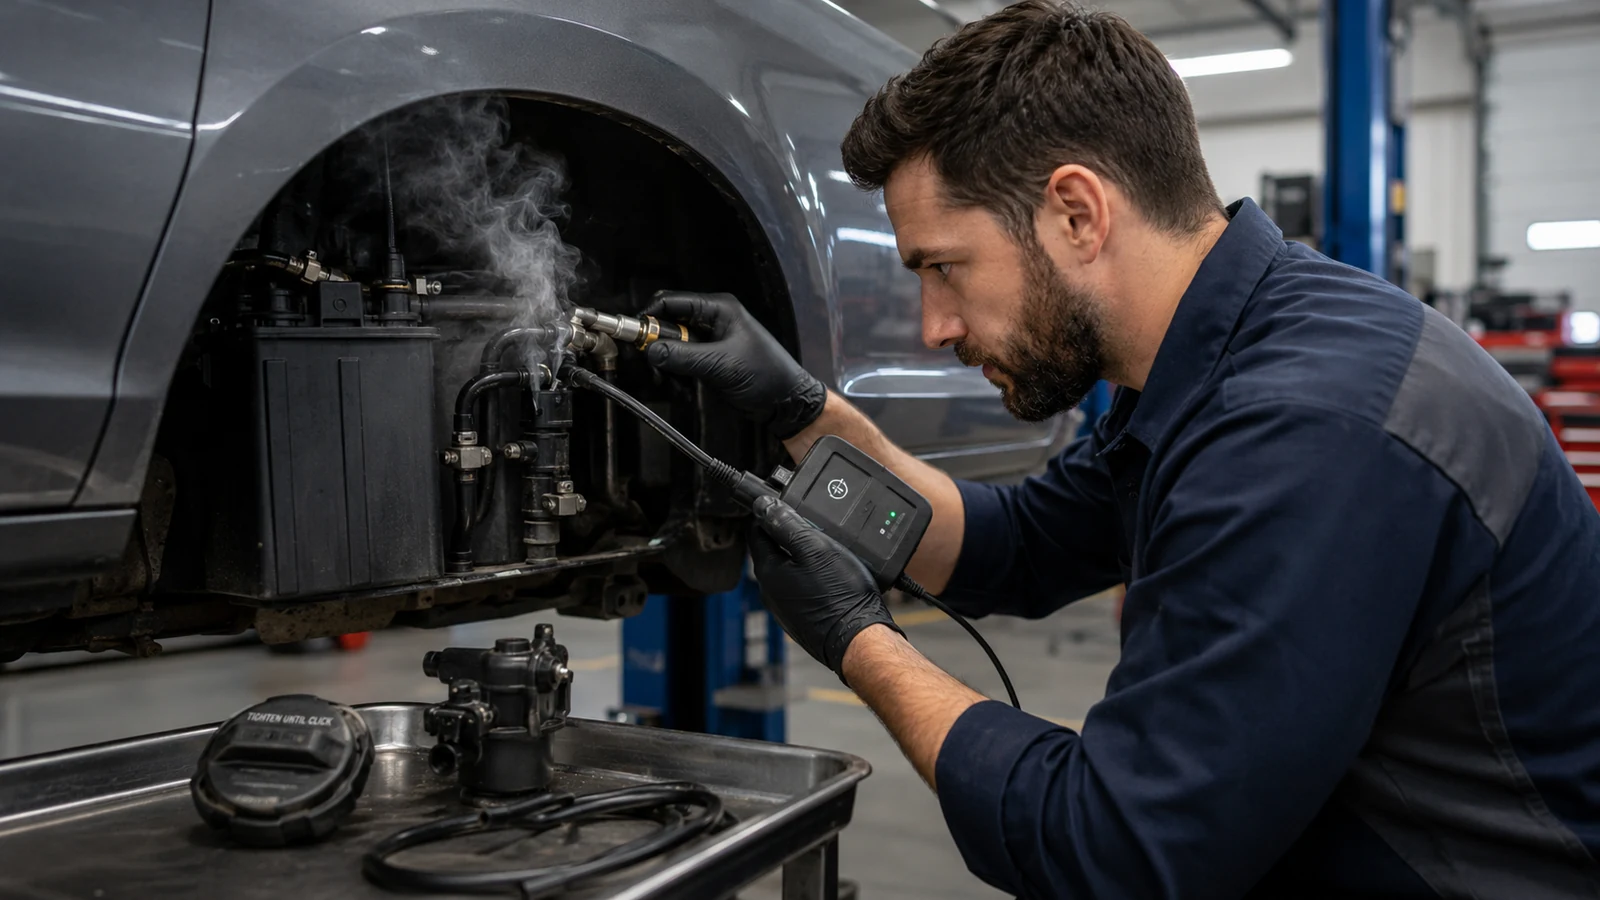
If the system still has a leak code, a properly regulated smoke test can reveal escaping vapor-path leaks. Use the correct service connection and low-pressure procedure for the vehicle. Do not improvise with unregulated shop air around a fuel-vapor system.
At this point, a manufacturer diagnostic tree becomes valuable. A clear diagnostic flowchart helps prevent skipped checks, especially when several valves, seals, sensors, or wiring faults can cause the code.
When a Gas Cap Isn’t the Cause
A gas cap is easy to inspect, but replacing it shouldn’t be the default response to every EVAP code. If the cap seal is intact and the code returns after the monitor runs again, move deeper into the system.
A stuck-open purge valve can create symptoms that feel unrelated to emissions. On some vehicles, excess vapor entering the intake can contribute to hard starting or rough running after refueling. Manufacturer service information shows that fuel-vapor system faults can be associated with hard-start or stall complaints on specific applications.
A vent valve problem can make the system fail a leak test even when every hose is intact. If the vent cannot close, the system may never hold the pressure or vacuum the control module expects. If it cannot open, you may see refueling or canister airflow problems.
Small hose cracks and canister leaks often require smoke testing. The code may tell you the system failed a leak check, but it does not point to the exact hole. Replacing a purge valve, cap, canister, and pressure sensor one after another is expensive guesswork.
That is the same parts-cannon problem discussed in why wrong-part replacement happens. EVAP diagnosis works best when you test each suspected component before replacing it.
When EVAP Needs Faster Attention
Many EVAP faults do not cause an immediate loss of engine power. Still, don’t ignore the check engine light, because another fault can appear while it’s already on.
A mild vapor odor near the fuel door after refueling can have a simple cause, but a strong or persistent gasoline smell deserves prompt inspection. Stop driving and investigate if you see liquid fuel, find a wet fuel-system component, or suspect an actual fuel leak.
Also treat a flashing check engine light as a different level of concern. A flashing light usually points to a serious engine misfire condition, not a routine EVAP leak. Diagnose that condition before continuing normal driving.
The practical EVAP path is simple: understand what the code says, inspect the sealing points, test purge and vent operation, smoke-test when needed, and confirm the repair by letting the appropriate monitor run. That approach is slower than guessing once, but much faster than replacing several good parts.
Commonly Asked Questions About EVAP
Can an EVAP leak cause a fuel smell?
Yes. An EVAP leak can let gasoline vapor escape, so you may notice a fuel odor near the filler area, rear of the vehicle, or engine bay. The smell can come from a loose cap, a cracked vapor hose, a damaged canister, a leaking valve, or another connection.
However, don’t assume every gasoline smell is only an EVAP vapor issue. A liquid fuel leak is more urgent. If you see wet fuel, dripping, or a strong persistent odor, stop driving and inspect the vehicle safely. If you don’t see a liquid leak, scan for codes and inspect the EVAP sealing points before replacing parts. Smoke testing can help locate small vapor leaks.
Will an EVAP code clear after tightening the gas cap?
It can, but usually not immediately. After you tighten or correctly reseat the gas cap, the vehicle’s computer may need to run the EVAP monitor again and see the system pass before the check engine light turns off.
That monitor runs only when required operating conditions are met, which can include fuel level, temperature, soak time, and driving conditions, depending on the vehicle. Clearing the code with a scan tool removes useful diagnostic information, so record codes and freeze-frame data first.
If the same code returns after you confirm the cap is good, inspect the filler neck, vapor lines, purge valve, vent valve, canister, and related controls instead of buying another cap.
Can overfilling the tank damage the EVAP system?
Repeatedly adding fuel after the pump nozzle clicks off can create problems on some vehicles because the EVAP system is designed to manage fuel vapor, not a stream of liquid fuel entering vapor passages. Liquid fuel can contaminate or saturate the charcoal canister and interfere with normal venting or purge behavior.
The exact system design varies, so one extra splash does not prove the canister is damaged. A better habit is to stop fueling at the first automatic shutoff. If EVAP codes, difficult refueling, fuel odor, or hard starting appear after repeated topping off, inspect the canister, vent path, purge operation, and vapor lines before deciding what to replace.
Can a bad purge valve cause hard starting after refueling?
Yes, on some vehicles, a purge valve that leaks when it should be closed can contribute to hard starting or rough running after refueling. This is because excess fuel vapor may be drawn from the canister into the intake at the wrong time, making the mixture temporarily too rich.
That symptom is useful, but it still does not prove the purge valve is bad. Test whether the valve seals with no command, verify electrical control, and check for relevant EVAP codes. Also inspect for a saturated canister or other vapor-path problems. If the engine only struggles after filling the tank, purge-system testing should be high on the diagnostic list.
Does an EVAP leak affect fuel economy?
A small EVAP vapor leak usually causes less noticeable fuel-economy change than problems such as low tire pressure, a misfire, or incorrect fuel control. The EVAP system handles fuel vapor, so a leak can let hydrocarbons escape instead of being stored and later burned, but the amount may be too small for the driver to notice at the pump.
A failed purge valve is different because incorrect purge flow can influence engine operation on some vehicles. If fuel economy drops sharply, don’t blame an EVAP code automatically. When diagnosing an EVAP concern, check for other engine codes, fuel-trim problems, misfires, tire issues, and maintenance faults.