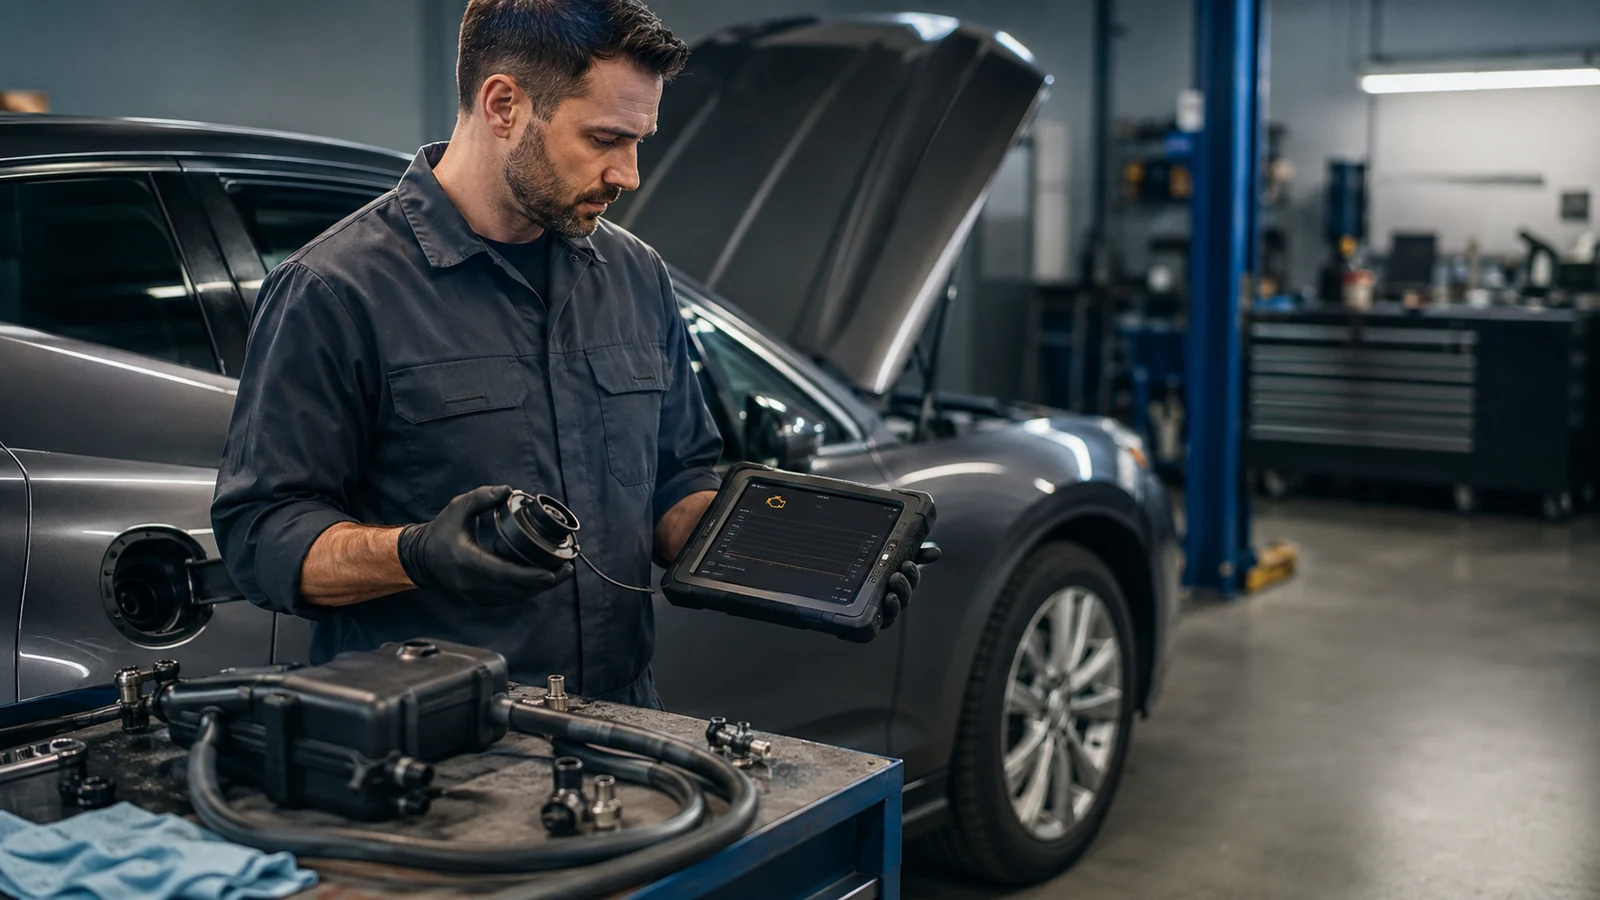
An EVAP leak can turn on the check engine light even when your car starts, idles, and drives normally. That makes the warning easy to dismiss. The evaporative emissions system is supposed to keep gasoline vapor contained instead of letting it escape.
Start with the simple checks, but don’t assume the gas cap is automatically the answer. A stored EVAP code tells you which system failed a self-test, not which part you should replace.
The right path is to read the code, inspect the sealing points, test the valves, and use a smoke test when needed. This guide shows what an EVAP leak means, the signs to watch for, and the order that reduces wasted parts.
What Is an EVAP Leak: The Fault Behind the Code
An EVAP leak means the evaporative emission control system cannot hold or control fuel vapor as the vehicle expects. The system routes vapor from the fuel tank into a charcoal canister and later into the engine through the purge circuit. A leak can be a loose seal, cracked vapor line, valve that will not close, or another fault that prevents the system from sealing correctly.
| What you notice | What it may point to | Best next check |
|---|---|---|
| Check engine light only | Small EVAP leak or flow fault | Scan stored and pending codes |
| Light after refueling | Loose cap or filler-neck seal | Reseat cap and inspect its seal |
| Fuel odor outside the car | Larger vapor leak or fuel-system issue | Inspect before continued driving |
| P0442 or P0456 | Small or very small leak fault | Inspect seals, hoses, valves |
| P0455 | Large leak fault | Check cap, disconnected lines, vent system |
| Code returns after a new cap | Fault is elsewhere in the EVAP system | Perform valve tests and leak testing |
How the EVAP system handles fuel vapor
Gasoline naturally produces vapor in the fuel tank. The EVAP system contains that vapor, stores it in the charcoal canister, and allows the engine to draw it in through the purge valve under controlled conditions. Evaporative-emissions systems reduce the amount of fuel vapor released from a vehicle.
The system also needs a controlled fresh-air path through the vent side. During an onboard leak check, the vehicle can monitor the evaporative system for leaks and proper purge operation. The monitor only runs when its programmed operating conditions are met.
5 signs an EVAP leak needs attention
The first sign is usually the check engine light. Many EVAP problems do not cause obvious drivability symptoms, so the warning light may appear while the engine still feels normal.
A second clue is a fuel smell, especially near the rear of the vehicle or after parking. Treat a strong gasoline odor as more than an emissions inconvenience. A raw-fuel leak and an EVAP vapor leak are not the same problem, and smell alone cannot safely tell you which one you have.
A third sign is a warning shortly after refueling. If the fuel cap is loose, cross-threaded, damaged, or missing, the system may fail its sealing test. Manufacturer service information specifically shows that an improperly secured filler cap can trigger EVAP leak codes and illuminate the malfunction indicator light.
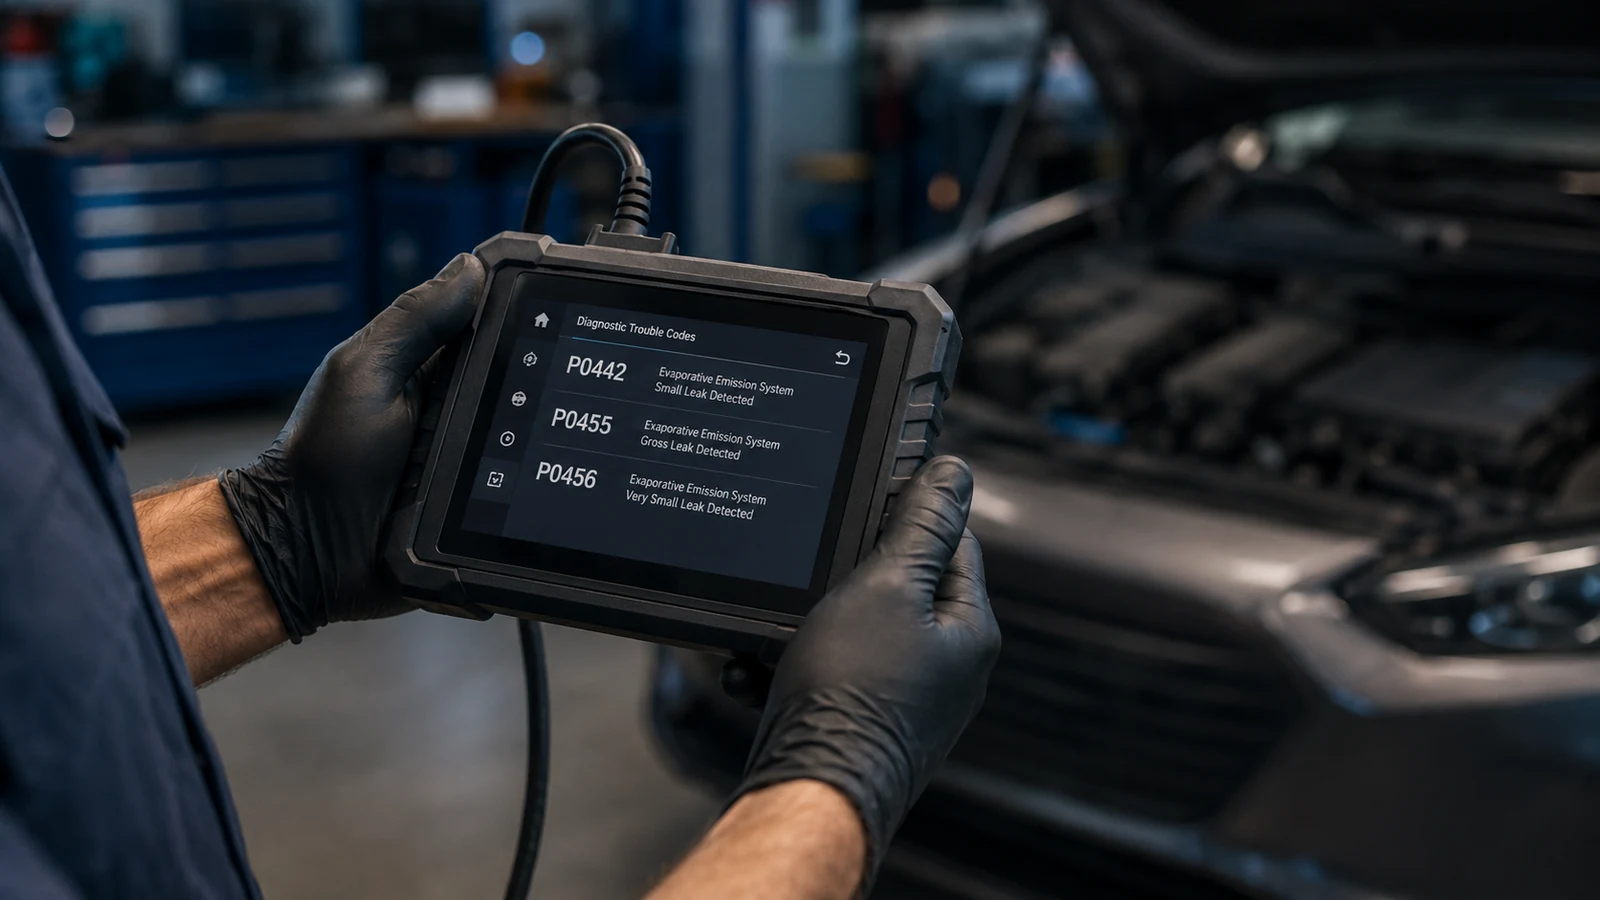
A fourth sign is repeated P0442, P0455, or P0456 codes. Manufacturer documentation commonly identifies P0442 as a small-leak fault, P0455 as a large-leak fault, and P0456 as a very-small-leak fault.
The fifth sign is a code that returns after someone has already replaced the cap. That is a strong reason to stop guessing and test the rest of the system.
Codes that narrow the search
A scanner is the fastest way to stop treating every check engine light as the same problem. Record the stored, pending, and permanent codes before clearing anything. Freeze-frame data can also help show the conditions present when the fault was detected.
Common EVAP leak codes include P0442 for a small leak, P0455 for a large leak, and P0456 for a very small leak on many vehicles. The exact diagnostic procedure still depends on the make, model, year, and system design. A code can result from a loose cap, valve problem, tube connection, or another leak point.
Before replacing anything, use the vehicle-specific DTC routine. AutoServicePlus explains why the scanner should be treated as a starting point in its guide to reading trouble code steps in factory manuals.
Why the gas cap is only the first check
The gas cap is worth checking because it is fast, free, and directly involved in sealing the fuel system on many vehicles. Remove it, inspect the gasket for cracks or flattening, look for damage around the filler neck, and reinstall it exactly as the owner’s manual specifies. Manufacturer diagnostic flows commonly start by confirming that the filler cap is secure before moving deeper into EVAP testing.
But a new cap should not be used as a diagnostic shortcut. A cap can be good while the real leak sits in a vapor hose, canister connection, purge valve, vent valve, filler neck, or seal above the fuel tank.
This is where parts swapping becomes expensive. A better process is to prove a leak or valve fault before ordering a component, which is the same principle covered in AutoServicePlus’s guide to reducing wrong part replacement.
How to diagnose an EVAP leak correctly
Start by scanning the vehicle and writing down every relevant code. Do not clear the codes yet. Check the service information for the code-setting conditions and any model-specific test sequence. AutoServicePlus’s factory DTC guidance follows the same retrieve, test, repair, and verify approach.
Next, inspect the easy sealing points. Check the filler cap, filler neck, accessible vapor hoses, quick-connect fittings, and visible canister lines. Look for cracked rubber, disconnected tubes, damaged O-rings, corrosion, and evidence that a line has rubbed against another part.
Then move to functional testing. A scan tool with bidirectional controls may let a technician command the purge or vent valve while watching pressure data. If the vehicle uses a fuel tank pressure sensor, compare its reading with the manufacturer’s specified range and test conditions, not a generic online number. AutoServicePlus’s sensor testing method explains why reference values and test conditions matter.
Finally, follow the manufacturer’s sequence instead of jumping to the most likely part. A proper factory diagnostic flowchart keeps each test connected to a pass-or-fail decision.
When a smoke test makes sense
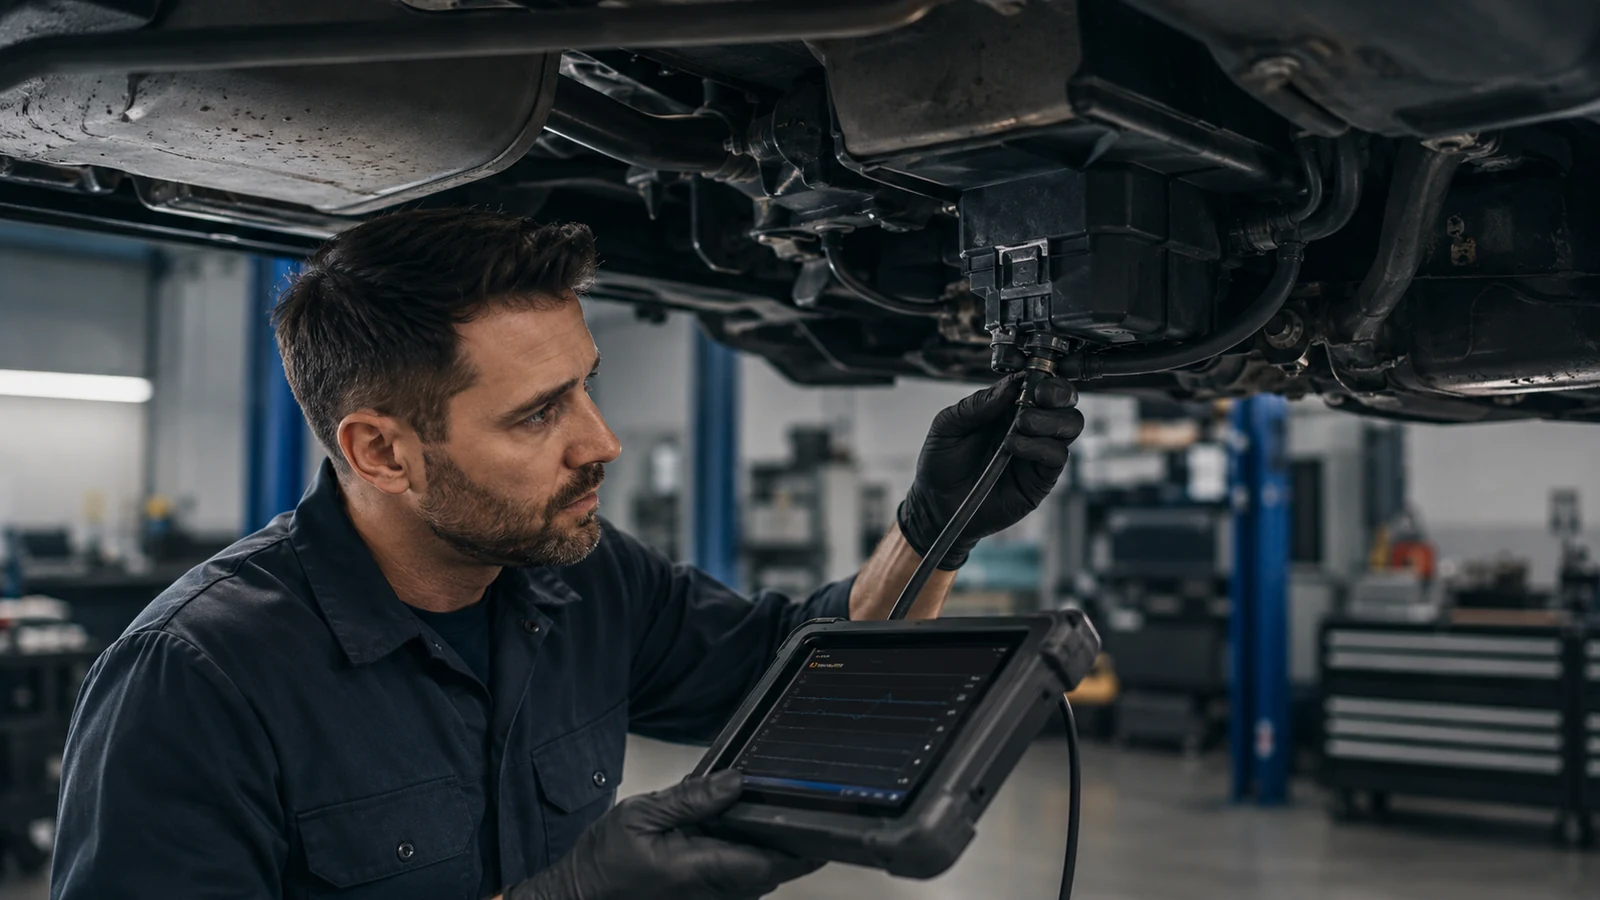
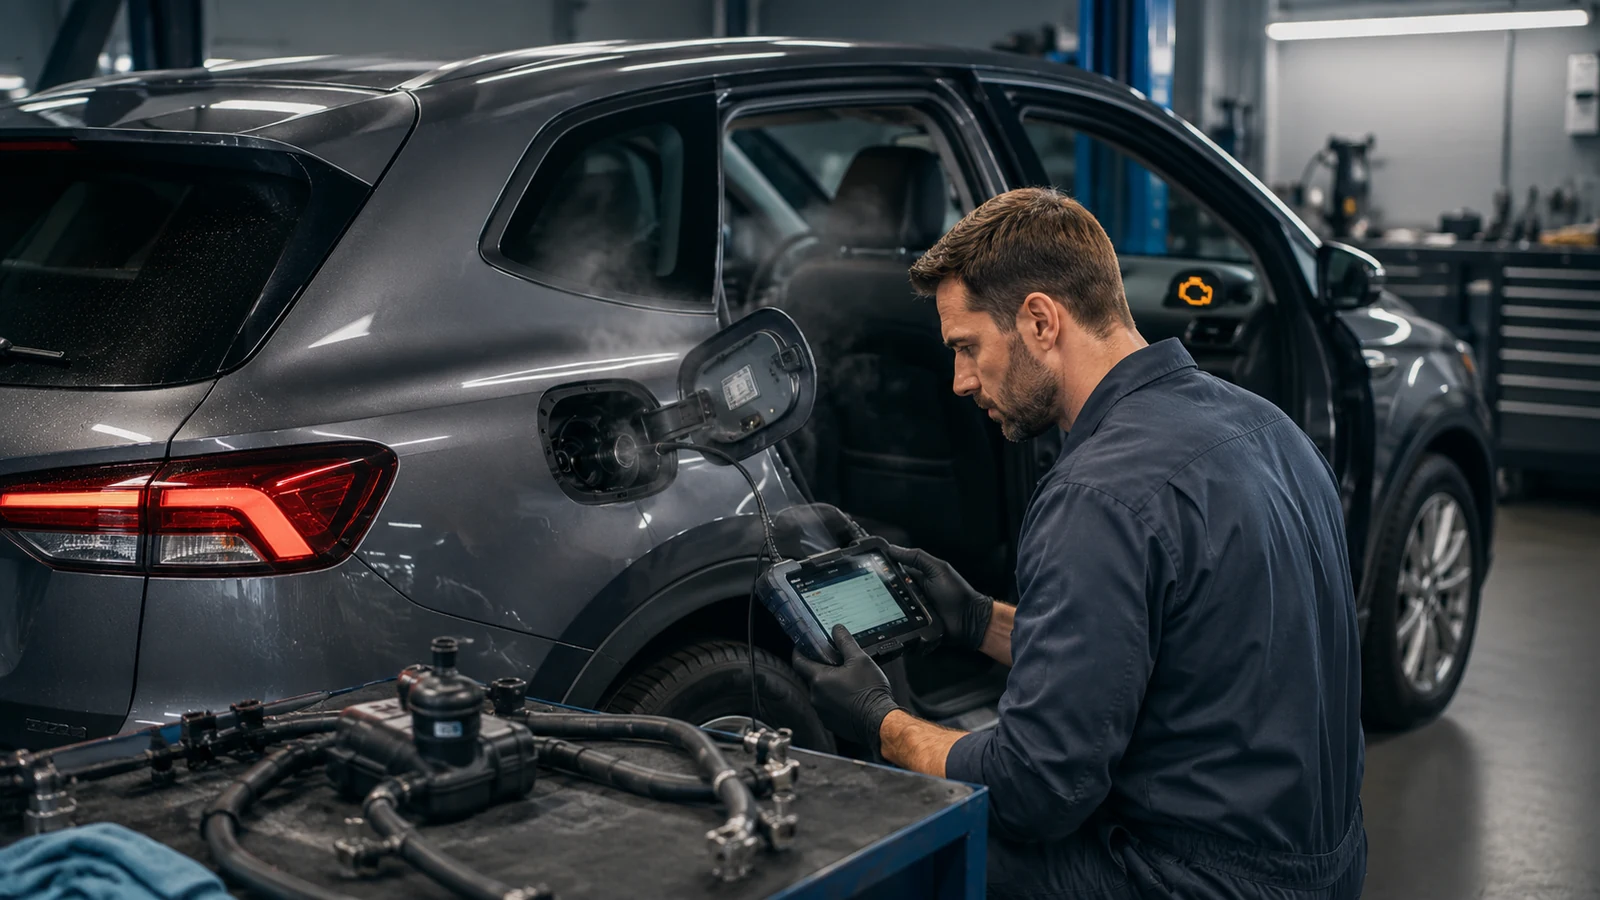
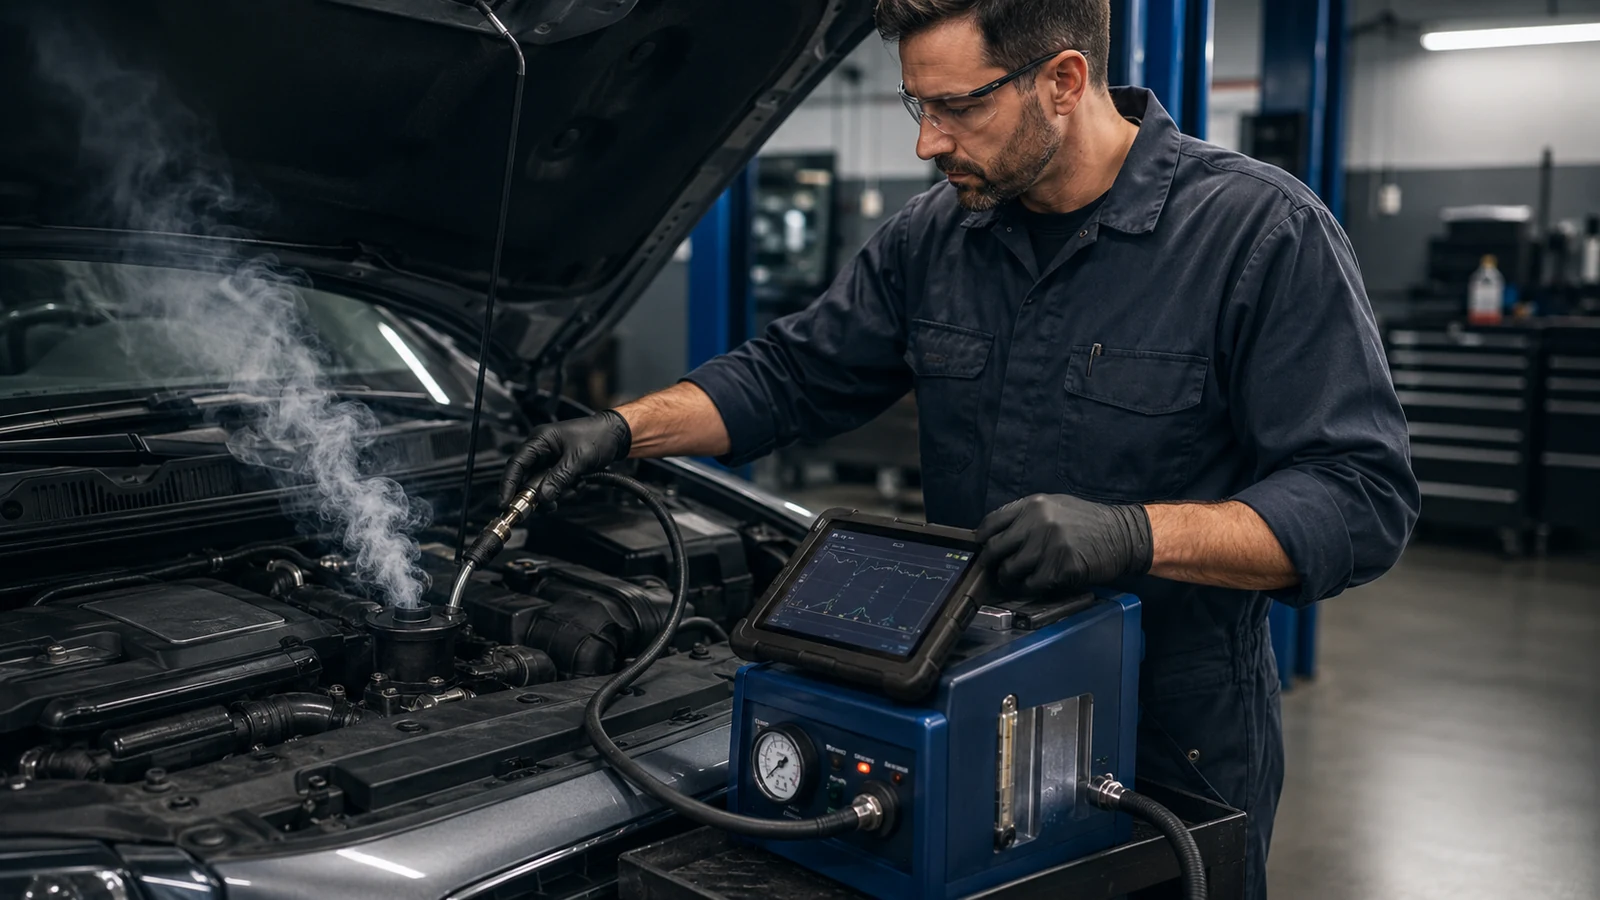
A smoke test is useful when visual inspection doesn’t reveal the leak or when a small leak keeps returning. The basic idea is to introduce approved test vapor at low pressure into the EVAP system while closing the necessary vent path. Smoke escaping from a hose, fitting, seal, canister, or valve area can expose a leak that is difficult to find visually.
The important detail is system control. If the normal vent path remains open during the test, the system may not be sealed for an effective leak check. Some vehicles require a scan tool command or a specific service procedure to close the vent valve before testing.
Manufacturer service information should control the setup. Nissan, for example, published an EVAP diagnostic flow that starts with the stored code and secure filler cap, then closes the vent control valve and performs a leak check. The bulletin also notes that a smoke leak detector may be used according to the equipment manufacturer’s instructions.
What EVAP repair usually involves
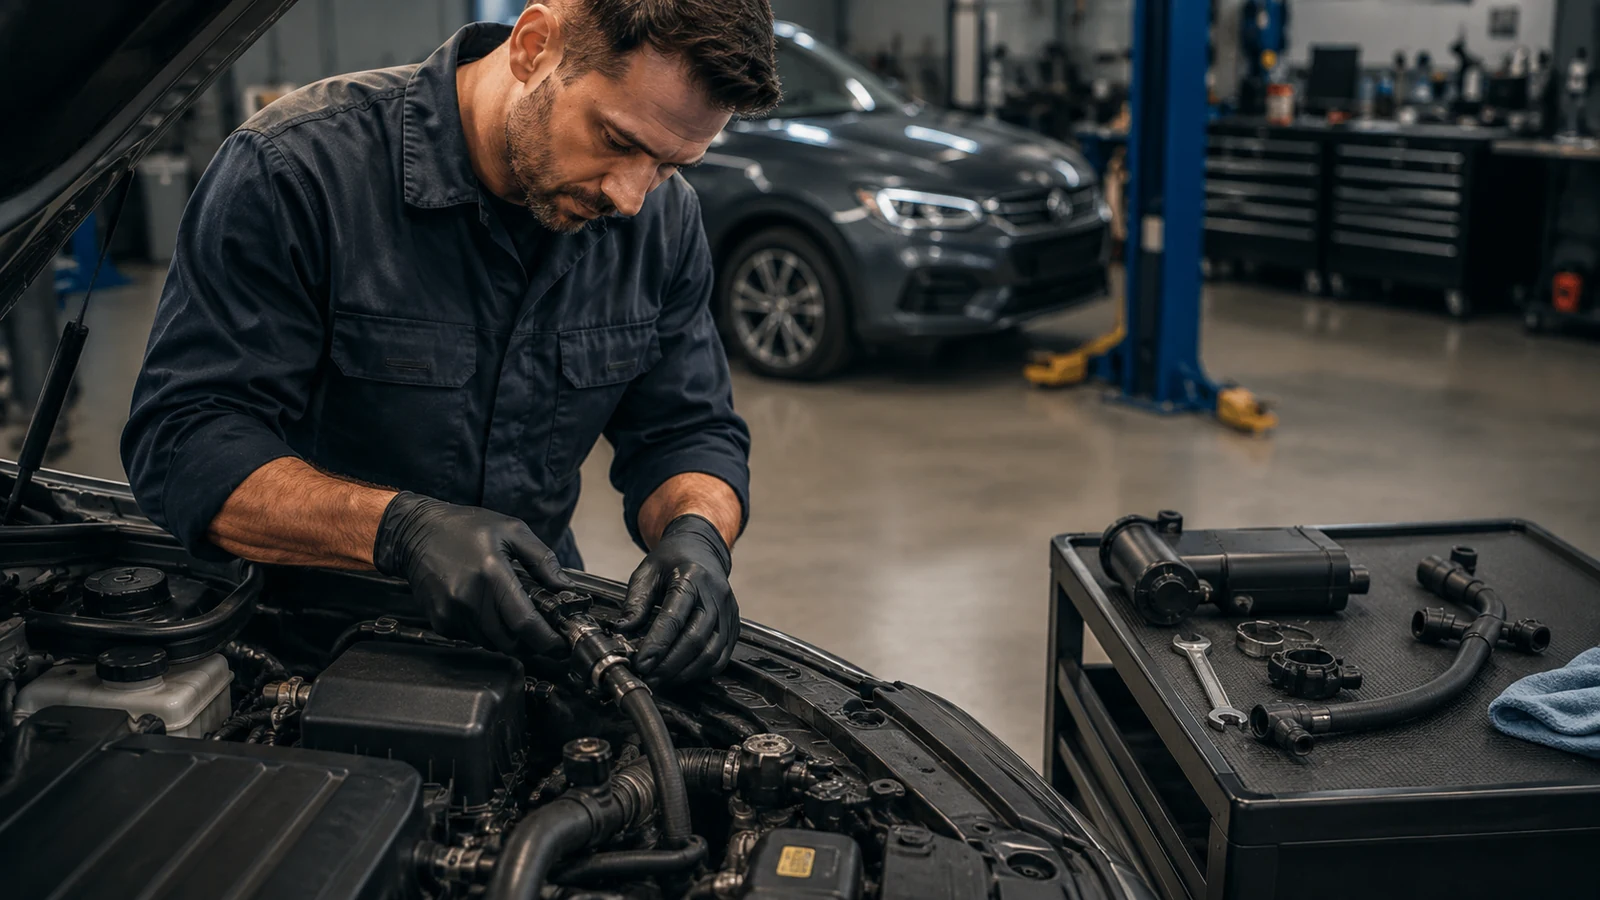
The repair depends on what failed the test. A loose cap may only need correct installation. A cracked hose may need replacement. A purge valve that leaks when it should be closed needs a different repair than a vent valve that cannot seal.
Canister damage, filler-neck leaks, tank-top seals, and inaccessible lines can require more labor because the technician may need to remove covers, shields, or other components to access them. Manufacturer bulletins show that EVAP leak codes can result from damaged tubes, unseated connections, and purge or vent valve faults.
Don’t assume every EVAP repair is cheap or expensive. The diagnostic result should determine the part and labor, not the code alone.
When to stop driving and inspect
An EVAP code with no other symptoms often does not cause an immediate drivability failure. Still, the vehicle reports that its vapor-control system failed a test, so you should diagnose the fault rather than ignore it.
A strong gasoline smell, visible wet fuel, dripping fuel, or fuel pooling under the vehicle changes the situation. Stop treating it as a routine EVAP-light problem. Avoid driving until you’ve ruled out a liquid-fuel leak, because gasoline requires strict precautions around heat, sparks, and flames.
If you don’t smell raw fuel or see a visible leak, schedule a diagnosis soon. If an emissions inspection is approaching, check the rules that apply in your area before arriving with an active warning light or incomplete readiness monitors.
How to confirm the repair
Do not judge success only by clearing the check engine light. After the repair, clear codes only when appropriate, run the manufacturer’s verification procedure, and check for pending codes.
EVAP monitors often run only when specific operating conditions are met. Fuel level, temperature, operating conditions, and other inputs can affect when the system completes its self-diagnostic check.
The final proof is that the system completes its required verification and the fault does not return. AutoServicePlus’s diagnostic guidance similarly emphasizes completing the drive cycle, checking readiness status, and checking for pending codes after repairs.
Commonly Asked Questions About the EVAP Leak
Can an EVAP leak make a car run rough?
It can, but rough running isn’t a typical symptom of a simple EVAP leak. Many vehicles drive normally and only turn on the check engine light. Rough idle, hard starting, or stalling becomes more plausible when the purge valve is stuck open, or the purge system allows vapor or airflow into the intake at the wrong time.
If the car runs poorly, don’t assume the leak code explains everything. Scan for additional codes, review fuel-trim data if available, and test the purge valve according to the factory procedure. A separate vacuum leak, ignition fault, or fueling problem may exist at the same time.
Can I pass an emissions test with an EVAP leak?
An active EVAP-related warning or an incomplete readiness monitor can matter during an OBD-based inspection, but the exact rules depend on your location. Clearing the code right before testing isn’t a reliable workaround because clearing diagnostic information can return monitors to a “not ready” state until the vehicle completes its self-tests.
The better approach is to diagnose the leak, repair it, and complete the required verification procedure. Before testing, use a scanner to check for stored or pending codes and confirm readiness status. For final-pass criteria, confirm the current rules with your local inspection authority.
How long does an EVAP code take to return?
There is no universal mileage or time. The EVAP monitor runs when the vehicle sees the enable conditions programmed into its diagnostic strategy, which can involve factors such as fuel level, temperature, and operating conditions.
A code may return after a few trips, or it may take longer if the monitor has not run. That is why a cleared light isn’t proof the repair worked. After a repair, check readiness status and pending codes instead of waiting only for the dashboard light.
The factory service procedure may also include a confirmation test that verifies the system more predictably than normal driving.
Is a small EVAP leak expensive to repair?
Not necessarily. “Small leak” describes what the system detected, not the repair cost. The cause could be a cap seal, O-ring, small hose crack, valve that does not seal, canister connection, or a leak in a difficult-to-reach area.
A low-cost part can still require diagnostic time, while you should never replace an expensive component just because it appears on a list of possible causes. The most cost-effective approach is to pay for accurate diagnosis first.
A code scan, visual inspection, valve test, and smoke test can narrow the fault before you order parts and reduce the risk of paying for several guesses.
Can overfilling the gas tank cause EVAP problems?
Repeatedly topping off the tank is a habit worth avoiding. Vehicle manufacturers commonly instruct drivers to stop filling after the nozzle automatically clicks off. Honda, for example, tells drivers not to top off and explains that the fuel vapor recovery system keeps fuel vapors from entering the atmosphere.
If you notice difficult refueling, fuel odor, or recurring EVAP codes, follow the diagnostic procedure for your specific vehicle rather than assuming the charcoal canister is already damaged.
Stop at the pump’s automatic shutoff unless your vehicle manufacturer gives different instructions, and diagnose any persistent refueling or vapor-control symptoms before replacing components.