
Reading a trouble code without following the right steps in a factory manual is one of the fastest ways to misdiagnose a vehicle and waste time and money. Most drivers plug in a scanner, see a code, and immediately replace the part it points to. That alone causes hundreds of unnecessary repairs every year.
Use your online factory service manual for precise diagnostics. While scanners identify system issues, the manual provides exact procedures to confirm and repair them. Effective diagnosis requires a systematic approach: retrieve the code, identify the system, and follow the manual’s flowchart to the root cause.
This guide walks through every step of reading and using trouble codes inside factory manuals, from locating the DTC section to performing pinpoint tests the way a trained technician would.
Reading Trouble Code Steps in Factory Manuals: The Process Pros Actually Follow

Most repair guides stop at telling you to plug in a scanner and look up a code online. That approach skips the most important part entirely. Factory service manuals contain manufacturer-specific diagnostic trouble code charts, pinpoint test procedures, and circuit diagrams that generic websites simply do not have.
This section covers the complete process, step by step, the way a senior technician at a dealership would actually work through it.
Step 1: Locate the DTC Section in Your Factory Manual
Before you scan anything, you need to know where your manual keeps its trouble code information. Skipping this step is the most common mistake DIY mechanics make when starting a diagnosis.
Factory manuals are organized by system. The diagnostic trouble code section is usually not at the front of the book. Look for these locations depending on your manual format:
- Powertrain Control/Emissions Diagnosis section for engine and transmission codes
- Electrical/Wiring section for network and body codes
- An index under “DTC,” “Fault Codes,” or “Self-Diagnostics”
- A separate “Diagnostic Charts” booklet in older multi-volume sets
Most factory manuals label their DTC charts clearly. Once you find the correct section, identify the subsystem your code belongs to before doing anything else.
Step 2: Connect Your Scanner and Pull Active Codes
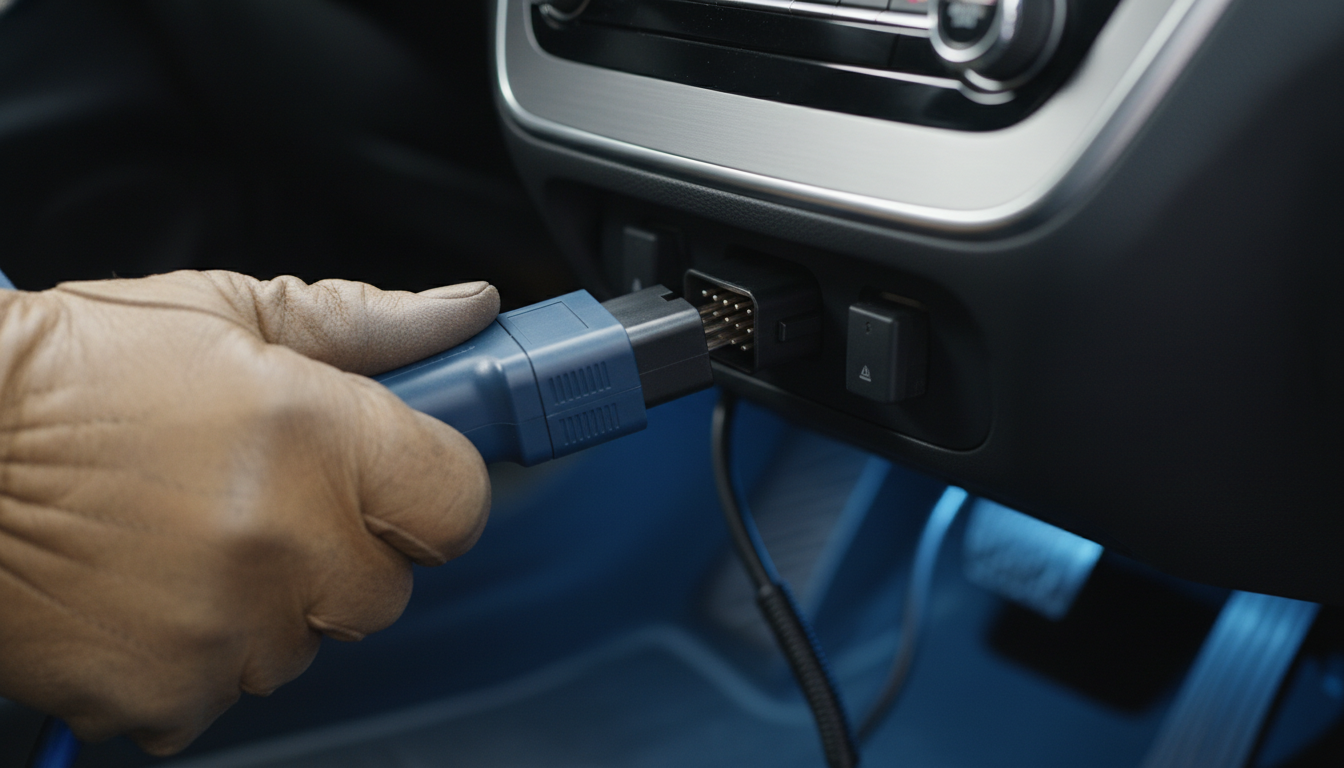
Once you know where your factory manual stores its DTC charts, the next step is pulling the actual codes from your vehicle. This must be done correctly, or you risk missing pending codes that haven’t yet triggered the check engine light.
Follow these steps precisely:
- Locate the 16-pin OBD-II diagnostic link connector (DLC) under the driver’s side dashboard, near the steering column.
- Plug in your scan tool firmly until it locks into the connector.
- Turn the ignition to the ON position without starting the engine.
- Select “Read Codes” on your scanner menu.
- Choose between Active Codes and Pending Codes when prompted.
Write down every code displayed, in the exact order it appears on your scanner. When multiple trouble codes are present, always address the first code listed. In many cases, the lower codes are simply symptoms created by the primary fault.
| Code Type | What It Means | Action Required |
|---|---|---|
| Active Code | Fault is currently present | Diagnose immediately |
| Pending Code | A fault occurred, but the MIL was not triggered | Monitor and test |
| Permanent Code | Fault stored, cleared, but not verified | Must pass the drive cycle test |
| Historic Code | Fault occurred in the past, no longer present | Document, investigate if recurs |
Step 3: Decode the Code Structure Before Opening the Manual
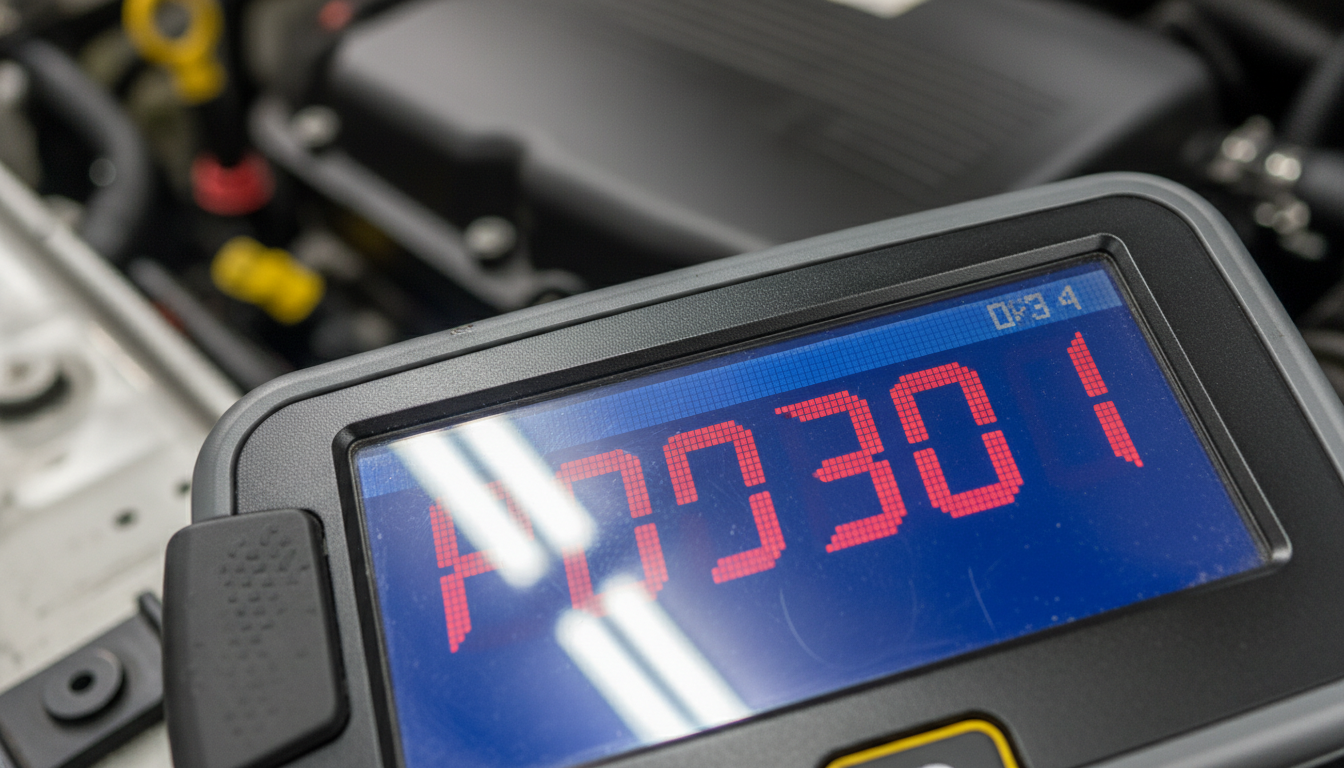
Every diagnostic trouble code follows a five-character structure. Understanding the structure before you open the factory manual helps you navigate directly to the right section without reading pages you don’t need.
Here is how each character of a trouble code breaks down:
- First character (letter): Identifies the system. P = Powertrain, B = Body, C = Chassis, U = Network
- Second character (number): 0 = generic/standardized, 1 = manufacturer-specific
- Third character (number): Identifies the subsystem (fuel, ignition, emission, etc.)
- Fourth and fifth characters (numbers 00-99): Specify the exact fault within that subsystem
For example, P0301 means: Powertrain (P), generic (0), ignition/misfire system (3), cylinder 1 misfire detected (01).
When the second character is a 1, that code is manufacturer-specific. This is where your factory manual becomes absolutely essential. No generic website reliably covers manufacturer-specific codes.
Step 4: Cross-Reference the Code in the Factory DTC Chart
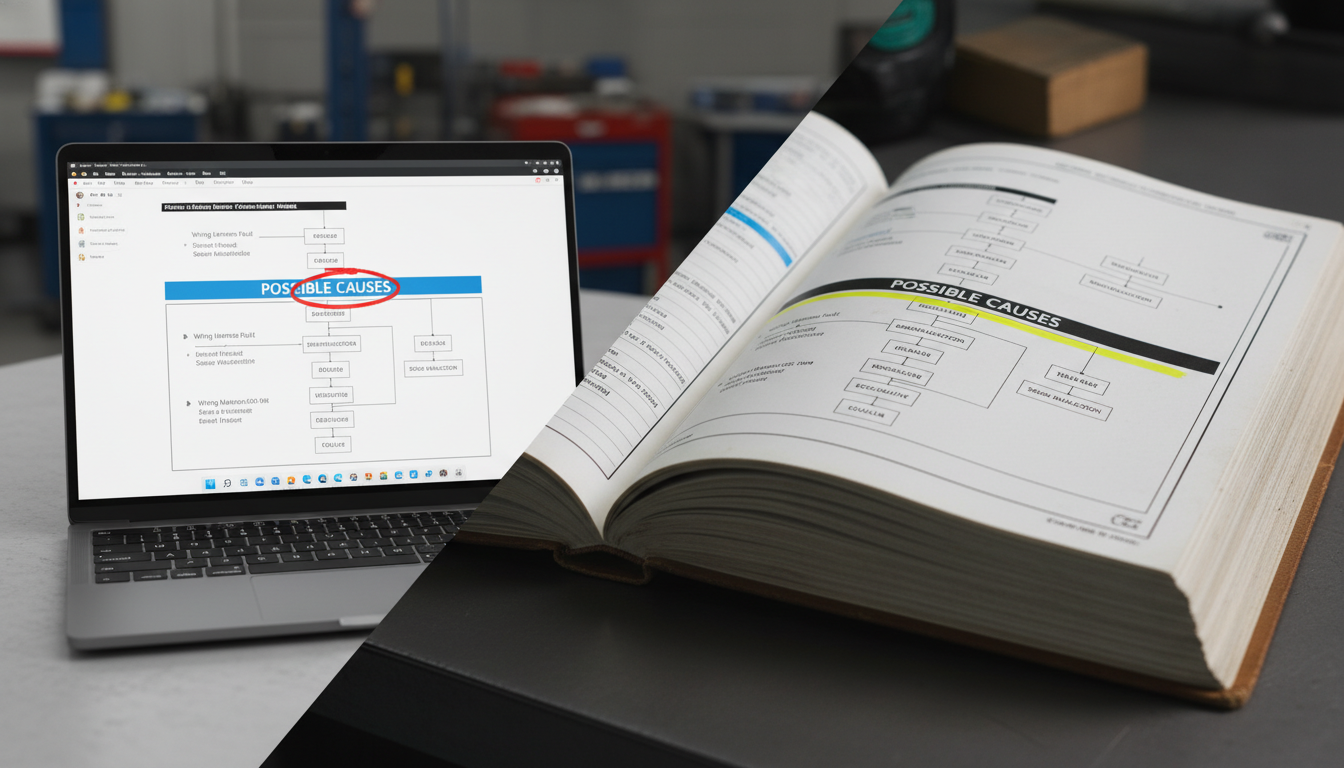
Now you open your factory manual to the DTC chart. This is where the professional process separates itself from a basic internet search.
The factory DTC chart for each code typically includes:
- Code description: Exactly what the system detected
- Possible causes: A ranked list of likely causes from most common to least
- Diagnostic aids: Notes on conditions that could create false codes
- Pinpoint test reference: A letter or number directing you to a specific test procedure
Do not skip the diagnostic aids section. This is where the factory manual warns you about things like a loose fuel cap triggering an EVAP code, or moisture on a sensor creating an intermittent fault that comes and goes.
Step 5: Follow the Pinpoint Test Procedure
This is where most DIY mechanics stop following the factory manual and start guessing. The pinpoint test is a structured flowchart in the factory service manual that walks you through every component and circuit involved in a specific code.
Each pinpoint test gives you:
- Exact connector locations with circuit diagrams
- Voltage and resistance values to measure at each test point
- A yes/no decision tree that leads to a confirmed root cause
- Instructions on what to check if the previous step passed
Always complete every step of the pinpoint test in order. Jumping ahead because a component looks bad is how technicians end up replacing parts that weren’t the root cause.
| Pinpoint Test Stage | What You Are Testing | Key Manual Reference |
|---|---|---|
| Initial circuit check | Power and ground at the sensor | Wiring diagram section |
| Signal range test | Voltage or resistance within spec | DTC possible causes list |
| Component isolation | Component function without a circuit | Component test specs |
| Verification | Code clears after repair | Drive cycle requirements |
Step 6: Clear Codes Only After Confirming the Repair
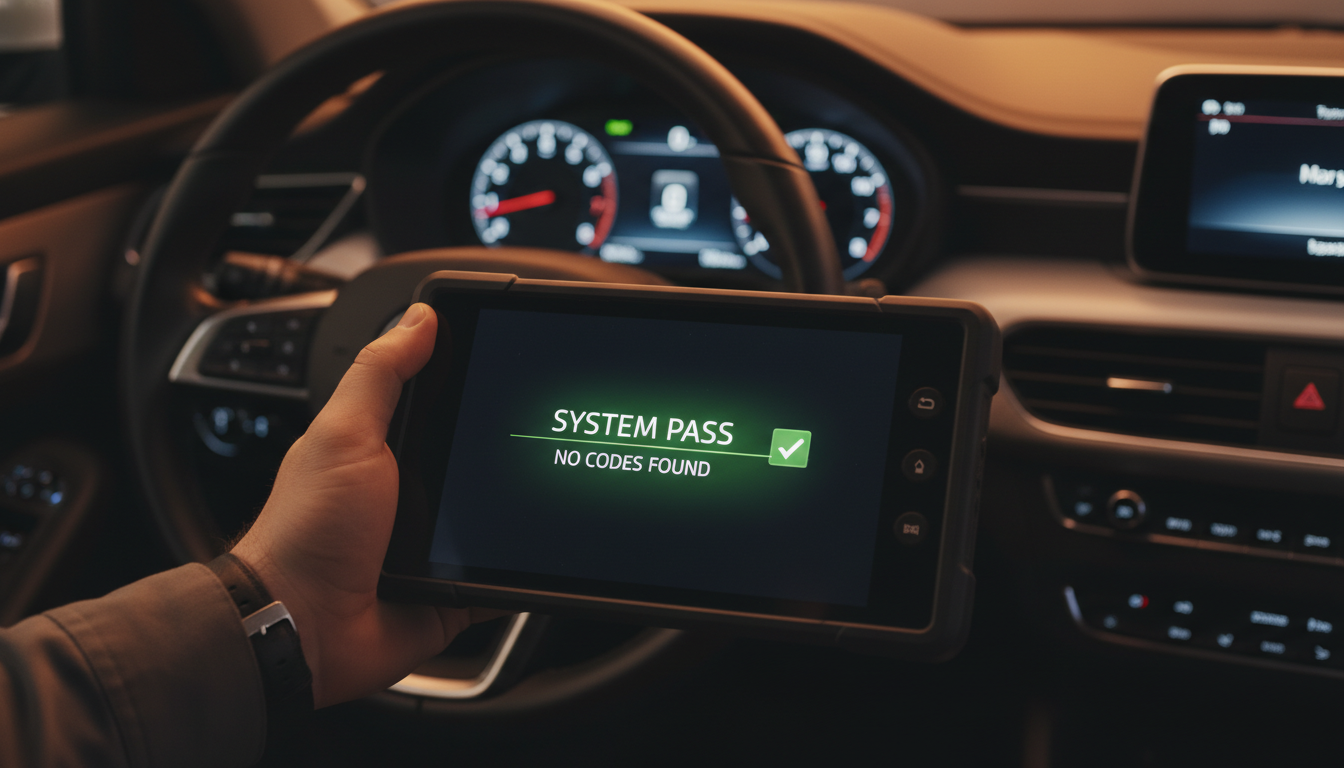
Clearing codes before confirming the repair is one of the most common mistakes outlined in factory repair manuals. A cleared code does not mean a fixed vehicle.
After completing the pinpoint test repair:
- Use your scan tool to clear the diagnostic trouble code from the ECM memory.
- Perform the factory manual’s specified drive cycle for that code.
- Rescan to confirm no active or pending codes return.
- Check freeze frame data to verify sensor values are now within specification.
Permanent codes are the exception. They cannot be cleared with a scan tool. They disappear only after the ECM runs its self-tests and passes them across multiple drive cycles.
Conclusion
Reading the trouble code steps in factory manuals is not a shortcut process. It is a structured diagnostic method that starts well before you touch a wrench and ends only after a confirmed verification drive. The scanner gives you a starting point. The factory manual gives you the complete path to a real repair.
Skipping the pinpoint tests, ignoring diagnostic aids, or clearing codes without verification wastes time and parts. Follow the six steps above with your factory service manual open beside you, and your diagnostic accuracy will improve immediately.