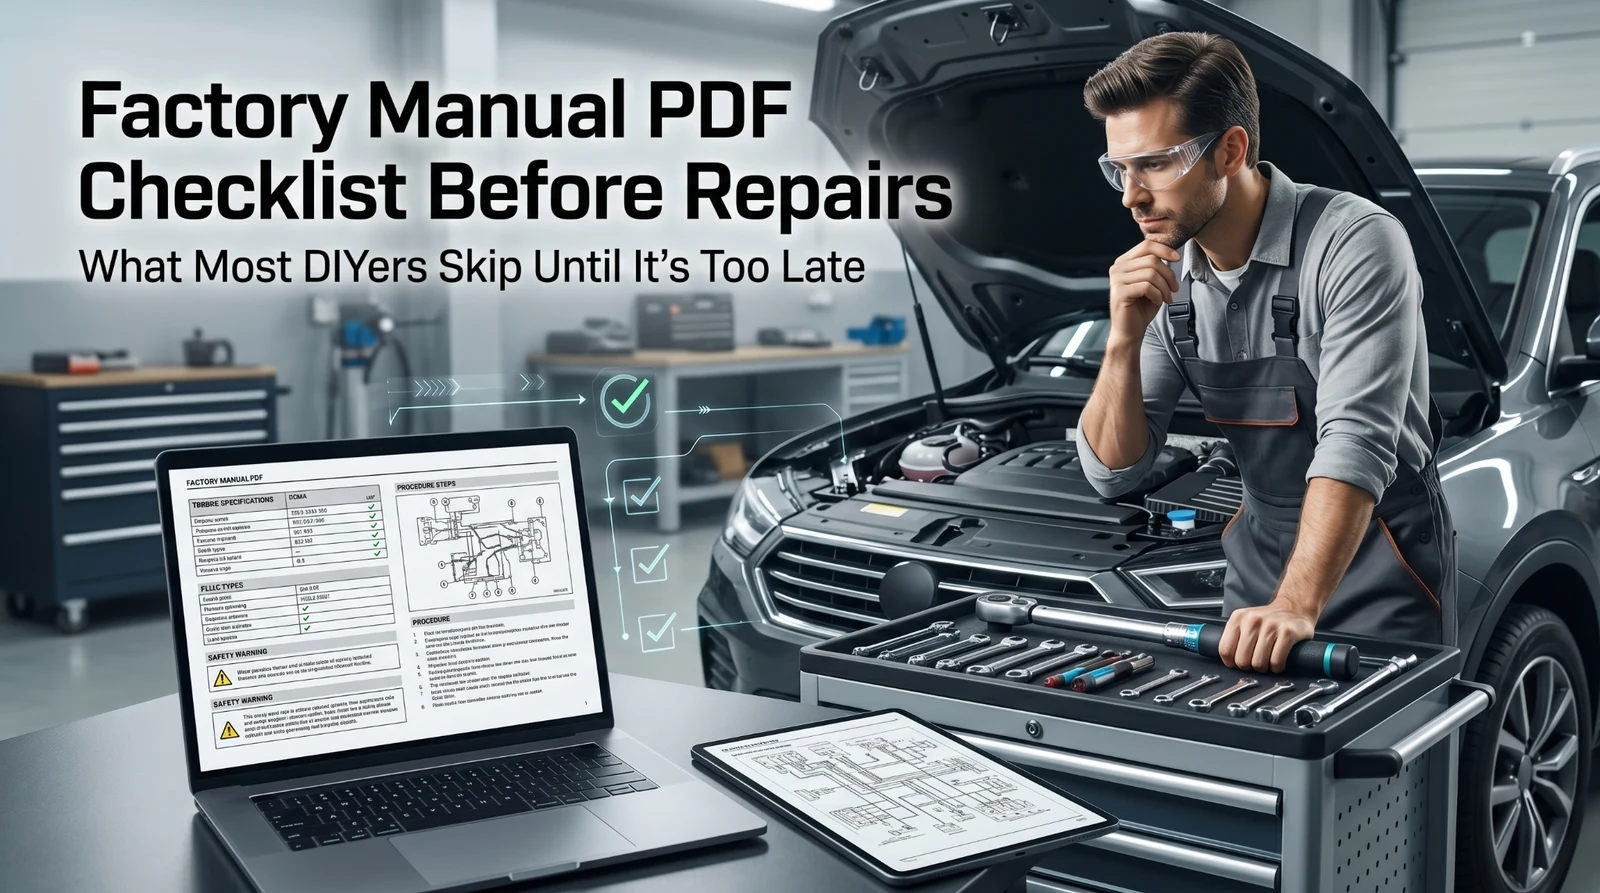
Skipping your factory manual PDF checklist before starting repairs is one of the most expensive mistakes a DIYer can make. One missed torque spec, one ignored safety warning, and a simple job turns into a full teardown you weren’t prepared for.
Spending ten minutes reviewing your manual before touching a bolt saves hours of frustration. It ensures you have accurate torque specs, fluid types, and procedures ready.
This article walks you through exactly what that checklist looks like, why each step matters, and how to use your factory service manual as a trained technician would.
Factory Manual PDF Checklist Before Starting Repairs: The Exact Steps Experienced Mechanics Follow

Every competent DIY mechanic has a preparation routine. It’s not glamorous, but it’s what separates a clean, successful repair from one that ends with stripped bolts or a second trip to the parts store. Your factory manual PDF serves as the foundation for that routine.
Before you grab a wrench, go through this checklist. Each step is pulled from how professional technicians actually approach repairs, not from guesswork.
Step 1: Confirm You Have the Right Factory Manual PDF
Your first task sounds obvious, but it trips up more people than you’d think. A factory service manual is specific to the year, make, model, and often the engine variant of your vehicle. Using the wrong one can give you incorrect torque specifications, wrong fluid capacities, and procedures that simply don’t match what’s in front of you.
Before opening the file, verify:
- The year matches your vehicle exactly
- The trim level or engine code is correct (check your VIN if unsure)
- The manual edition is the most current available for your model year
- The file is complete and not a partial scan or corrupted PDF
If you’re working on a Ford, it helps to understand how Ford service manuals are structured and what they actually include before diving into the repair section. Getting the right document is not a step to rush.
Step 2: Read the Full Repair Procedure Before Starting
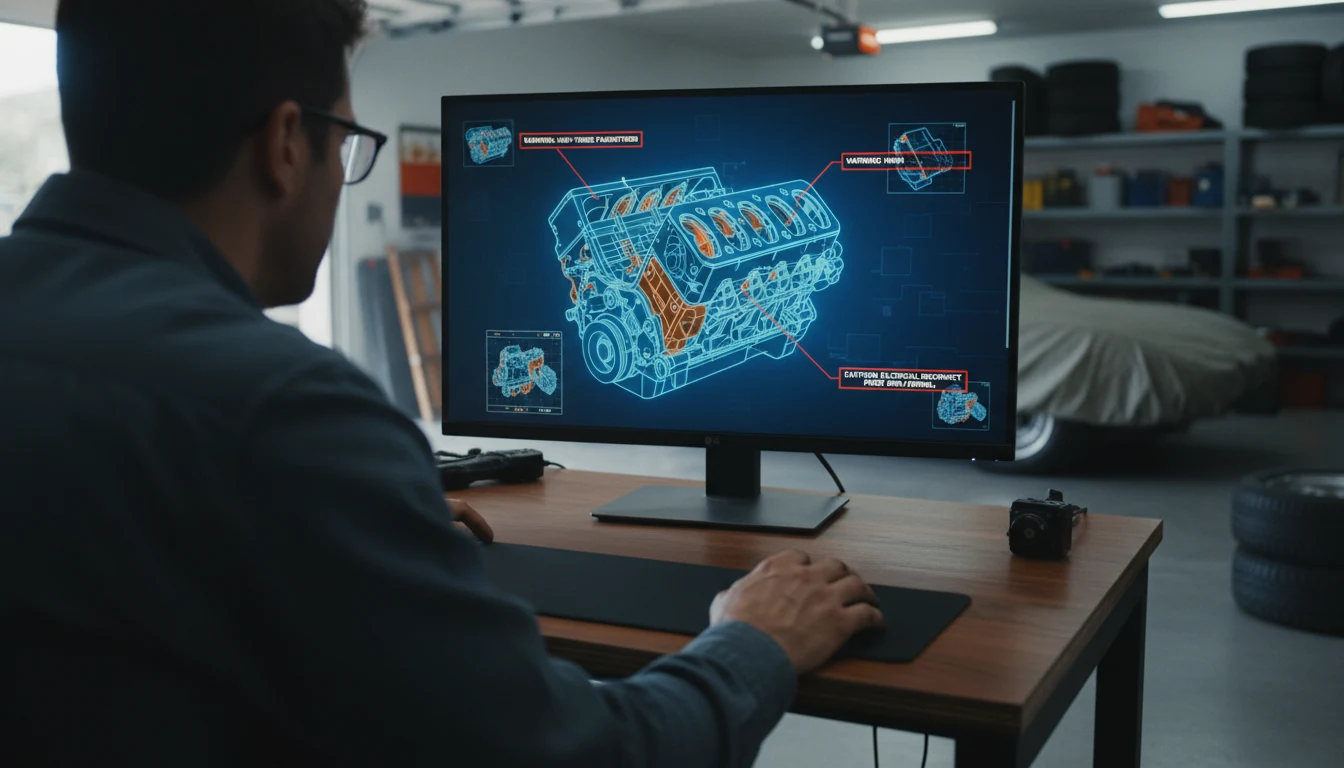
This is possibly the most ignored piece of advice in all of DIY automotive work. Most people skim the first couple of steps and assume the rest will make sense as they go. That assumption causes problems.
Read the entire procedure from start to finish before touching anything. You’re looking for:
- Special tools required that you may not own
- Parts that need to be ordered before disassembly begins
- Steps that require a helper (some jobs physically can’t be done solo)
- Time estimates so you don’t start a 5-hour job at 4 PM
- Warnings and cautions are highlighted in the procedure
The factory manual PDF often has warnings formatted differently from the main body text. Pay attention to anything flagged as a CAUTION, WARNING, or NOTE. These exist because someone, at some point, made a costly mistake without that information.
Step 3: Write Down All Torque Specifications
Torque values are one of the biggest reasons to use a factory repair manual over a generic guide. Aftermarket manuals sometimes round values or provide ranges. The OEM factory service manual gives exact figures, often with multi-step torquing sequences.
Before you start the job, write down or screenshot:
- All bolt torque specifications relevant to the repair
- Any torque-to-yield bolts that must be replaced after removal (common on head bolts)
- Multi-stage torque sequences, noted in the exact order listed
- Thread locker or sealant requirements on specific fasteners
A generic source might say “torque to 65 ft-lbs.” The factory manual PDF might say “torque in sequence to 22 ft-lbs, then 45 ft-lbs, then rotate an additional 90 degrees.” That difference matters enormously.
| Fastener Type | What to Note |
|---|---|
| Standard bolt | Torque value in Nm or ft · lbs |
| Torque-to-yield | Mark as “replace upon removal.” |
| Multi-stage sequence | List each stage in order |
| Thread locker required | Note strength (medium/permanent) |
| Sealant required | Note product type and application method |
Step 4: Gather All Required Tools and Parts First
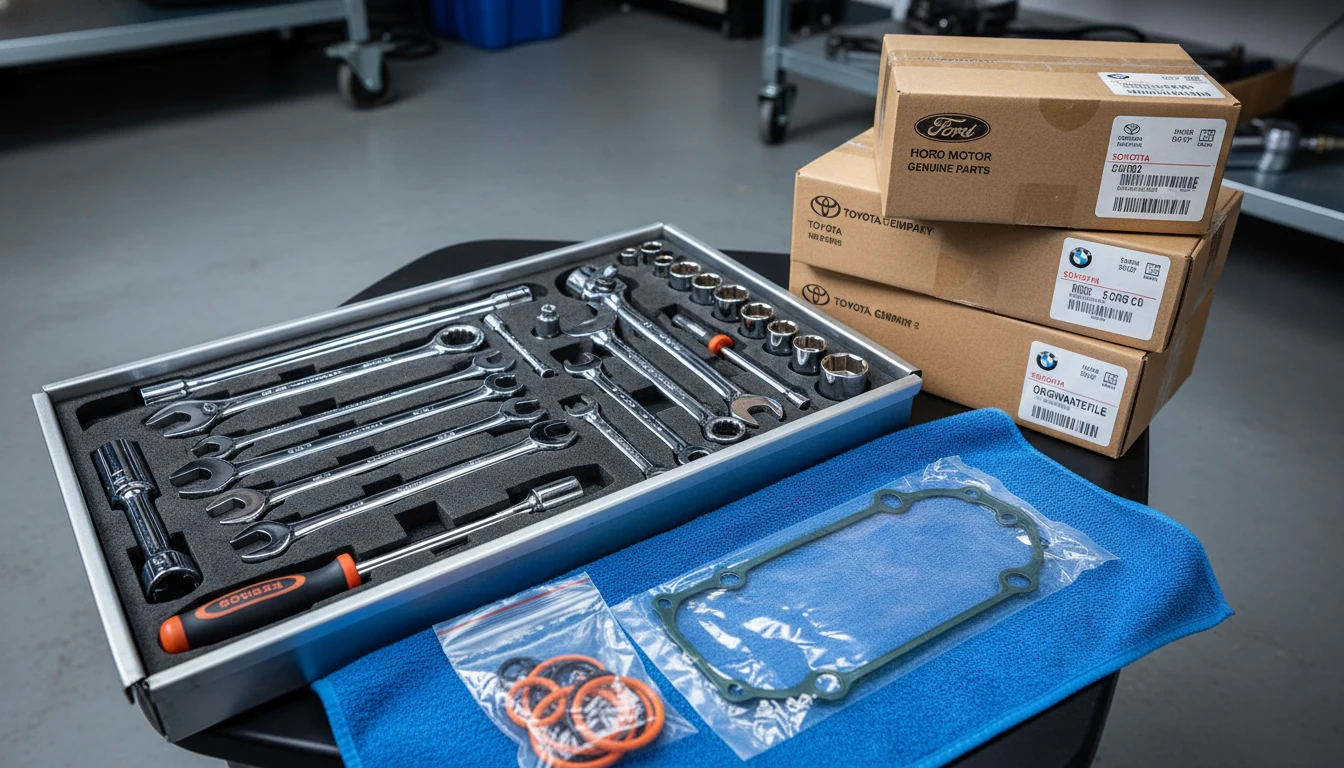
The factory manual will list required tools. Some jobs need specialty items you won’t find in a basic socket set. Finding this out mid-disassembly, when a component is half-off, the vehicle is where repairs go wrong.
Run through this tool and parts checklist:
- All standard hand tools listed in the procedure
- Any specialty or dealer-specific tools called out in the manual
- Replacement seals, gaskets, or O-rings that will be damaged during disassembly
- New fluid, if any system will be drained from any system during the repair
- Safety equipment: gloves, safety glasses, jack stands (confirm lifting points in your manual)
Speaking to why DIY mechanics rely so heavily on factory service manuals, this tool-preparation step is a big part of the answer. The manual tells you exactly what you need, so there are no surprises.
Step 5: Set Up Your Workspace and Safety Conditions
A disorganized workspace creates mistakes. Before starting repairs, physically set up your environment according to the factory manual PDF.
Key workspace and safety checkpoints:
- Confirm the vehicle is on level ground with the parking brake engaged
- Use jack stands at the correct lifting points specified in the manual (never guess these)
- Disconnect the battery if the repair involves electrical components or airbag systems
- Lay out all tools in the order you’ll need them
- Have a clean container ready for any fluids, bolts, or small parts you remove
Take photos before you start disassembly. The factory manual shows ideal reference images, but your specific vehicle may have aftermarket parts or prior repairs that differ from them. Your own photos show exactly what your vehicle looked like, which becomes invaluable during reassembly.
Step 6: Cross-Reference Part Numbers Before Ordering
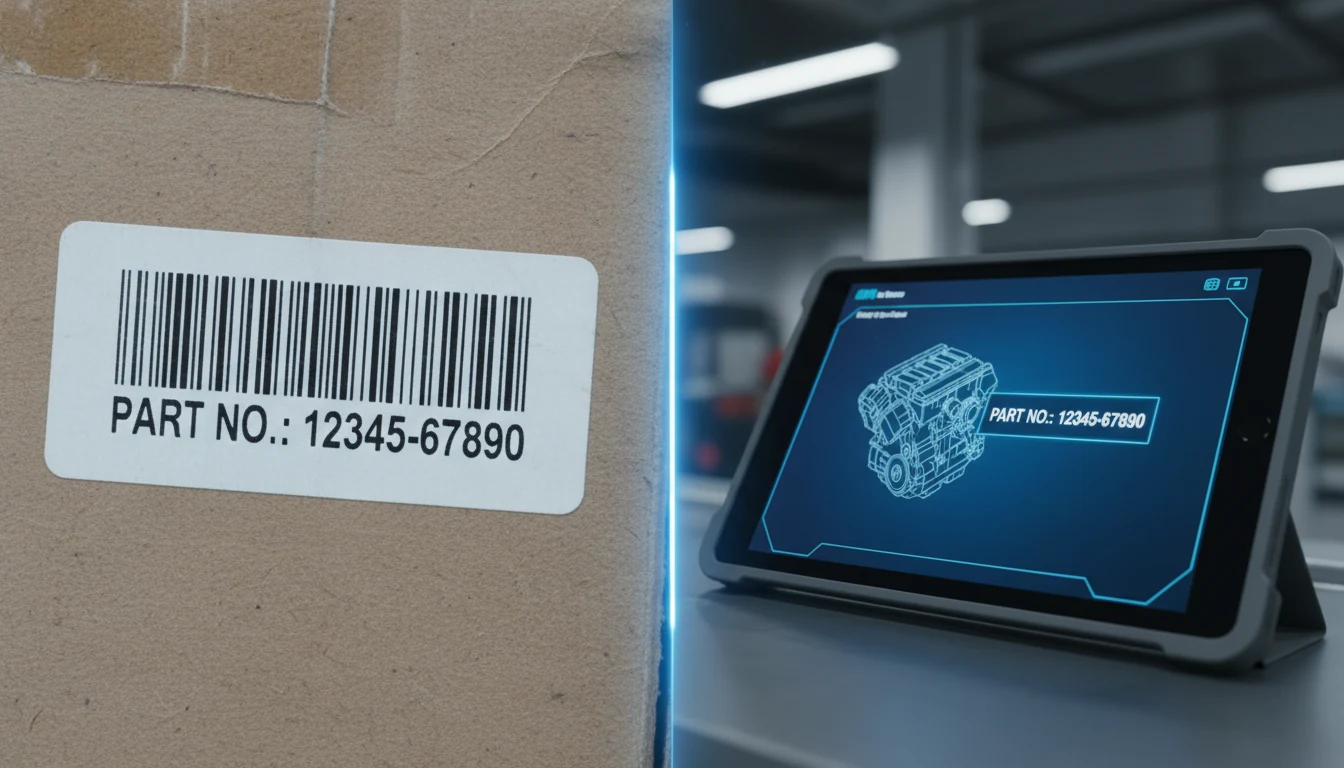
The factory service manual PDF contains OEM part numbers for every component involved in the repair. Before ordering anything, cross-reference these numbers.
Why this matters:
- Part numbers help confirm you’re buying the correct component, not a near-fit substitute
- They reveal when a superseded part number exists (meaning the original was updated)
- Wiring harness connectors and sensors can look identical across models, but have different pin configurations
- Some factory manuals also list fluid specifications by part number, which is useful when choosing compatible aftermarket products
Avoiding part mix-ups is one of the most common mistakes when using factory repair manuals. It’s a step worth building into your routine permanently.
Pre-Repair Checklist at a Glance
| Checklist Item | Completed |
|---|---|
| Confirmed correct factory manual PDF for year/model | ☐ |
| Read full repair procedure start to finish | ☐ |
| Written down all torque specs and sequences | ☐ |
| Identified and gathered all required tools | ☐ |
| Ordered all necessary replacement parts | ☐ |
| Vehicle properly lifted and secured | ☐ |
| Battery disconnected (if needed) | ☐ |
| Pre-disassembly photos taken | ☐ |
| Part numbers cross-referenced | ☐ |
Conclusion
The gap between a repair that goes cleanly and one that spirals into a bigger problem usually comes down to preparation.
Using your factory manual PDF checklist before starting repairs is not extra work. It’s the work. Confirming the right manual, reading the full procedure, noting torque specs, gathering tools, and setting up a safe workspace all happen before a single fastener comes loose.
That preparation is what the factory service manual was designed to support. Use it as intended, and the repair becomes straightforward, not stressful.
Frequently Asked Questions
Can I use a generic repair manual instead of a factory manual PDF for pre-repair checks?
You can use a generic manual as a rough guide, but it won’t replace a factory service manual for critical specifications. Generic manuals like Haynes or Chilton simplify procedures and sometimes provide approximate values.
The factory PDF provides exact torque sequences, model-specific warnings, and OEM part numbers that aftermarket publications often don’t include. For basic jobs like oil changes, a generic manual is fine.
For anything involving the engine, transmission, or electrical systems, the factory manual is the more reliable source and reduces the risk of an expensive error.
How do I know if my factory service manual PDF covers all trim levels of my vehicle?
Check the manual’s introduction or cover page. Most factory service manuals either state the trim levels and engine codes they cover or include a section on how to identify your specific vehicle using the VIN.
If your vehicle has a unique engine variant or a specialty package, there may be a separate supplemental manual for those components.
Cross-referencing your VIN against the manual’s application chart is the safest way to confirm coverage before starting repairs.
What should I do if a step in the factory manual PDF contradicts what I’ve seen in a video guide?
Always trust the factory manual PDF over third-party video content. Video guides can be filmed on vehicles from different model years, different markets, or with non-standard configurations.
The factory service manual is the official manufacturer documentation. If a video shows a different approach, the video creator may have adapted a procedure for convenience or may simply be working with a different vehicle variant.
Use the video for visual orientation, but follow the factory manual for specifications, sequences, and safety procedures.
Is it necessary to print the factory manual PDF, or is reading it digitally sufficient?
Reading it digitally on a tablet in the garage is perfectly fine and often more practical since you can use the PDF search function to jump to specific procedures or part numbers.
The advantage of digital access is that you can zoom into diagrams, reference multiple sections quickly, and keep the manual clean.
If you prefer physical copies, printing only the relevant sections saves paper and avoids bulky binders. Either way, having the factory manual accessible and bookmarked before starting repairs is what matters.
Do factory manual PDFs include diagnostic trouble code (DTC) information for pre-repair diagnosis?
Yes, most factory service manual PDFs include a diagnostics section with full DTC listings, test procedures, and likely causes. This is one of the most valuable parts of the manual for pre-repair preparation.
Before starting any repair triggered by a warning light, the correct process is to retrieve the fault code, cross-reference it in the factory manual, and follow the manufacturer’s diagnostic tree.
This prevents replacing parts based on assumptions and ensures you’re addressing the actual cause, not just a symptom.