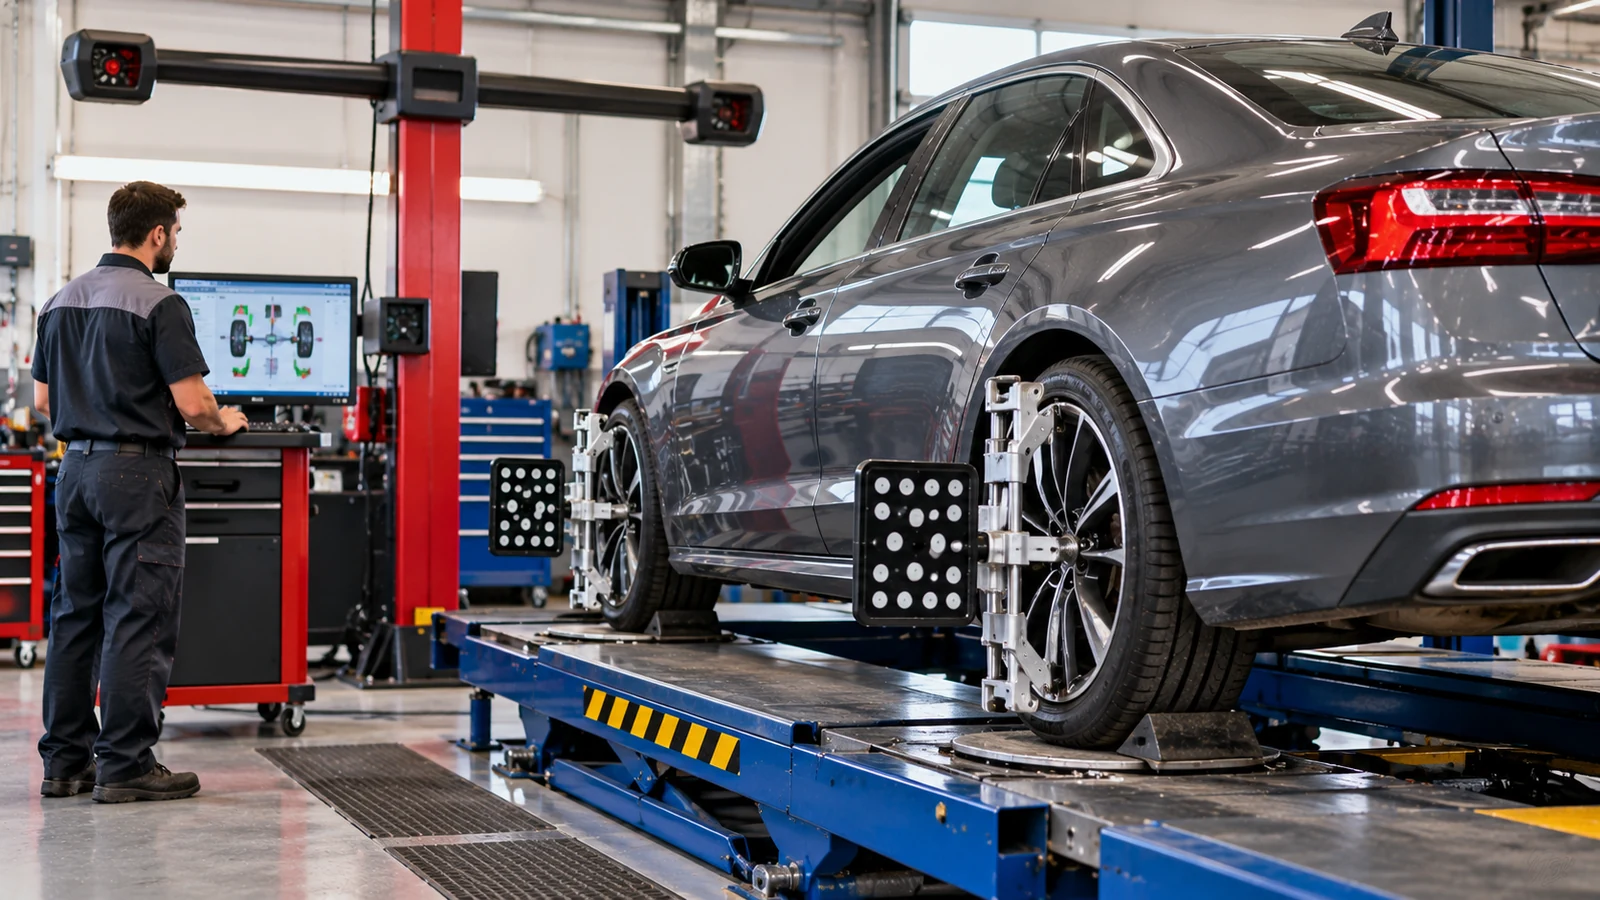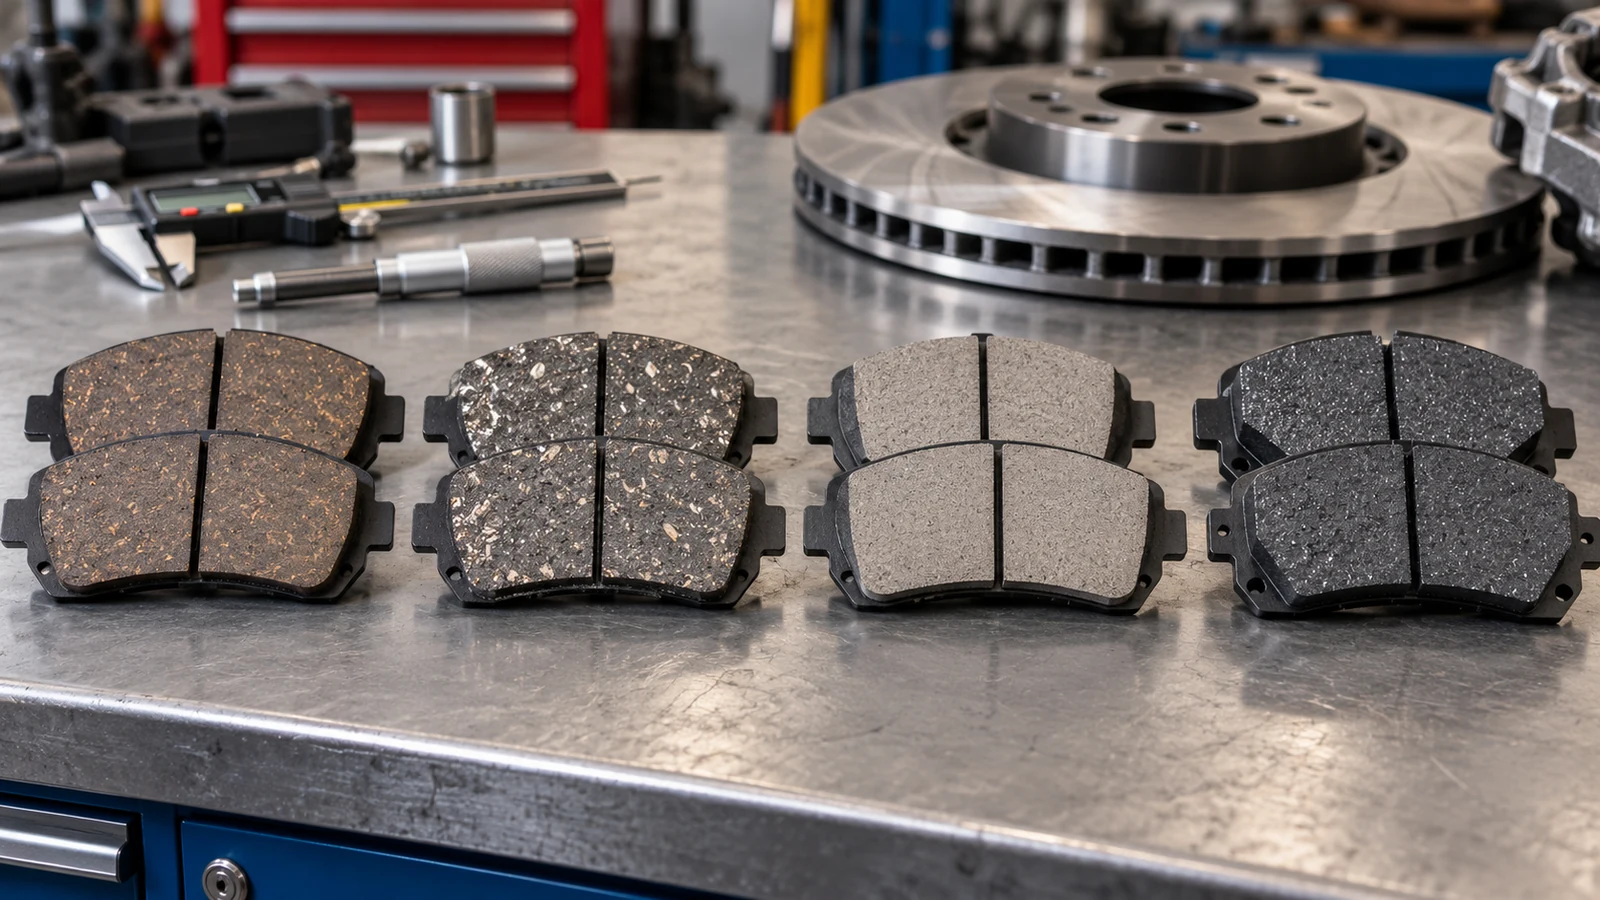
Knowing how to check brake pads is one of the most useful basic inspection skills for a vehicle owner. You don’t need to wait for grinding noises or a brake warning to check pad wear. A quick visual check can reveal obvious problems, while a wheel-off inspection gives you a much more accurate picture of remaining friction material and uneven wear.
For many passenger vehicles, new brake pads have roughly 10 to 12 mm of friction material. Around 4 to 5 mm means you should plan a replacement, while 3 mm is a practical replacement point. At 2 mm or less, treat service as urgent.
Those figures are useful general references, but they do not replace vehicle-specific specifications. Brake designs, wear indicators, caliper hardware, torque requirements, and rear parking-brake arrangements vary between vehicles. Always compare what you find with the factory repair information for the exact model you are servicing.
Brake Pad Thickness: What the Measurement Means
Brake pads create friction against the brake rotor each time hydraulic pressure moves the caliper piston. The friction lining gradually thins as that energy converts into heat.
A useful general thickness guide is:
| Remaining friction material | General condition | What to do |
|---|---|---|
| 10-12 mm | New or nearly new | No replacement required |
| 6-8 mm | Normal serviceable wear | Continue monitoring |
| 4-5 mm | Moderately worn | Plan replacement |
| 3 mm | Replacement point | Replace soon |
| 2 mm or less | Critically worn | Service immediately |
Measure only the friction material. Do not include the steel backing plate behind the pad.
The exact minimum thickness can vary by vehicle, so a factory specification should take priority over a general rule.
How many brake pads are on each wheel?
A typical disc-brake wheel uses two pads:
- One inner pad on the piston side of the rotor
- One outer pad on the opposite side
That means a four-wheel-disc vehicle normally has four pads per axle and eight pads in total.
This matters because the pad you can see from outside the wheel may not tell the whole story. The inner and outer pads can wear at different rates, especially if the caliper slides, pad hardware, or the piston don’t operate freely.
Brake pads should also normally be replaced as a complete axle set. If the front-left pads need replacement, for example, replace the front-right pads at the same time.
Tools and Safety Before Inspecting Brake Pads
A basic wheel-on check requires very little equipment:
- Bright flashlight
- Brake pad thickness gauge, if accessible
- Gloves
- Clean work area
For a full wheel-off inspection, you may also need:
- Hydraulic floor jack
- Properly rated jack stands
- Wheel chocks
- Lug wrench or suitable socket
- Brake lining gauge or digital measuring tool
Never work beneath or around a vehicle supported only by a hydraulic jack. Confirm the manufacturer’s designated lifting and support locations before raising the vehicle.
That requirement becomes especially important when working on vehicles with different frame, unibody, or suspension layouts. Owners working on a Ford can start with the available Ford workshop manuals and then check the exact model documentation, such as the 2007-2012 Ford Mustang manual, before choosing lifting points or removing brake hardware.
The same approach applies to off-road vehicles. The Jeep service manual collection provides model-specific repair references, while documentation such as the 2014 Jeep Grand Cherokee WK2 manual can verify procedures for that platform.
Truck owners should avoid assuming passenger-car instructions apply directly to their vehicle. Use the relevant Ram workshop manual catalog and, where applicable, a model-specific reference such as the 2003-2008 RAM 1500 4WD manual before lifting or disassembling the brake system.
Checking Brake Pads Without Removing the Wheel
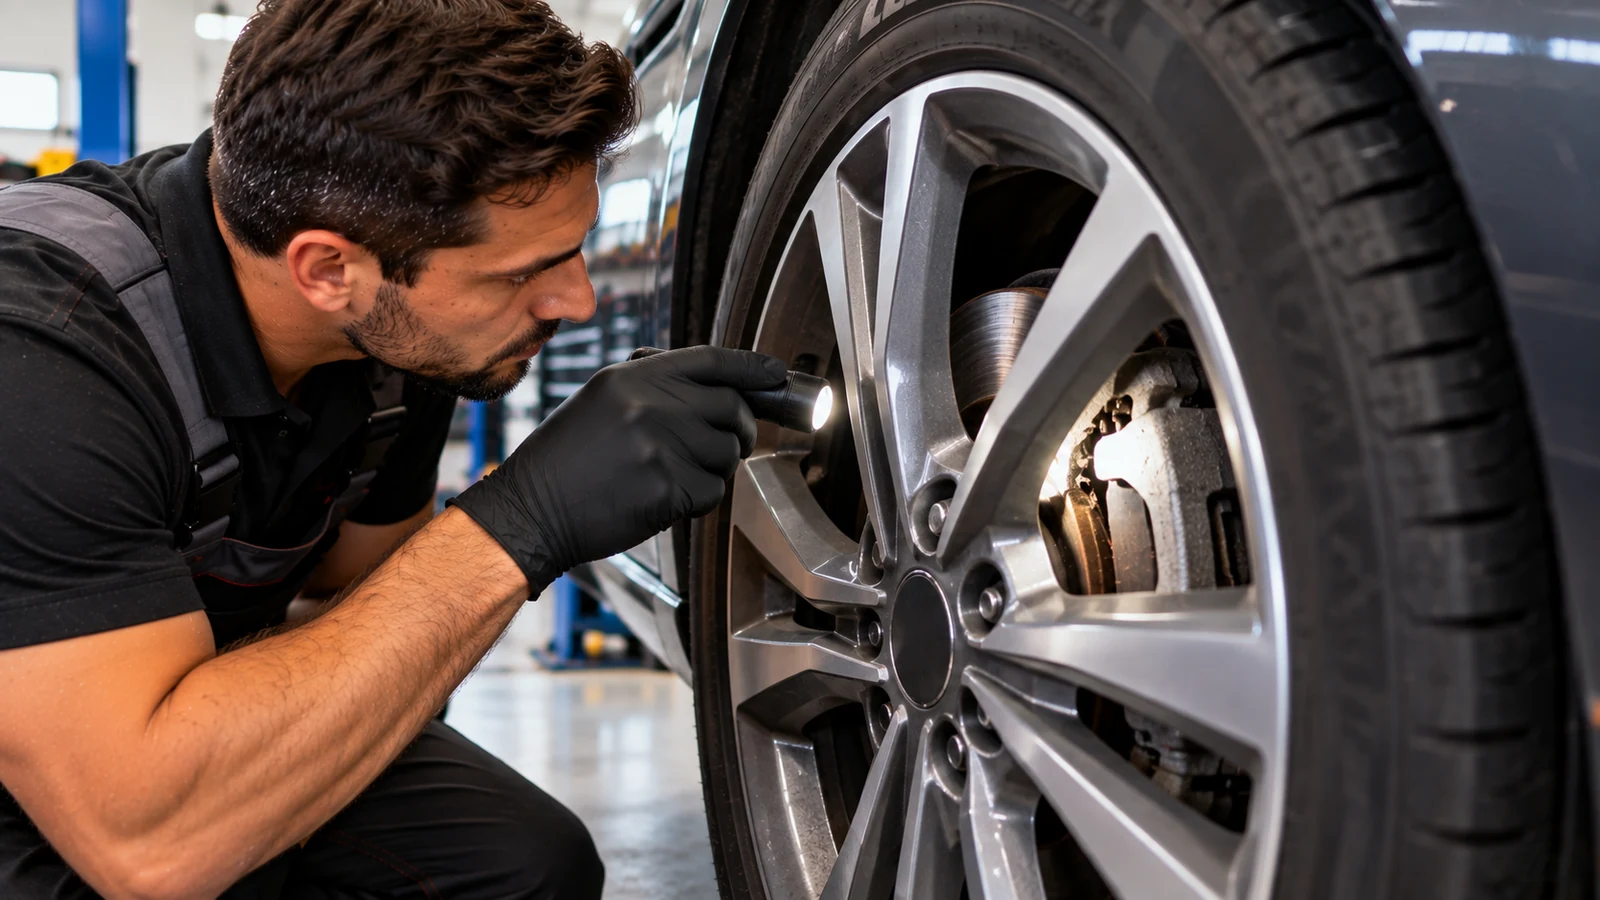
You can often perform an initial brake pad inspection through an open-spoke alloy wheel.
Park the vehicle on firm, level ground and allow the brakes to cool before inspecting them. Apply the parking brake when appropriate, then use a flashlight to look through the wheel toward the brake caliper.
You are looking for three visible layers:
- The smooth metal brake rotor
- The dark friction material of the brake pad
- The metal backing plate behind the friction material
Focus on the friction layer rather than the total thickness of the pad assembly.
If the visible friction material looks very thin, close to approximately 3 mm, a more accurate wheel-off inspection is worthwhile.
What a wheel-on inspection can miss
A wheel-on check is useful, but it has limitations.
The most visible pad is normally the outer pad. The inner pad may be partially or completely hidden by the caliper, and the two pads do not always wear evenly.
You may also have difficulty seeing:
- Inner-pad thickness
- Pad taper
- Cracked or contaminated friction material
- Seized pad hardware
- Damaged guide-pin boots
- Rotor scoring on the inner face
- Electronic wear-sensor wiring
For that reason, a visual check through the wheel works best as a quick screening method rather than a complete brake inspection.
Wheel-Off Brake Pad Inspection: Step-by-Step
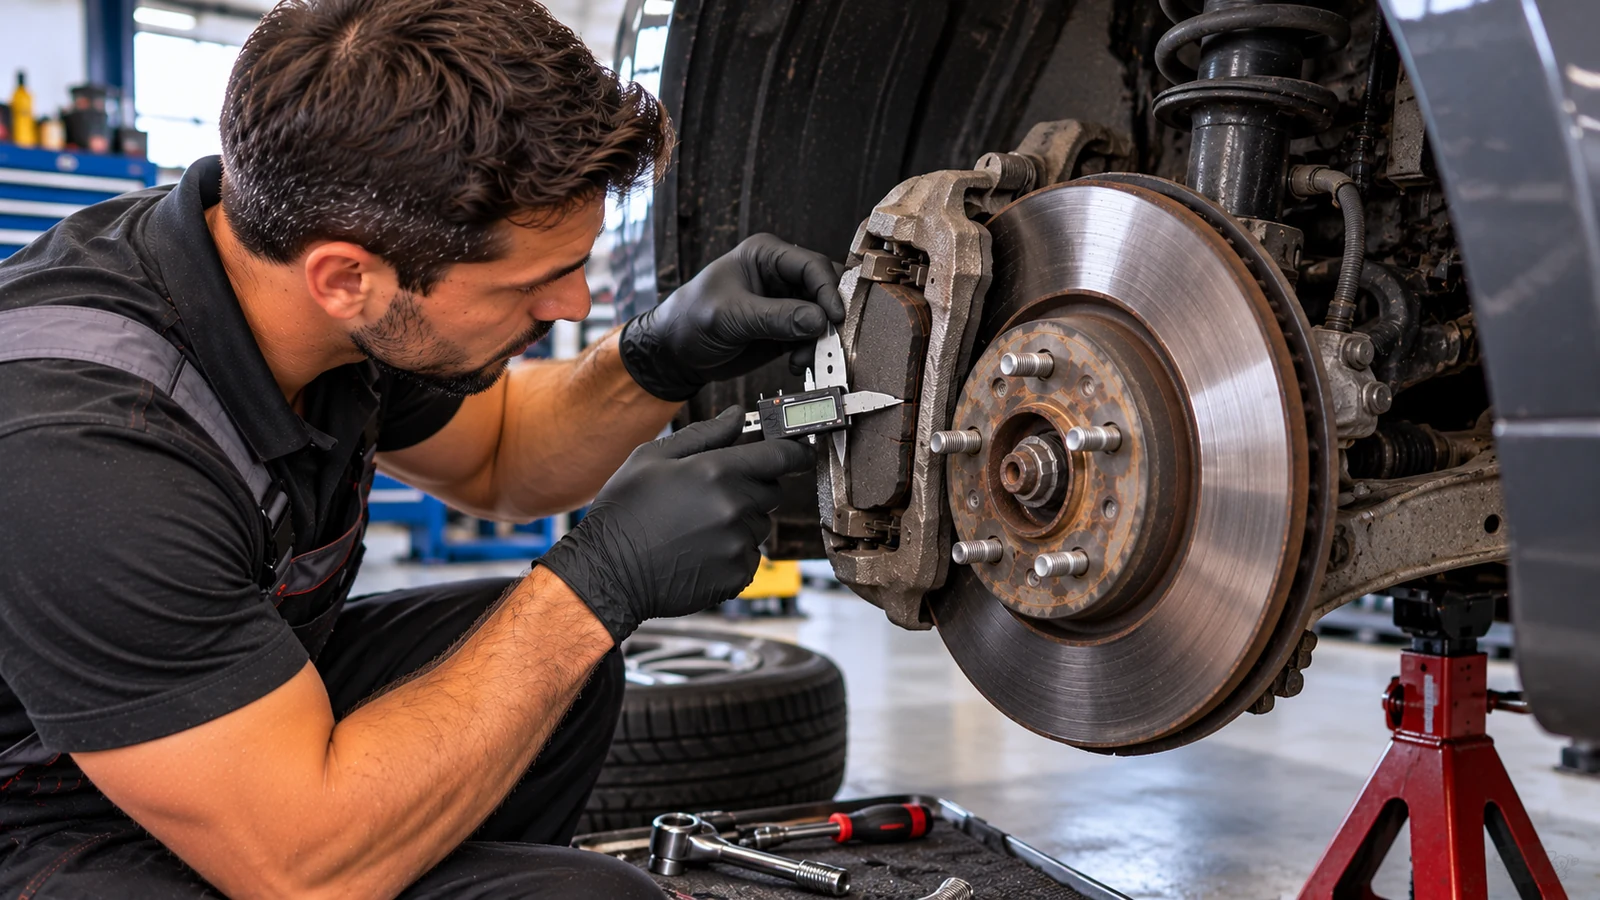
Removing the wheel gives you a much clearer view of both pads, the rotor, caliper, and surrounding hardware.
1. Secure and raise the vehicle
Park on a stable surface and chock the wheels that will remain on the ground.
Loosen the wheel fasteners slightly before lifting if required by the normal service procedure. Raise the vehicle at the approved jacking point and support it securely on a jack stand before removing the wheel.
2. Locate the inner and outer brake pads
With the wheel removed, identify the brake rotor and caliper.
Look through the caliper inspection opening or along the rotor edge to identify both the inner and outer friction linings.
Do not judge the condition of the entire axle from one visible pad.
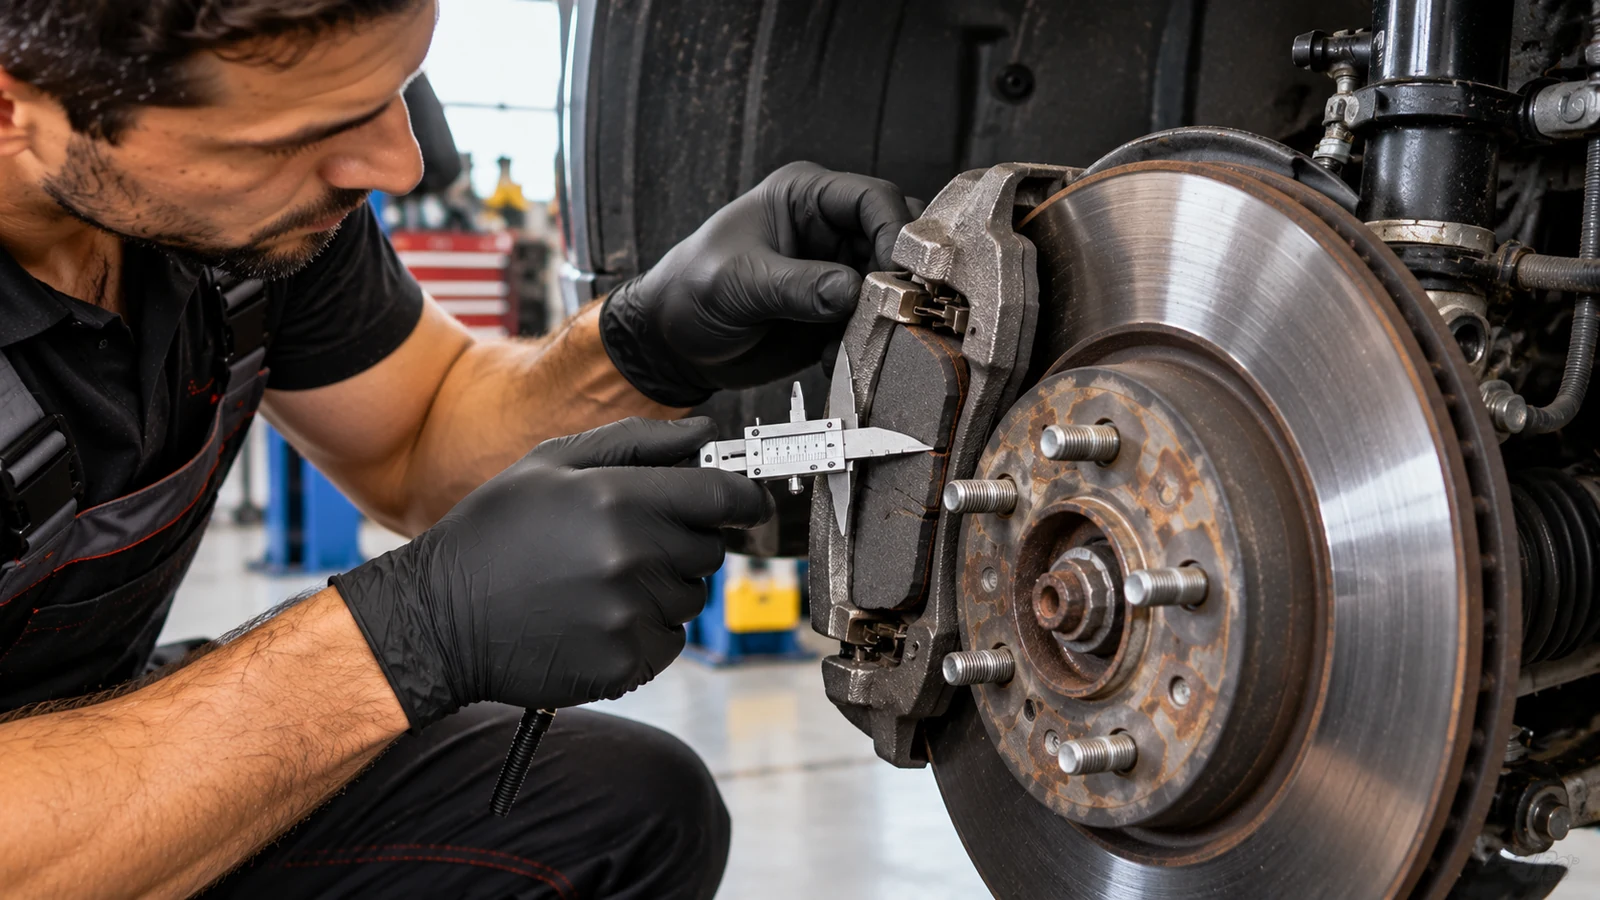
3. Measure the friction material
Use a brake lining gauge, depth gauge, or suitable measuring tool.
Measure from the friction surface to the point where the friction material meets the steel backing plate. Do not include the backing plate itself.
Record the inner and outer measurements separately.
For example:
- Outer pad: 6 mm
- Inner pad: 3 mm
That axle should not be treated as having “6 mm pads.” The inner pad has already reached the general replacement threshold, and the uneven wear needs investigation.
4. Compare both wheels on the axle
Check the opposite wheel as well.
A large difference between left and right sides can point to a mechanical or hydraulic problem rather than normal wear alone.
5. Inspect the surrounding hardware
While the wheel is removed, inspect:
- Caliper guide-pin boots
- Pad retaining clips
- Anti-rattle hardware
- Visible piston dust boot
- Wear indicator tabs
- Electronic sensor wiring, where fitted
- Rotor surface condition
A worn pad tells you how much friction material remains. The surrounding hardware can help explain why it wore that way.
What Uneven Wear and Warning Signs Can Tell You
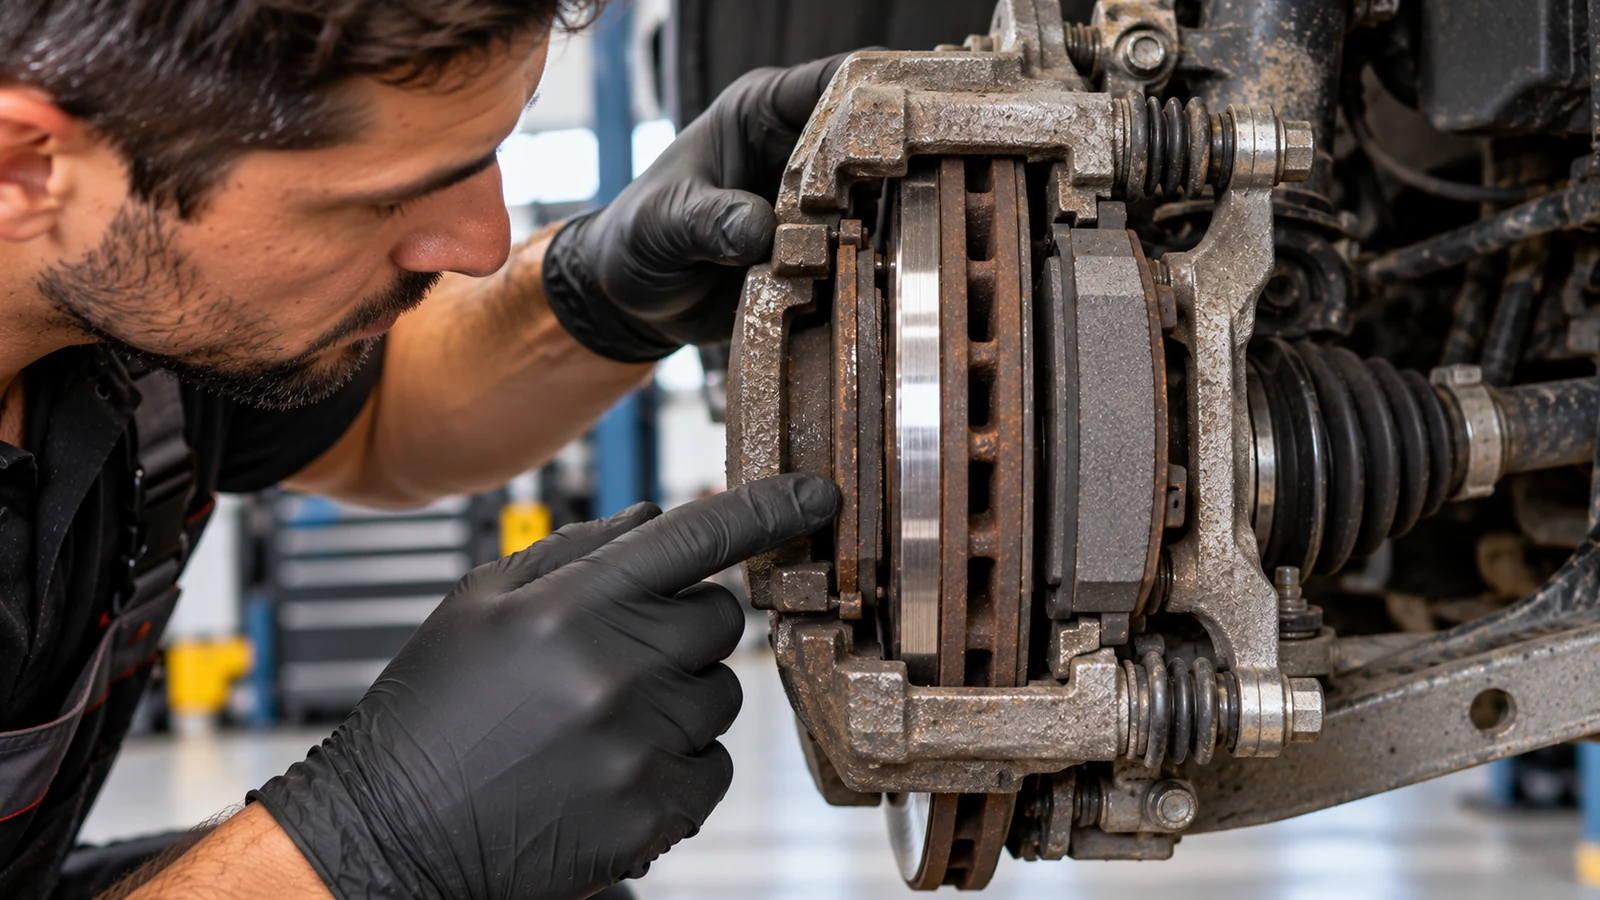
Brake pad thickness is only one part of the inspection. Wear patterns and driving symptoms can reveal additional problems.
One pad is much thinner than the other
On a floating-caliper system, unusually uneven inner-to-outer wear may be associated with:
- Binding caliper guide pins
- Corrosion around pad contact points
- A sticking caliper piston
- Damaged guide-pin boots
- Pads that cannot slide freely in the bracket
If you notice a large difference, don’t install new pads without first checking why the old pads wore unevenly.
High-pitched brake squeal
Some pads use a small mechanical wear indicator or “squealer.”
As the lining becomes thin, the indicator can contact the rotor and produce a high-pitched sound. The source article places this warning range at roughly 2 to 3 mm of remaining lining.
However, not every squeal indicates worn pads. Brake noise can also come from vibration, contamination, glazing, or hardware issues.
Grinding while braking
Grinding is more serious.
If the friction material is exhausted, the backing plate can contact the rotor and damage its braking surface. At that stage, a pad replacement may no longer be enough because you must also inspect the rotor for scoring and minimum thickness.
Electronic brake-pad warnings
Some vehicles use electronic wear monitoring rather than relying only on a mechanical squealer.
Because sensor design and reset procedures vary, use model-specific information rather than assuming that every warning system works the same way.
For example, technicians working on an Audi can check the Audi factory service manual catalog and the applicable vehicle documentation, such as the 2009-2013 Audi A4 Quattro manual.
BMW owners can use BMW workshop manuals with a model reference, such as the2012-2018 BMW 3 Series F30 manual, to confirm wear-sensor locations and brake service procedures.
The same principle applies when servicing Mercedes-Benz vehicles. Start with the Mercedes-Benz repair manual catalog and confirm the exact platform using a manual such as the 2008-2012 Mercedes-Benz C 300 4MATIC manual.
Performance-oriented systems also deserve model-specific checking. The Porsche service manual collection includes vehicle references such as the 2015-2016 Porsche Macan manual.
Volkswagen owners can similarly compare the general inspection steps in this guide with Volkswagen workshop manuals and the appropriate model documentation, including the 2010-2019 Volkswagen Jetta Mk6 manual.
Vibration or steering-wheel shake during braking
Don’t automatically blame brake vibration on worn pads.
Possible causes include rotor thickness variation, uneven friction deposits, or other brake- and suspension-related issues. Inspect the pads and rotor together rather than replacing parts based on one symptom alone.
How Often Should You Check or Change Brake Pads?
No single mileage applies to every vehicle.
A general service-life range is roughly 30,000 to 70,000 miles, but actual wear can vary considerably. Inspection is more useful than replacing pads based on mileage alone.
The source article recommends checking pad condition about every 6,000 to 10,000 miles. Combining a brake inspection with routine maintenance can make it easier to track the wear rate over time.
Driving conditions that change brake-pad life
Several factors influence pad wear.
Stop-and-go driving: Frequent braking in city traffic generally uses more friction material than steady highway driving.
Vehicle weight: Heavier vehicles and extra payload increase the energy the brakes must absorb.
Driving technique: Repeated hard braking and riding the brake pedal can increase heat and wear.
Brake-pad material: Organic, semi-metallic, and ceramic compounds have different noise, heat, dust, friction, and wear characteristics.
Mechanical condition: Binding guide pins or pads that cannot release properly can dramatically shorten pad life.
Because the service limit remains vehicle-specific, use the correct documentation when measurements are approaching the replacement zone.
For Honda vehicles, the Honda service manual catalog can be narrowed to the actual platform, such as the 2016-2018 Honda Civic FC/FK manual.
Toyota owners can take the same approach through Toyota workshop manuals and a vehicle-specific reference such as the 2018-2023 Toyota RAV4 XA50 manual.
For Hyundai vehicles, use the available Hyundai factory repair manuals and, where applicable, documentation such as the 2015-2016 Hyundai Sonata LF manual.
Kia owners can consult Kia workshop manuals alongside a matching reference such as the 2016 Kia Sorento UM manual.
For Acura platforms, the Acura repair manual catalog includes model-specific documentation such as the 2007-2013 Acura MDX manual.
These model references are especially useful when a general 3 mm rule is close to the manufacturer’s stated inspection or replacement limit.
DIY Inspection vs. Professional Brake Check
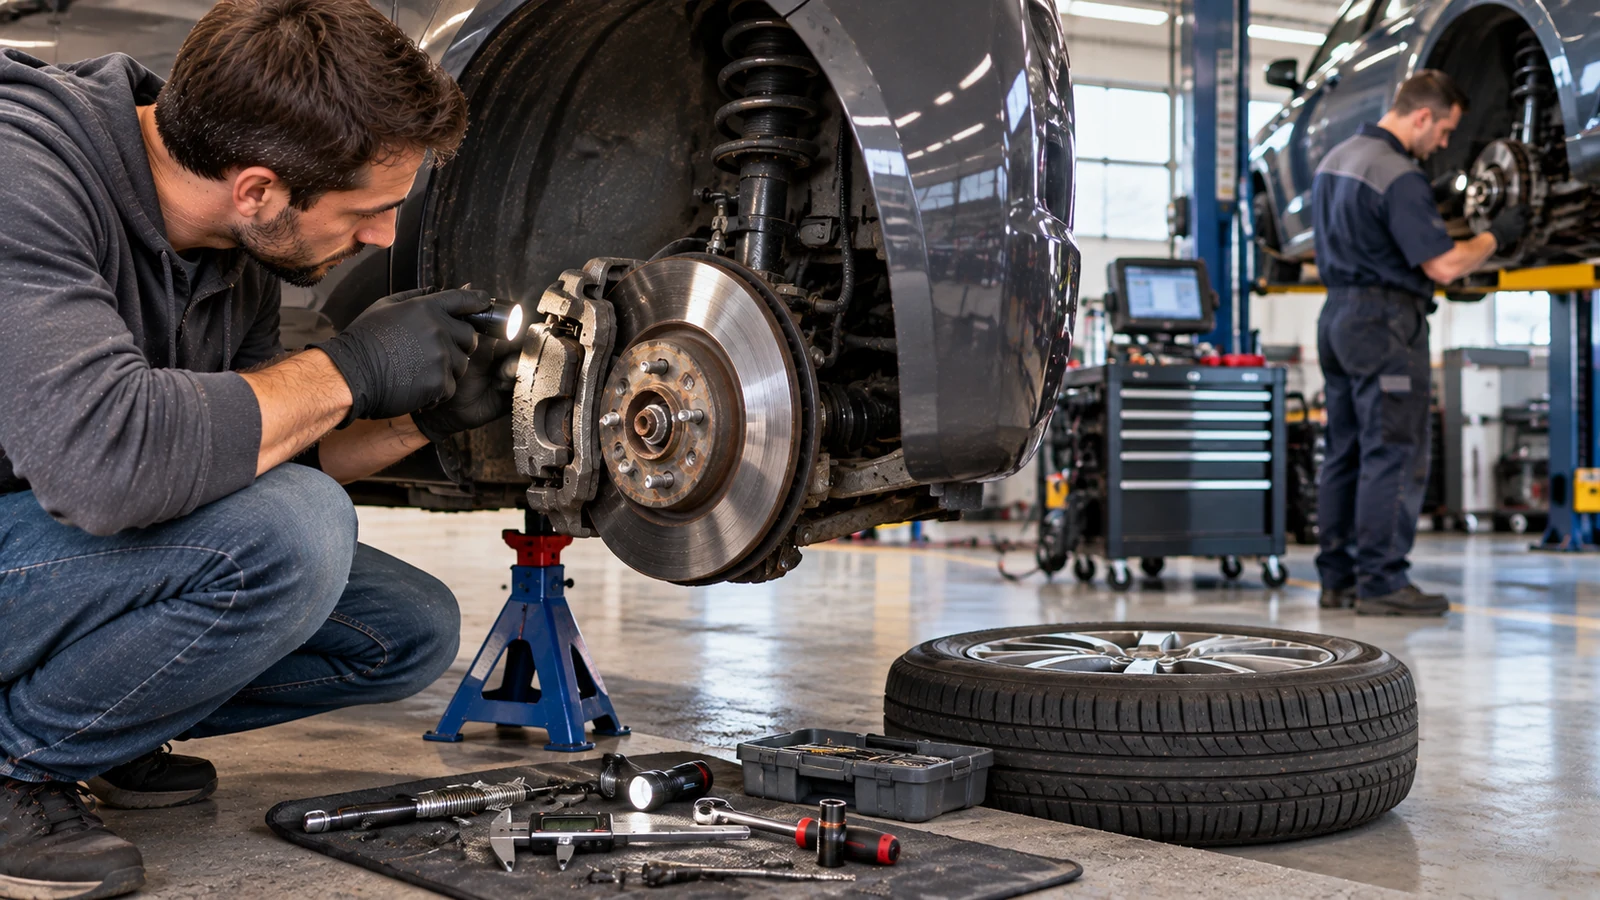
Checking pad thickness is a realistic DIY task for someone who can safely raise and support a vehicle.
The source article provides these approximate comparisons:
| Inspection factor | DIY inspection | Professional inspection |
|---|---|---|
| Basic inspection labor | No labor charge | About 50–120 |
| Basic tool requirement | About 15–40 if tools are needed | Shop equipment provided |
| Typical time | About 20-30 minutes | Often 1-2 hours including shop time |
| Pad measurement | Accurate with suitable gauge | Accurate with professional tools |
| Full brake diagnosis | Depends on experience | Better suited to complex faults |
Actual prices vary by location and workshop, so treat these figures as general reference ranges rather than fixed repair prices.
DIY inspection makes sense when:
- You can lift the vehicle safely
- You know how to identify pad friction material
- You have a suitable measuring tool
- You are performing routine preventive maintenance
- No major braking fault is present
Professional diagnosis makes more sense when:
- The vehicle pulls during braking
- The brake pedal feels abnormal
- Fluid is leaking
- Pads are wearing severely unevenly
- Grinding has already started
- ABS or brake warning lights are active
- A caliper appears seized
- You are unsure how to interpret what you see
Brake inspection is different from brake-system repair. Opening hydraulic lines, servicing ABS components, or working on an electronic parking brake may require additional procedures and equipment.
Why the Factory Workshop Manual Matters
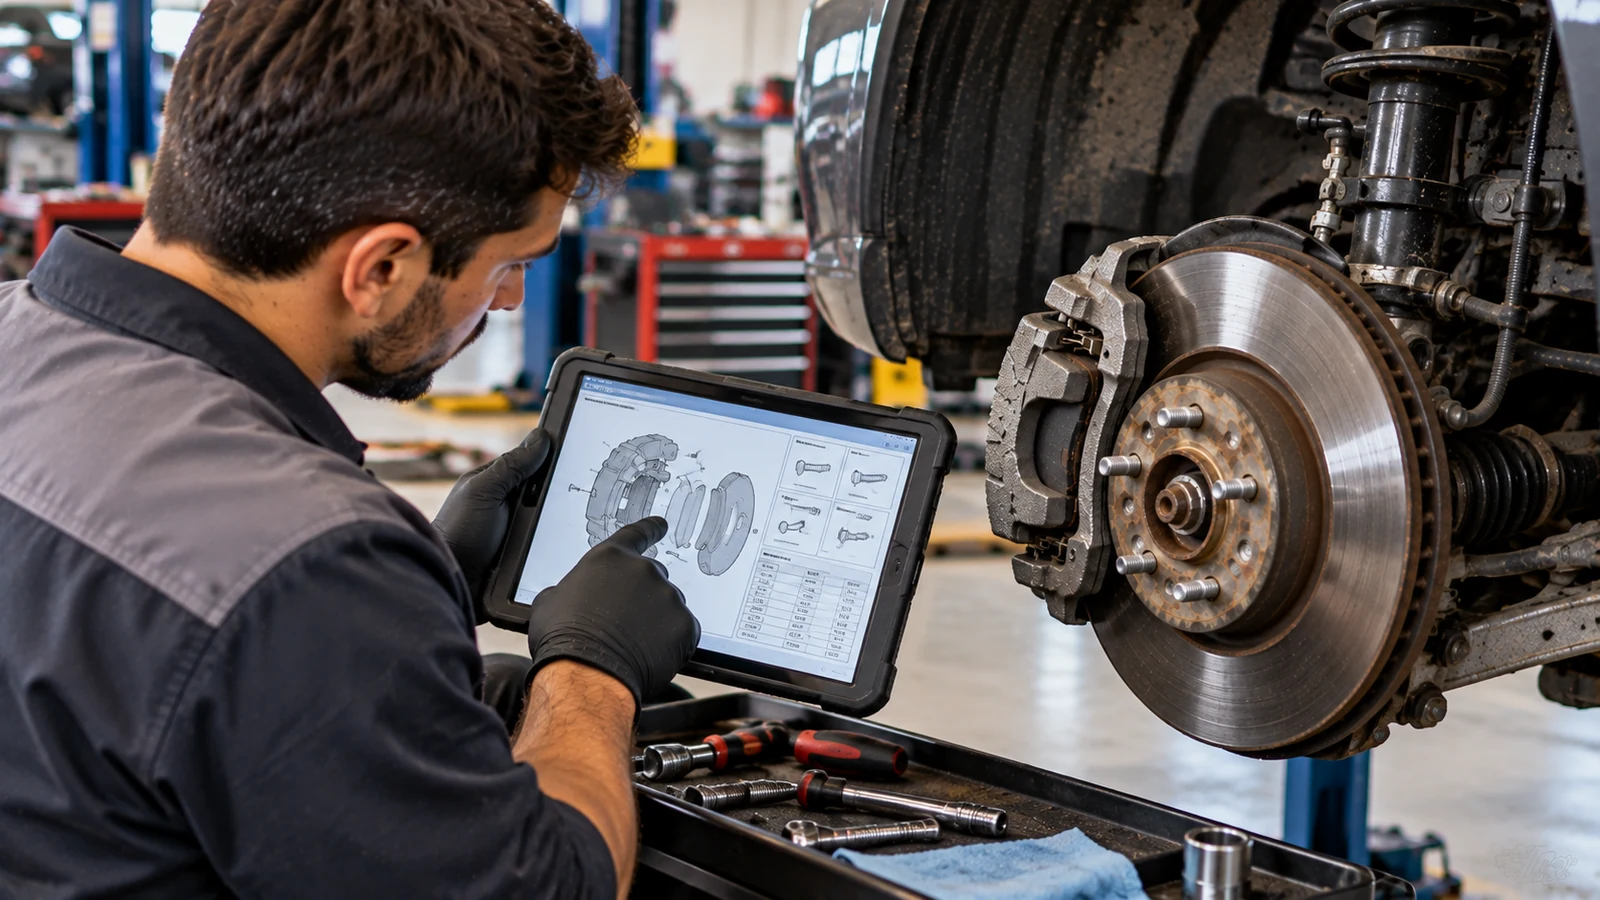
A general guide can show you how to inspect brake pads, but it cannot provide every specification for every model.
The correct workshop manual may contain:
- Front and rear pad service limits
- Rotor nominal and discard thickness
- Caliper guide-pin torque
- Caliper bracket torque
- Wheel fastener torque
- Pad and shim orientation
- Wear-sensor location
- Electronic parking-brake procedures
- Brake-fluid bleeding sequence
- ABS-related precautions
- Safe jacking points
- Component removal order
These details matter most when you move from inspection to repair.
For a Chevrolet application, begin with the Chevrolet service manual catalog and then locate the exact vehicle, such as the 2014-2017 Chevrolet Corvette C7 manual.
SUV platforms can have different brake and lifting configurations. The Land Rover workshop manual collection includes specific references such as the 2015-2017 Land Rover Discovery Sport L550 manual.
For Lexus vehicles, use Lexus factory service manuals and confirm the platform with documentation such as the 2007-2012 Lexus ES 350 manual.
Mazda owners can consult the Mazda repair manual catalog and model-specific material such as the 2013-2014 Mazda CX-5 AWD manual.
For Nissan applications, start with Nissan workshop manuals and then use the exact vehicle reference, for example, the 2008-2013 Nissan Rogue 4WD manual.
Subaru owners can narrow the available Subaru factory repair manuals to documentation such as the 2003-2010 Subaru Forester manual.
Likewise, the Volvo workshop manual catalog provides access to vehicle-specific references, including the 2010-2013 Volvo XC60 AWD manual.
The important point is not to assume that a torque value, sensor procedure, minimum lining thickness, or rear-brake servicing method from another vehicle automatically applies to yours.
Common Brake Pad Inspection Mistakes
A brake pad check is simple, but several mistakes can lead to the wrong conclusion.
Inspecting only the outer pad
This is probably the biggest limitation of a quick wheel-on check. The inner pad may be much thinner than the outer pad.
Always inspect both when possible.
Measuring the backing plate
Brake pad thickness specifications normally refer to friction material, not the friction material plus its steel backing plate.
Measure the two separately.
Replacing pads without investigating uneven wear
If one pad is almost gone while another has substantial material left, a new set of pads may develop the same problem unless you correct the cause.
Inspect the caliper movement, pad contact points, piston operation, and related hardware.
Ignoring the rotor
A badly worn pad can damage the rotor.
Look for deep grooves, heavy scoring, abnormal discoloration, and other obvious surface problems. Rotor thickness must also remain above the applicable service specification.
Assuming mileage tells you exactly when replacement is due
Two vehicles with identical brake pads can have very different wear rates.
Pad thickness and condition are more useful than odometer mileage alone.
Using a generic torque value
Caliper and wheel fastener torque varies by application. Use the specification for the exact vehicle.
Conclusion
Learning how to check brake pads gives you an early warning before normal friction wear develops into rotor damage or a larger brake repair.
A quick look through the wheel can identify obviously thin pads, but the most useful inspection is a wheel-off measurement of both the inner and outer pads. Around 3 mm of friction material is a practical general replacement point, while 2 mm or less should be treated as urgent.
Most importantly, use general measurements as a starting point, not a substitute for vehicle-specific information. Before removing calipers, servicing electronic parking brakes, tightening brake hardware, or making decisions based on minimum thickness, confirm the applicable procedure and specification in the correct factory workshop manual.
Frequently Asked Questions
Can I Check My Brake Pads without Taking the Wheel Off?
Yes, if the wheel design gives you a clear view of the caliper and outer pad. Shine a flashlight through the wheel spokes and inspect the visible friction lining.
Treat this as a preliminary inspection because the inner pad may not be visible.
At What Thickness Should Brake Pads Be Replaced?
As a general guide, plan replacement when the friction lining reaches approximately 3 mm.
At 2 mm or less, consider service urgent. Always verify the exact manufacturer’s specification for the vehicle.
How Thick are New Brake Pads?
New pads commonly have around 10 to 12 mm of friction material.
Actual new-pad thickness can vary with pad design and application.
How Often Should I Inspect Brake Pads?
A practical general interval is every 6,000 to 10,000 miles, particularly if the vehicle is already being serviced for routine maintenance.
Inspect sooner if you notice noise, vibration, warning lights, or changes in braking behavior.
How Long Do Brake Pads Normally Last?
A broad general range is about 30,000 to 70,000 miles.
Driving environment, vehicle weight, braking habits, friction material, and mechanical condition can shorten or extend that lifespan.
Why Is My Inner Brake Pad Thinner Than the Outer Pad?
Uneven inner-to-outer wear can be associated with binding caliper slides, corrosion around the pad hardware, or a sticking piston.
Inspect the caliper before installing another pad set.
Do I Have To Replace All Four Brake Pads At Once?
Not necessarily.
You can service front and rear brakes at different times, but pads should normally be replaced as a complete axle set. Replace both sides of the front axle together or both sides of the rear axle together.
Does A Squealing Brake Always Mean the Pads are Worn Out?
No.
A mechanical wear indicator can create a squeal when the pads become thin, but noise can also come from vibration, contamination, glazed surfaces, or brake hardware.
Measure the pads rather than diagnosing wear from noise alone.
Can I Keep Driving With 2 Mm Brake Pads?
The source material treats 2 mm or less as an urgent service condition.
There is little remaining wear margin, and further use increases the risk of reaching the backing plate and damaging the rotor. Arrange brake service promptly.
Should I Replace the Rotors Whenever I Replace The Pads?
Not automatically.
Inspect the rotor’s condition and measure it against its minimum service or discard thickness. A rotor that remains within specification and has an acceptable braking surface may not require replacement solely because the pads are being changed.