A transmission can have the correct amount of fluid and still shift badly because the lubricant is contaminated or overheated. It can also contain healthy fluid but run low enough to cause pressure problems. Checking transmission fluid level and condition means looking at both, using the procedure specified for the transmission installed in your vehicle.
The first question is not where to add fluid. It is how your gearbox is designed to be checked. Some automatics have a dipstick, others require a temperature-controlled overflow check, and most manual gearboxes have a side-mounted fill or level plug. Start with the right method, then decide what the fluid is telling you.
Key Takeaways
- A cold or engine-off dipstick reading is not always correct.
- Some manufacturers specifically require checking the fluid with the engine off.
- Fluid color alone cannot reliably determine its condition.
- A missing dipstick does not mean the transmission fluid never needs checking.
- If the properly measured fluid level is low, check for leaks or previous underfilling.
- Avoid repeatedly topping up without finding the cause of the low fluid level.
Choose the Correct Transmission Fluid Check Method
| What is fitted? | Normal inspection approach | What matters most |
|---|---|---|
| Automatic with dipstick | Wipe and reinsert dipstick, then read the specified range | Transmission temperature, engine running or off, selector position |
| Automatic without dipstick | Inspect flow at a level/overflow plug | Vehicle level, specified fluid-temperature window, correct plug and engine state |
| Continuously variable transmission (CVT) | Dipstick or model-specific level-plug routine | Dedicated CVT fluid and exact temperature procedure |
| Dual-clutch transmission (DCT) | Manufacturer-specific check of gearbox and, where applicable, clutch-fluid circuits | Wet- versus dry-clutch design and approved lubricant |
| Manual gearbox | Inspect at fill/level port with engine off | Level vehicle, approved gear lubricant and any specified level offset |
| Transfer case or drive unit | Separate fill or inspection point where provided | Do not confuse its lubricant or drain plug with the transmission’s |
Before Checking: Confirm the Procedure and Set Up Safely
Transmission fluid checks are not performed the same way on every vehicle, so start by identifying the exact gearbox, fluid specification, temperature requirement, and level-check method. Preparing the correct tools and supporting the vehicle safely helps prevent inaccurate readings, fluid contamination, and injuries during the inspection.
Identify the Exact Gearbox, Not Just the Vehicle Model
An engine option, build year, drive layout or transmission code can change the required fluid and level-check sequence. Look for the transmission identification in the vehicle’s service information or on its identification label. Then note the operating-temperature requirement, selector position, fluid specification, plug location and torque values.
The AutoServicePlus guide to finding fluid capacities in factory manuals is useful here: a dry-fill capacity is not the same as a drain-and-refill quantity, and neither replaces a final level check. Use the factory manual pre-repair checklist to verify tools, safety precautions and the procedure revision before starting.
For example, a vehicle wearing an Acura badge might need a different operating condition from a similar-looking automatic elsewhere in the range. Begin with the correct vehicle in the Acura workshop manual collection rather than applying an assumption to every conventional automatic.
Prepare the Vehicle Without Creating a New Hazard
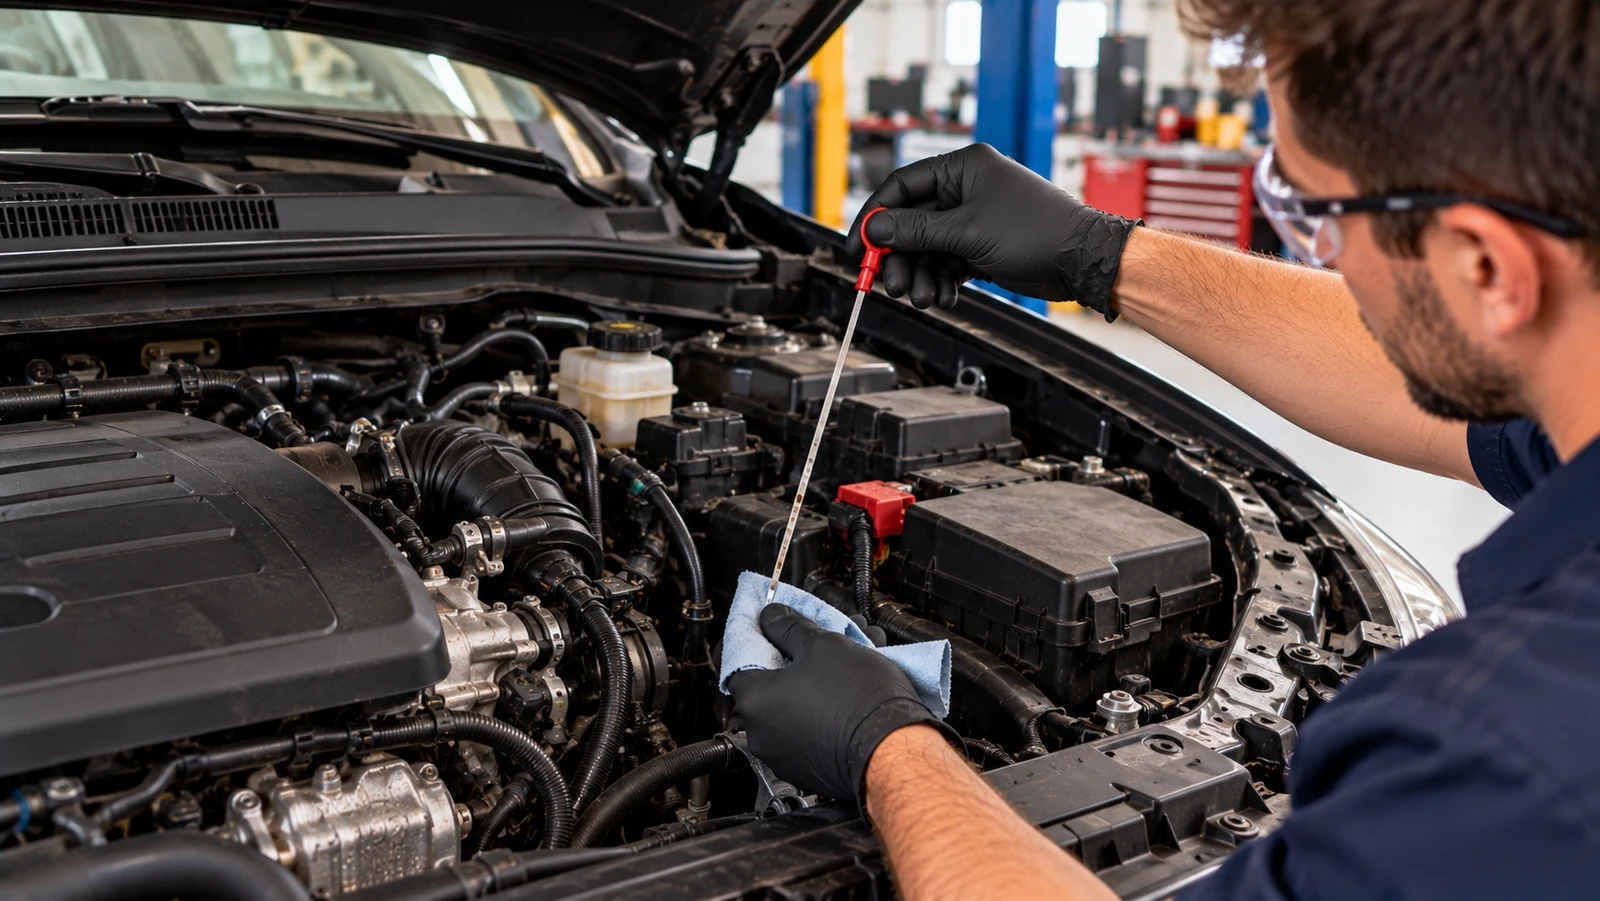
For a dipstick check, have a lint-free cloth, a white inspection towel, gloves and good lighting available. Park on a firm, level surface, apply the parking brake and keep loose clothing away from moving belts and fans. Use the fluid’s approved fill point only if a top-up is needed.
An overflow-plug check is a different job. It may require a scan tool that displays transmission-fluid temperature, a lift capable of keeping the vehicle level, suitable filling equipment and access beneath a vehicle with the engine running. Never crawl under a vehicle supported only by a floor jack. If safe access or temperature data is unavailable, have a qualified workshop perform the check.
Checking Automatic Transmission Fluid With a Dipstick
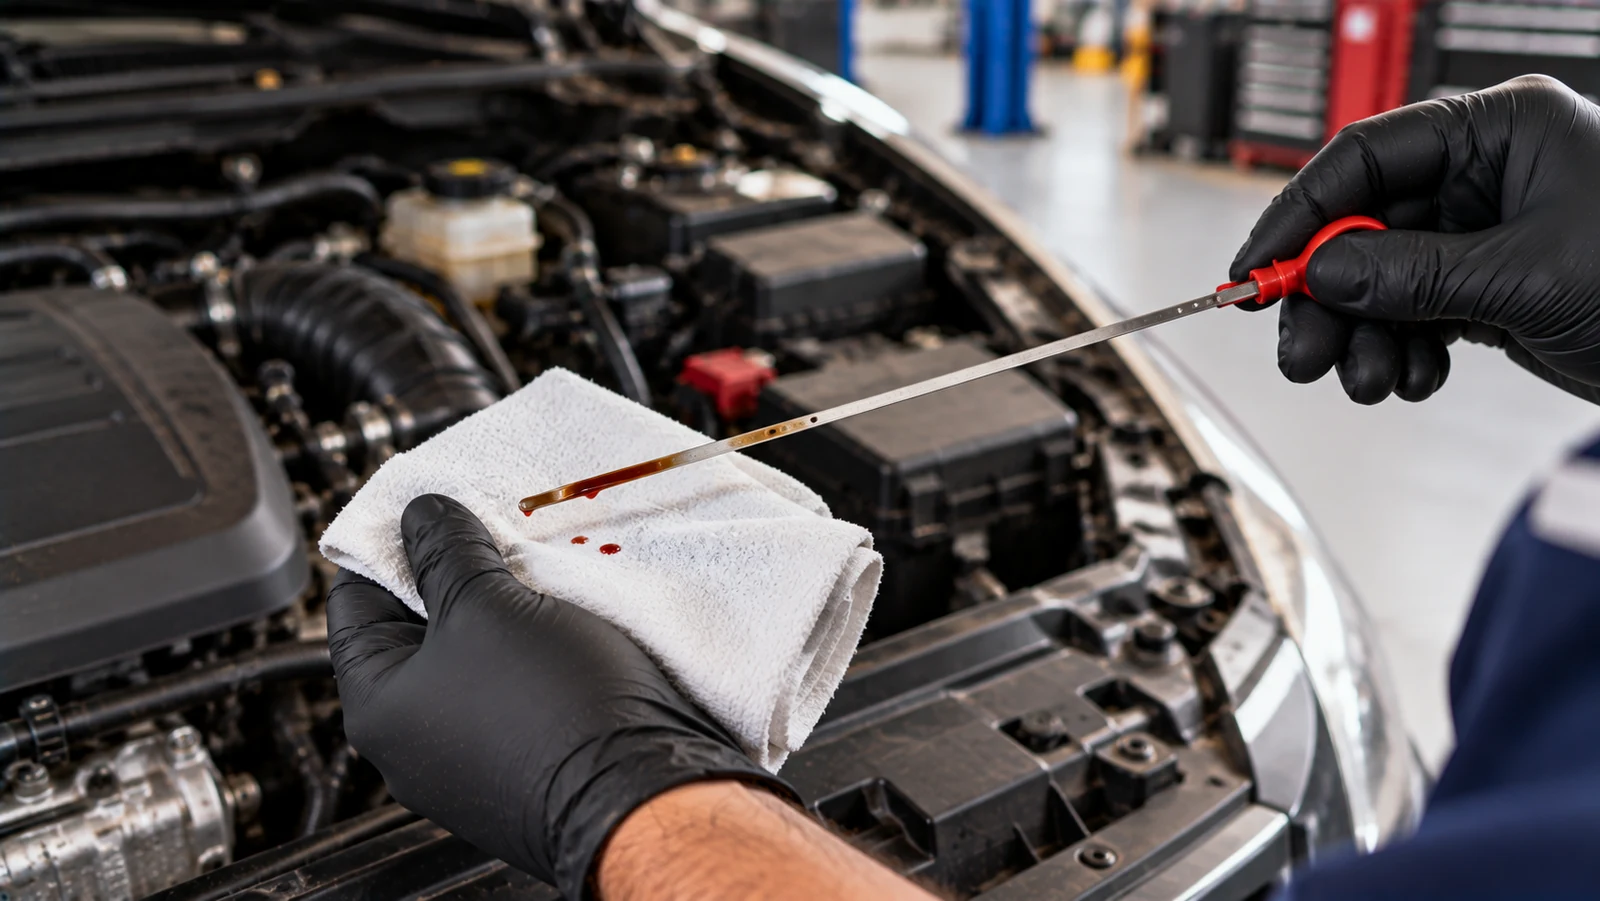
A dipstick fluid check requires the correct transmission temperature, vehicle position, selector setting, and reading procedure for the specific gearbox. Following a repeatable process helps you get an accurate level reading while also checking the fluid for abnormal color, odor, or contamination.
Take a Repeatable Reading in Seven Steps
- Warm the transmission as specified. A short road drive is usually more reliable than idling the engine briefly, but follows the vehicle’s required temperature or driving conditions.
- Park level and secure the vehicle. Apply the parking brake and hold the service brake when changing selector positions.
- Cycle the selector if required. Move through the specified ranges, pausing as instructed, so the hydraulic circuits stabilize.
- Use the correct check state. Many automatics require the engine idling in Park or Neutral. Others require a warmed transmission with the engine switched off.
- Wipe and fully reinsert the dipstick. Make sure it seats completely in the tube.
- Remove it and read the indicated range. Compare against the appropriate HOT, COLD or temperature-specific marks. If the sides disagree, repeat the check rather than guessing.
- Take a small fluid sample. Record the level, color, odor and visible contamination before making any adjustment.
The cold marks, where present, may be intended only as a preliminary reference. On many conventional automatics, the meaningful final reading is taken after warm-up with the engine running. Switching off an engine that should remain idling can let fluid drain back into the pan and produce an artificially high indication.
Why Some Honda Checks Require the Engine Off
Several conventional Honda automatic procedures call for warming the transmission and switching the engine off before checking. That exception is important because the standard idling-engine routine can create a false reading on those vehicles. Use the appropriate Honda service manual library and consult a matching 1990–1997 Accord workshop manual for the procedure applicable to its exact transmission and year. Do not assume the same instructions apply to every Honda, Acura or newer CVT.
Checking a Transmission Without a Dipstick
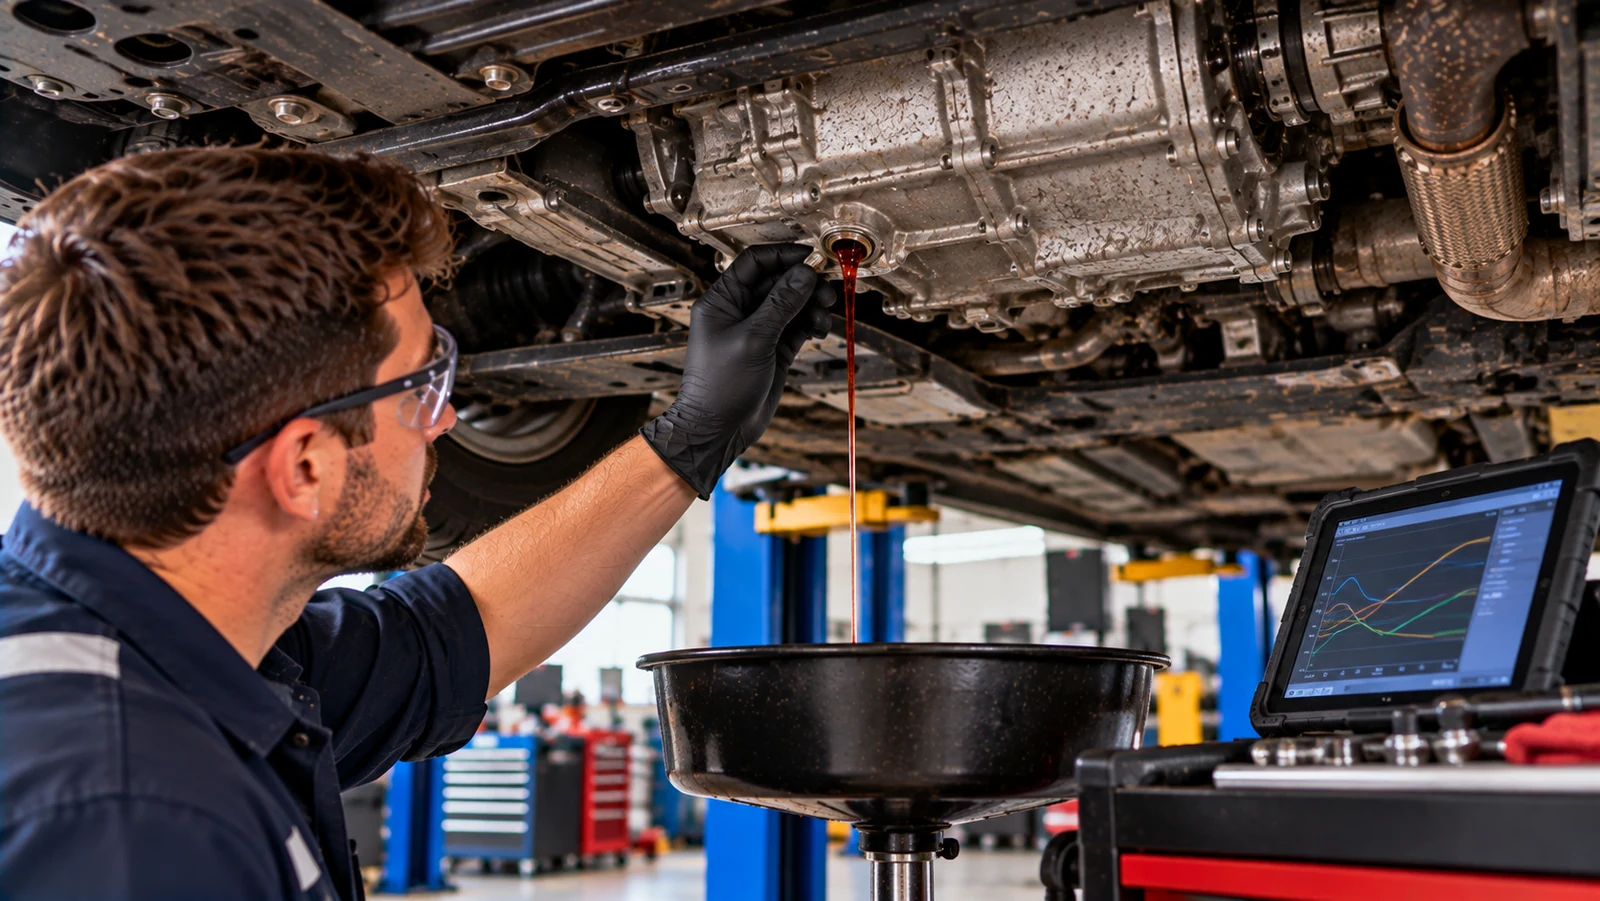
Sealed transmissions require a specific level-check procedure based on the gearbox design, fluid temperature, vehicle position, and engine state. Following the correct overflow-plug or manufacturer-specified method is essential because CVTs, DCTs, and conventional automatics can use very different checking procedures and fluids.
Understand the Level Plug and Temperature Window
Many sealed automatics use a level plug, sometimes connected to an internal standpipe. With the manufacturer’s required conditions met, the correct level may be indicated by a slow trickle rather than a continuous stream. No fluid emerging can indicate an underfill; excess flow can indicate too much fluid. Both interpretations depend on engine state, fluid temperature and design.
Two published manufacturer-specific procedures show why the check conditions must not be generalized to every unit:
- Certain GM 6T40-family procedures: The referenced service sequence includes preliminary verification followed by an engine-idling level check around 85–95°C (185–205°F), with Dexron-VI specified. The Chevrolet manual catalog and a matching 2011–2013 Chevrolet Cruze repair manual provide a starting point for identifying the transmission and exact procedure.
- Certain Toyota U660E/U760E procedures: A cited Toyota service bulletin uses approximately 85–90°C (185–194°F) and a dedicated gauge at the overflow opening with Toyota WS fluid. Find the appropriate transmission in the Toyota workshop manual selection; compare the 2009–2013 Venza FWD manual or 2015 Camry XV50 service manual with the vehicle’s build details before assuming either uses that exact bulletin.
Those examples illustrate why a generic instruction such as “check it at 40°C” is unsafe. A thermometer aimed at the oil pan only measures surface temperature; where a procedure requires a transmission temperature sensor reading, use a capable scan tool or the specified manufacturer display.
A Workshop-Level Overflow Check, in Principle
- Find and positively identify the fill, drain and level locations in the correct manual.
- Check any specified minimum-fill or pre-check condition before starting the engine.
- Position the vehicle level on an approved lift and prepare protective equipment and a catch pan.
- Select the specified shift positions, then hold the indicated engine state.
- Monitor actual transmission-fluid temperature until it enters the specified window.
- Open only the designated level plug; assess the flow as the particular procedure directs. Add or drain the approved fluid through the correct port as needed.
- Install the specified seal, tighten the plug to the published torque, inspect for leaks and repeat the level check if the temperature window was exceeded.
These are common workflow elements, not a substitute for factory instructions. A different design may require a special adapter, a different engine state or multiple temperature stages.
A matching 2013 Ford Fusion AWD workshop manual can identify the proper method before a technician checks its transmission. The broader Ford workshop manual collection helps distinguish variants and approved fluid specifications instead of assuming that one Ford fill procedure suits all models.
CVTs, DCTs and Other Gearboxes Need Separate Rules
A CVT works differently from a stepped automatic, and it uses a transmission-specific fluid with properties selected for its pulley or chain system. A Nissan factory manual and the relevant 2008–2013 Rogue 2WD repair manual can help establish whether a vehicle has a CVT and how its level is checked. The name of the model alone is not enough to choose a bottle of fluid.
Likewise, use Subaru service documentation to distinguish conventional automatics from CVT-equipped applications. The 2010–2013 Outback manual is one year-specific entry to consult rather than using a universal overflow temperature. For Mitsubishi transmission service information, the 2011–2013 Outlander Sport AWD manual provides a vehicle-specific reference for identifying the installed driveline and prescribed service method.
DCTs need another distinction: wet-clutch transmissions use fluid around the clutch assemblies, while dry-clutch transmissions do not use that arrangement. Some gearboxes also have separate circuits. A Hyundai workshop manual matched to the 2015–2016 Sonata LF or a Kia service manual collection matched to the 2010–2015 Sportage SL should be used to identify the actual transmission fitted. These linked models are documentation examples, not claims that every listed trim has a DCT.
How to Check a Manual Gearbox and Separate Driveline Units
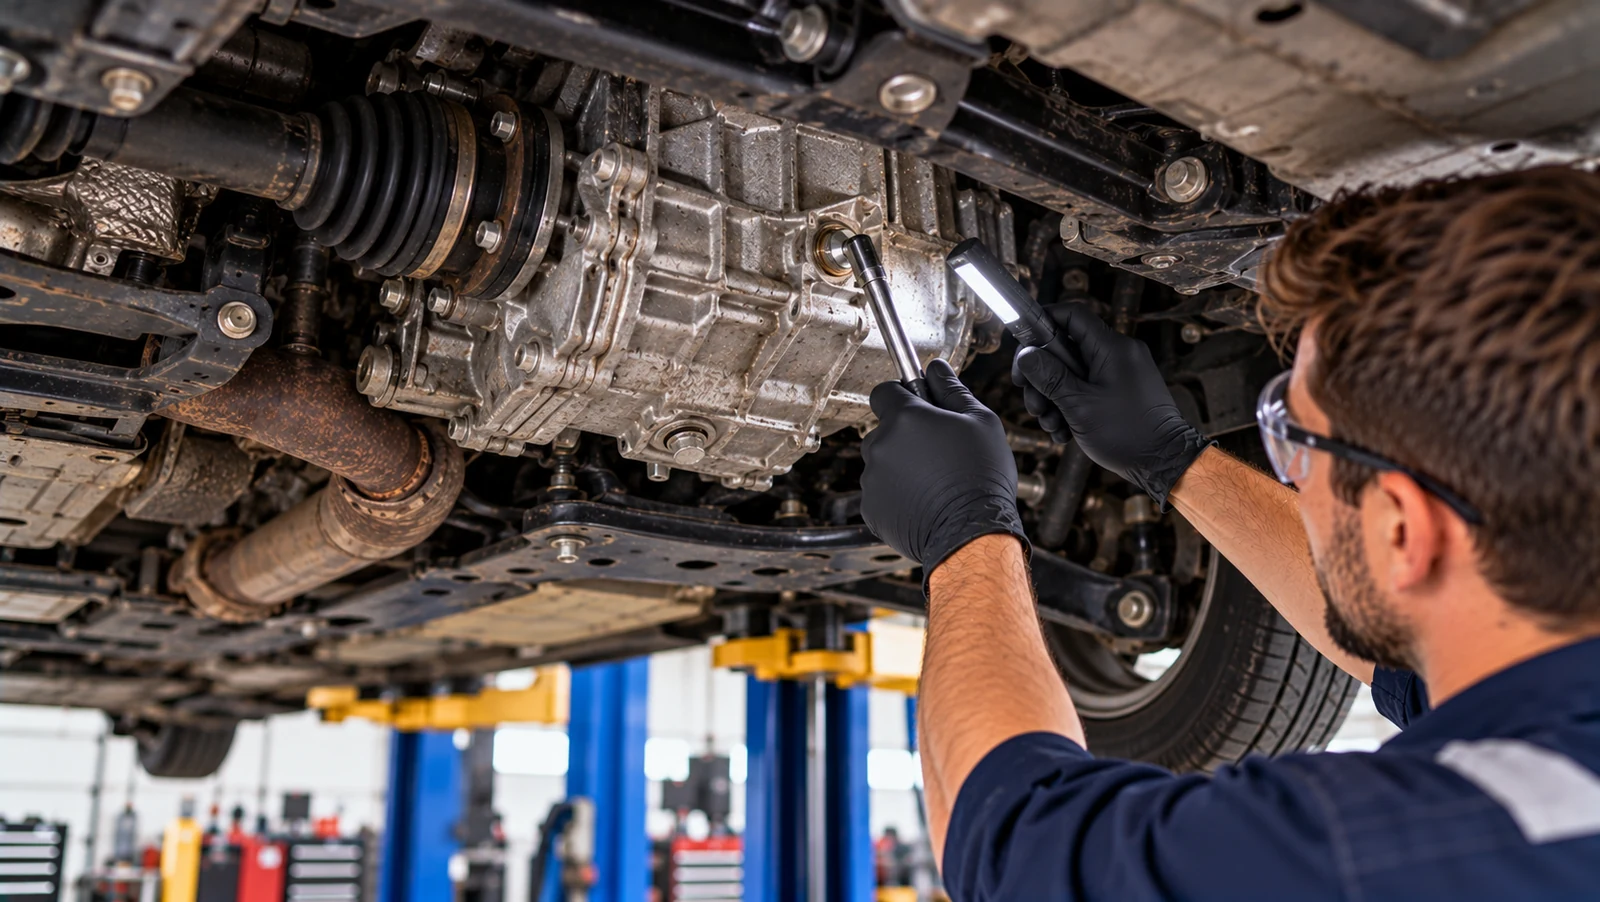
Manual gearboxes are typically checked through a side fill or level port with the vehicle safely positioned level, but the correct fill height and lubricant vary by transmission. Four-wheel-drive, hybrid, and electric vehicles may also have separate driveline units with their own fluids and service procedures, so each component must be identified before checking or adding fluid.
Check the Side Fill Port With the Vehicle Level
Most manual transmissions use a side fill or level opening. With the engine off, secure the level vehicle, clean the plug area and identify the fill plug before disturbing the drain plug. Some gearboxes are filled to the bottom of the opening; others specify a measured distance below it or another procedure. Confirm that distinction before adding lubricant. Use the exact lubricant grade specified for the gearbox, not whatever gear oil is on the shelf.
On four-wheel-drive vehicles, the manual transmission, transfer case and axles may have different fluids and check points. The Jeep repair manual collection and a matching 1998–2010 Wrangler 4WD workshop manual can help identify the correct gearbox components for that configuration. For truck service, compare the Ram manual library with the 2011–2013 Ram 1500 4WD repair manual to locate any separate transfer-case and differential checks.
Hydraulic Clutch Fluid Is Not Gearbox Lubricant
A manual-transmission vehicle with a hydraulic clutch generally uses a separate hydraulic circuit, sometimes sharing a brake-fluid reservoir. Low clutch hydraulic fluid may affect clutch release, but adding transmission oil will not solve it. If hydraulic service is required, the guide to bleeding and replacing brake fluid provides relevant system precautions. Confirm the clutch’s approved fluid and bleed instructions separately.
Hybrid and Electric Drive Units Are Their Own Case
A hybrid may use an electronically controlled transaxle rather than a conventional step-gear automatic. The Lexus workshop manual inventory includes a 2011–2012 CT 200h manual that is useful for finding the specified drive-unit lubricant and service instructions. Electric vehicles also have lubricated reduction drive units, even though they may not need conventional multi-speed transmission-fluid checks. The 2017+ Chevrolet Bolt EV repair manual is an example of model-specific service documentation where high-voltage precautions must come before drive-unit work.
What Transmission Fluid Color, Smell and Texture Tell You
Take a few drops on a clean white towel under good lighting, where practical. Compare them with new fluid of the exact approved type. Fresh automatic fluid is often translucent red or pink, but specialty fluids can be amber or other colors, and normal aging can darken the dye. A color sample is an indicator, not a laboratory test.
| Observation | Possible interpretation | Appropriate next step |
|---|---|---|
| Clear, expected color, mild oil smell | No obvious contamination | Confirm level and maintenance interval |
| Brown but still translucent, no severe odor | May be aged fluid | Check history and scheduled service needs |
| Dark, opaque, sharp burnt odor | Heat damage or clutch/friction wear possible | Scan for faults and assess shifting before servicing |
| Pinkish, cloudy or milky | Water or coolant contamination possible | Stop and investigate cooler/radiator and gearbox |
| Visible glitter, chips or heavy grit | Potential internal mechanical wear | Professional inspection; do not treat as a simple top-up |
| Foamy or bubbly fluid | Aeration from high level, low level or unsuitable fluid | Verify the check method and actual level first |
Separate a Leak From a Condition Problem
A low reading paired with otherwise healthy fluid suggests loss or previous underfilling. Inspect the pan, plugs, cooler lines, axle seals and the transmission-to-engine junction. Red fluid on the ground is not proof of a gearbox leak because some steering fluids and coolants look similar. AutoServicePlus’s leak identification guide using color, smell and location explains how to narrow down the fluid source. If there is an active puddle, the under-car leak risk guide helps distinguish a routine inspection from a stop-driving situation.
Do not keep driving if the transmission is slipping, failing to engage, displaying a serious warning or clearly losing a substantial amount of fluid. Continued use can turn a seal or cooler-line repair into internal transmission damage.
A Fluid Problem Can Hide an Electrical Fault
A harsh shift with a correct level and normal-looking fluid can involve control pressure, solenoids, sensors or mechanical wear. Read the appropriate module codes and live data before authorizing a replacement. The AutoServicePlus resource on reading diagnostic code procedures in factory manuals shows how to use a fault-code chart and pinpoint tests. If reported fluid temperature is implausible, the guide to factory-manual sensor testing is a useful companion for checking circuits instead of guessing.
Correcting Low, High or Questionable Fluid Levels
Correcting a transmission fluid level requires the exact fluid specification, fill procedure, temperature, and engine state for the installed gearbox. Add or remove fluid in small amounts, then reassess the level and fluid condition before deciding whether the issue can be corrected with service or requires further diagnosis.
Add Only the Specified Fluid, in Small Amounts
ATF, manual-transmission lubricants, CVT fluids and DCT fluids are not universally interchangeable. Even within a manufacturer, the correct formulation depends on transmission code and build. Add through the specified port in small increments, rechecking at the prescribed temperature and engine state. If the level is above specification, remove excess fluid by the approved extraction or level-setting method. An overfilled automatic can aerate the fluid and produce unstable hydraulic pressure.
For European vehicles, resist the temptation to use a single “European ATF” based on the badge. The Volkswagen manual collection and a 2010–2019 Jetta Mk6 workshop manual can help identify the gearbox and specification for the correct variant. The same caution applies to Audi service documentation and the 2009–2013 A4 Quattro 8K2 manual. Transmission type cannot be safely inferred from a shared platform name alone.
Account for Transmission and Model Differences
A BMW manual library lookup followed by the 2012–2018 3 Series F30 workshop manual can guide a shop toward the correct fill procedure and approved fluid for the installed gearbox. The Mercedes-Benz repair manual selection and 2012–2013 E 350 sedan service manual likewise make model, drivetrain and year matching more useful than an internet fluid chart.
For Volvo workshop manuals, a 2010–2013 XC60 AWD manual is a starting point for verifying the transmission’s actual specification. Owners comparing Porsche service manuals should look up the 2015–2016 Macan workshop manual for the installed transmission rather than assuming a sports-vehicle fluid has a universal service method.
This also applies to more conventional automatics. Use the Mazda manual catalog with the 2013–2014 CX-5 AWD repair manual to confirm approved fluid, service fill amount and check conditions before deciding a top-up is needed.
Decide Whether to Service, Repair or Stop Driving
| Finding | Sensible response |
|---|---|
| Slightly low, no shifting complaint, no severe contamination | Reconfirm reading, identify leak or prior underfill, correct level and monitor |
| Overfilled, foamy fluid | Verify check conditions; remove excess as prescribed; reassess operation |
| Burnt fluid with slipping or repeated flare | Retrieve codes and assess internal condition before assuming a fluid change fixes it |
| Milky fluid or visible metal fragments | Avoid further driving; investigate contamination or internal wear |
| Healthy-looking fluid with a recurring transmission warning | Diagnose control or mechanical faults rather than changing fluid repeatedly |
A fluid change can restore proper lubrication when the correct service is due, but it cannot replace worn clutch friction material or repair a failed solenoid. Also check for manufacturer service bulletins and revisions. The guide to common factory manual mistakes explains why using the wrong variant or an outdated procedure can compromise an otherwise careful repair.
When to Recheck and What to Record
If your vehicle has a dipstick and the manufacturer permits owner inspection, a check during routine maintenance or before towing is practical. Inspect sooner if you notice leaks, heat-related warnings or a change in shift behavior. For sealed units, follow the specified maintenance and diagnostic procedures; this is not a reason to open a level plug at every oil change.
Keep a short service record with date, mileage, transmission identification, fluid type, check temperature, actual level, appearance, odor and any fault codes. This makes a later change easier to interpret. If a top-up is needed again, investigate the loss rather than normalizing repeated refills.
Conclusion
The best transmission-fluid check starts by identifying the gearbox and matching the factory conditions. Look at level and condition together, then respond to the evidence: correct a verified underfill or overfill, trace leaks, investigate contamination and diagnose poor shifts before replacing parts. A few minutes spent confirming the right procedure can prevent an inaccurate level reading from becoming a costly repair.
Frequently Asked Questions
Should The Engine Be Running When I Check Automatic Transmission Fluid?
It depends on the gearbox. Many dipstick-equipped automatics are read hot with the engine idling, but some require a warmed transmission and the engine off. Sealed systems have their own prescribed state. Follow the exact factory check conditions.
How Do I Check Transmission Fluid If There Is No Dipstick?
Most such units use a dedicated level or overflow plug with the vehicle level and the fluid within a specified temperature range. Because a scan tool and safe access beneath a running vehicle may be necessary, this is often a workshop procedure.
Does Dark Transmission Fluid Always Mean I Need A Flush?
No. Some fluids darken through use, and fluid dyes differ. A burnt odor, visible contamination, shifting problems and service history provide better context. Diagnose the cause before choosing a drain/refill, flush or repair.
What Does Pink, Milky or Glittery Fluid Mean?
Milky fluid can suggest water or coolant contamination. Visible metal particles can suggest internal wear. Both warrant prompt diagnosis, and continued driving may increase damage.
Can I Check A Manual Gearbox Through The Dipstick Tube?
Normally not. Many manual gearboxes have a separate fill/level plug, and some require a particular oil height below the port. Check the instructions for the installed transmission instead of assuming a universal fill-to-hole rule.
Can I Mix Cvt Fluid With Normal Automatic Transmission Fluid?
Not unless the vehicle manufacturer explicitly approves the same fluid for that specific unit. CVTs and conventional automatics often require different friction and viscosity properties. Confirm the exact specification before adding anything.
If The Fluid Level Is Correct, Why Is The Transmission Slipping?
The fluid may be overheated or contaminated, or the fault may be hydraulic, electrical or mechanical. Retrieve transmission-control codes and inspect the relevant service tests rather than repeatedly topping up or changing fluid.