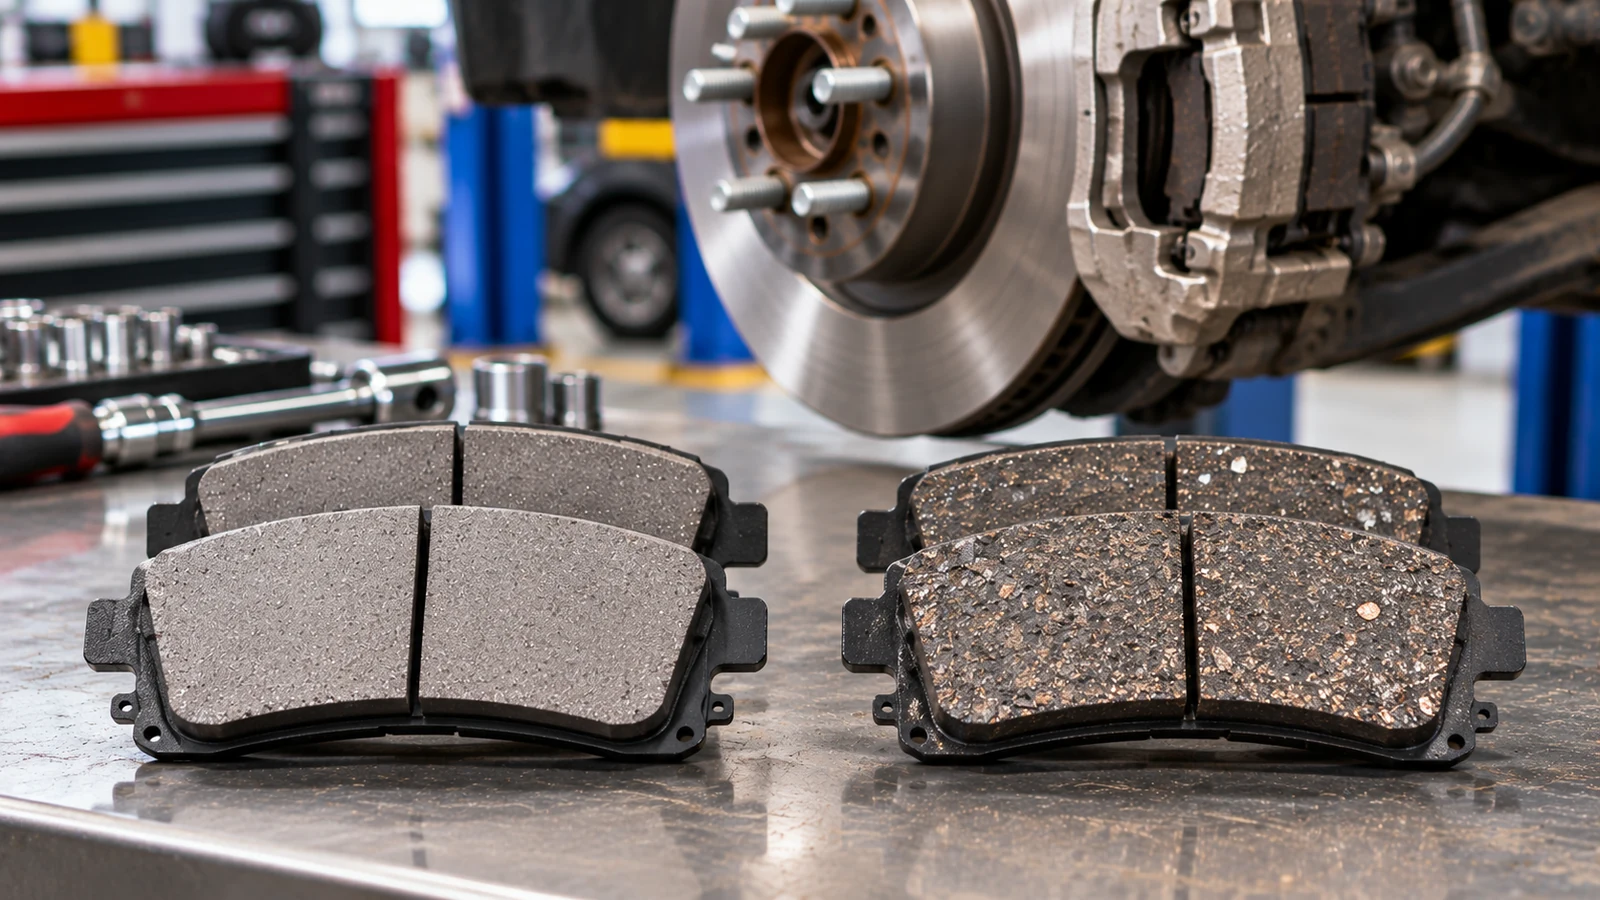
Brake pads are not universal. A replacement set has to match the brake system it was designed for, including the caliper and bracket, rotor size, axle position, pad hardware, wear-monitoring features, and the vehicle’s exact brake package.
That is why two pads can look almost identical on a parts counter and still be wrong for the same car. It is also why one pad shape can legitimately fit several different vehicles when those vehicles use the same brake hardware. The key is documented compatibility, not visual similarity or a “universal” label.
For DIY owners and technicians, the safest approach is to identify the exact vehicle and brake package first, then confirm the pad shape, hardware, sensor setup, and service procedure before ordering parts or removing the caliper.
Brake Pads Are Application-Specific
A brake pad is designed around a defined brake assembly, not around a generic vehicle size. The backing plate must slide correctly in the bracket, the friction surface must align with the rotor, and the pad must match the caliper, axle, clips, shims, and any wear indicator or electronic sensor used in that application.
A few practical rules make the answer easier to remember:
- A pad that fits one vehicle may fit other vehicles, but only when the brake system uses the same documented pad design.
- Front and rear pads are generally different and should be treated as axle-specific.
- Ceramic, semi-metallic, and organic compounds affect braking characteristics, dust, noise, wear, and cost, but the friction material does not change physical fitment.
- Model year alone may not identify the correct pad because brake packages can vary by engine, trim, drivetrain, production date, rotor diameter, or caliper type.
- Never grind, trim, or force a brake pad to make it fit.
The practical question is therefore not “Is this pad universal?” but “Is this pad documented for my exact brake package?”
A Reliable Brake Pad Fitment Check Before Ordering
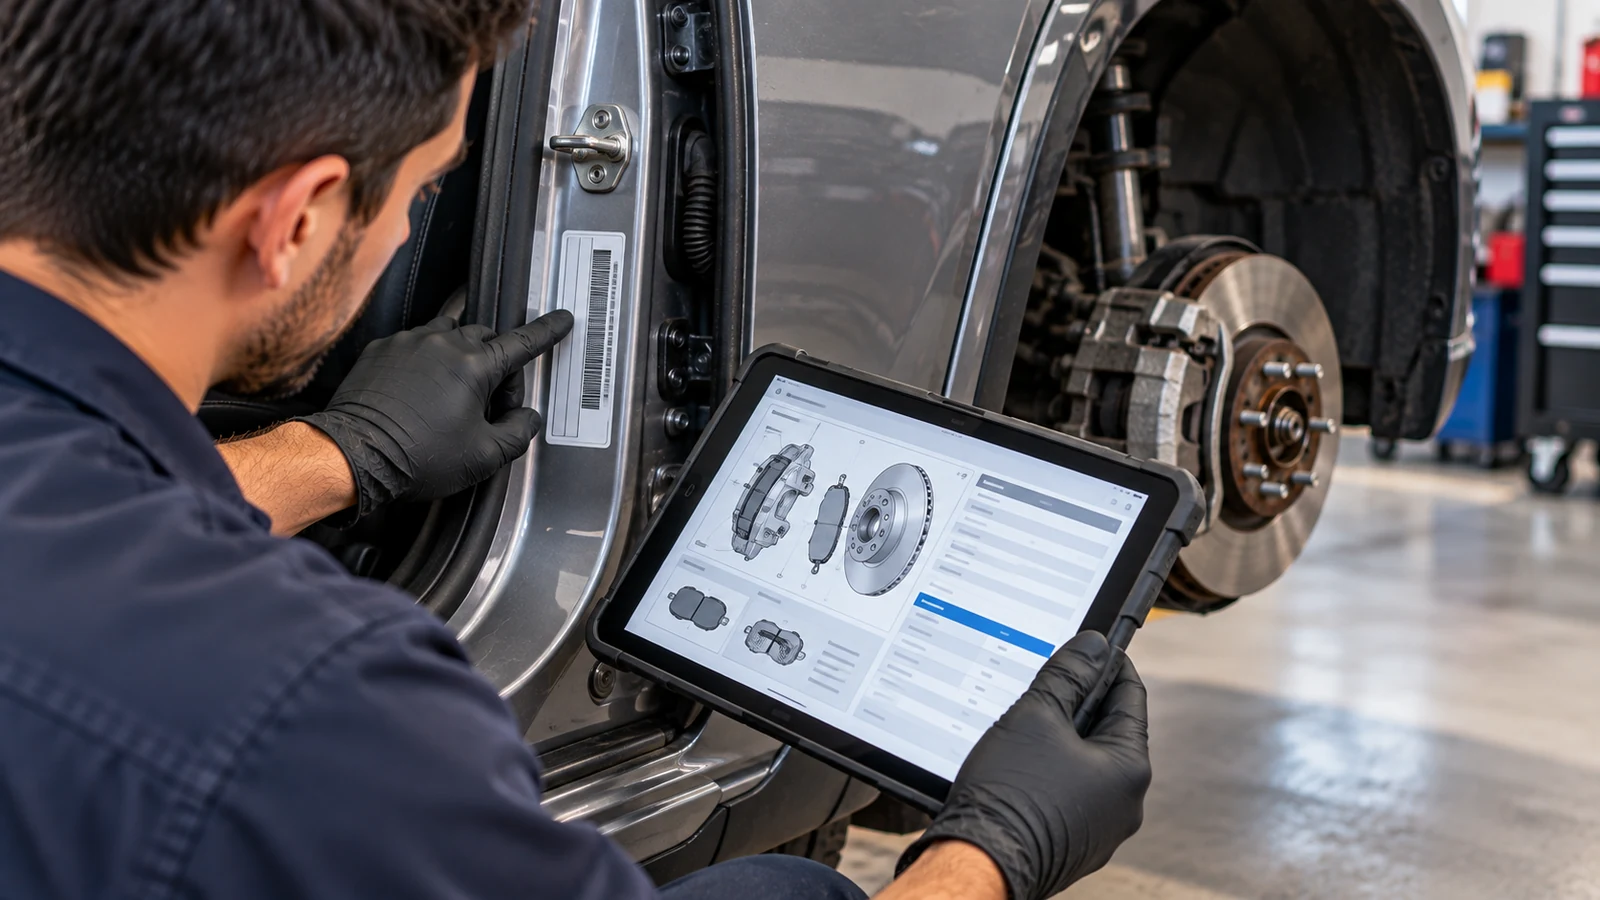
A disciplined fitment check prevents most avoidable ordering mistakes.
1. Record the exact vehicle details
Start with:
- Year
- Make
- Model
- Engine
- Trim or package when relevant
- Front or rear axle
- Drivetrain
- Production date if available
- Rotor diameter when the catalog asks for it
- Caliper type or brake package when known
A vehicle-specific listing can show how much detail you need. The Honda workshop manual library includes the 1997-2002 Honda Accord SE Sedan factory manual, while the Nissan workshop manual library includes the 2000-2002 Nissan-Datsun Frontier XE Crew Cab 4WD manual. Body style and drivetrain can be part of the exact application description.
2. Use the VIN and production date to narrow the build
A VIN is a 17-character vehicle identifier that helps distinguish the exact production variant. The production-date label on the vehicle can also matter because a manufacturer may change components during a model run.
Use the VIN to narrow the application, then compare the catalog result with the vehicle’s actual hardware. If a VIN-based lookup and a parts listing disagree, resolve the difference before ordering.
3. Confirm front or rear, rotor size, and caliper type
Do not assume the front and rear use the same pads. Confirm the axle being serviced and check any catalog notes about rotor diameter, caliper brand or style, drivetrain, or production split.
The value of configuration-specific service information is easy to see in truck applications. The Mazda manual library contains the 1994-2003 Mazda B3000 2WD factory manual, while the Nissan example above is explicitly a 4WD Frontier. The title alone shows why you shouldn’t ignore drivetrain when choosing documentation or parts.
4. Cross-reference pad numbers
Once you have a candidate pad, compare documented shape references such as:
- OEM part numbers
- FMSI D-numbers used for pad design references in North America
- WVA numbers commonly used in European pad references
- Manufacturer interchange numbers
A shared shape number can explain why the same pad design appears in more than one vehicle application. It does not mean the pad is universal.
Use the cross-reference to compare known-compatible parts, not to guess compatibility from shape alone.
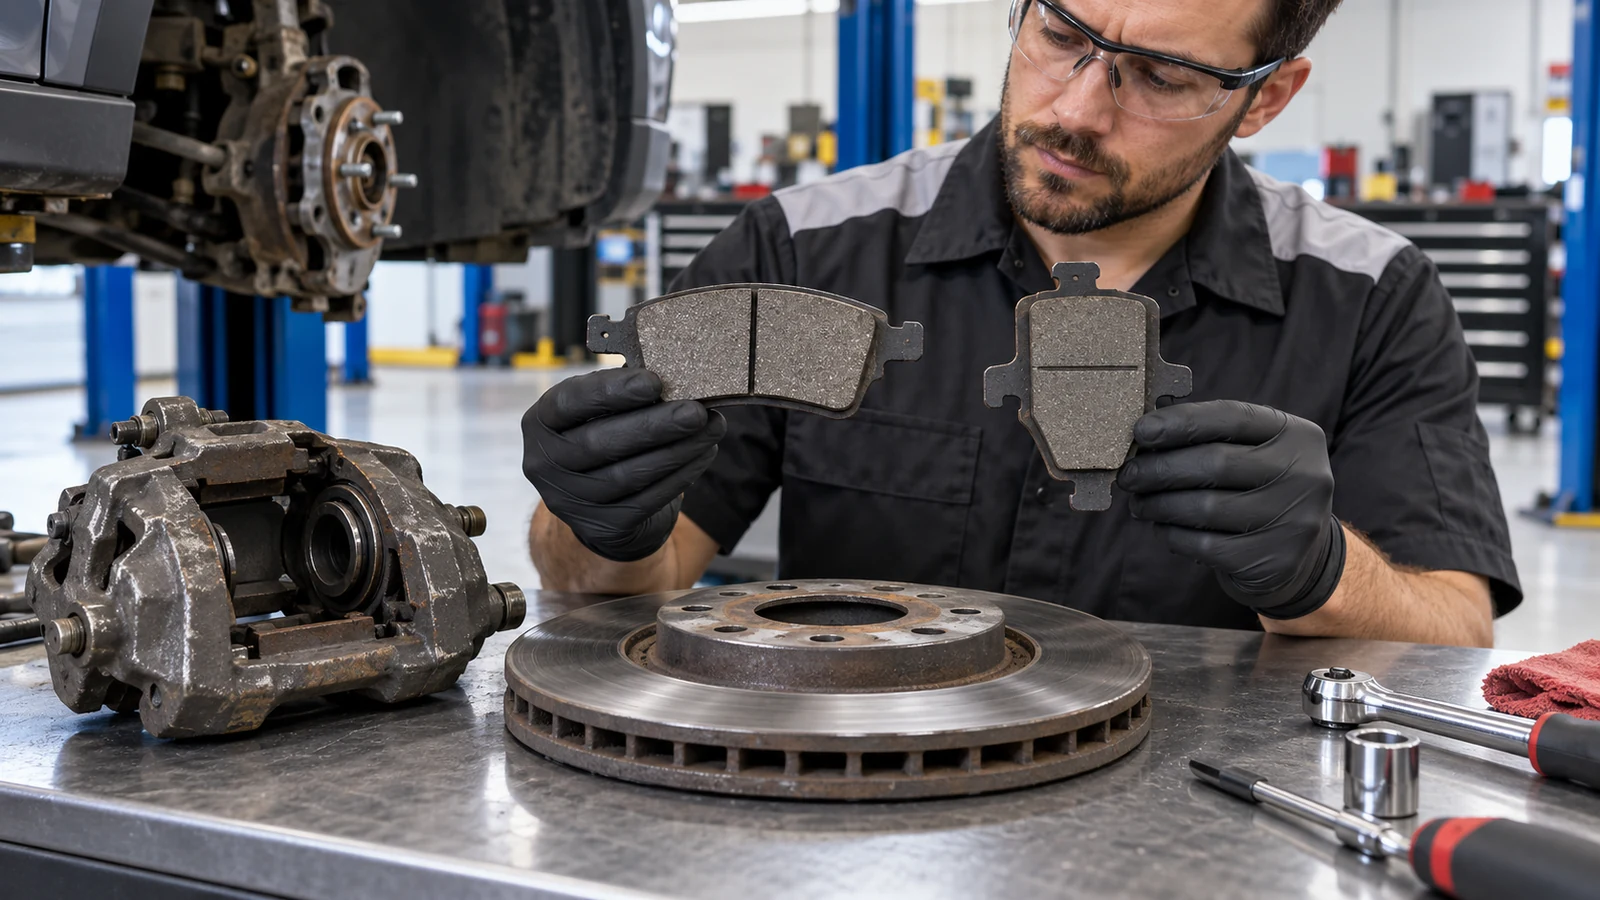
5. Compare the old and new pads physically
Before installation, compare:
- Overall outline
- Ear and tab geometry
- Backing plate thickness and shape
- Friction surface position
- Shim arrangement
- Wear indicator or sensor location
- Supplied clips and hardware
An old pad is not absolute proof because the part previously installed could also have been wrong. Treat the physical comparison as one checkpoint alongside the catalog, VIN, and service information.
6. Verify the service procedure in a vehicle-matched manual
A workshop manual can confirm the procedure, component locations, torque values, hardware layout, and special service steps for the vehicle being repaired.
For example, the Subaru factory manual library includes the 2005-2009 Subaru Outback workshop manual. The Mitsubishi workshop manual collection includes the 2011-2013 Mitsubishi Outlander Sport AWD factory manual, and the Acura repair manual library includes the 2007-2013 Acura MDX factory workshop manual. These kinds of model-specific resources are more useful for brake work than a generic torque chart or an installation video for a different vehicle.
What Actually Determines Brake Pad Fitment?
Several parts of the brake assembly must match before you can consider a replacement pad correct.
Backing plate, caliper, and bracket geometry
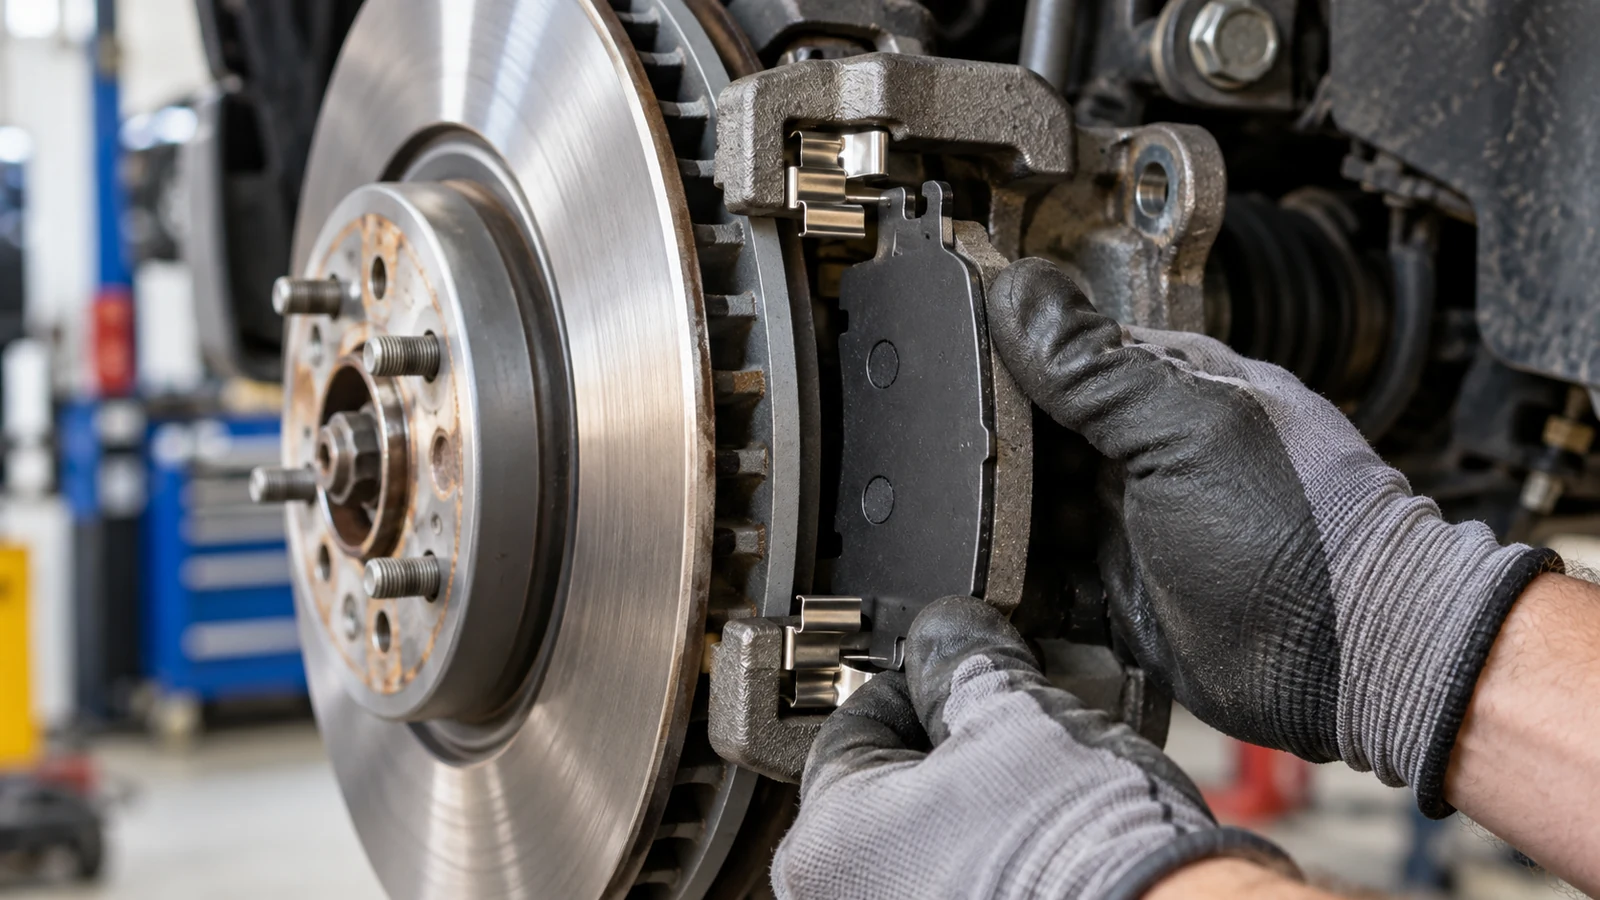
The steel backing plate defines the pad’s basic outline. Its ears, curves, slots, and contact points must match the caliper bracket so the pad can move through its intended travel without binding or rattling.
Caliper design matters as well. Floating calipers, fixed calipers, and multi-piston designs do not all use the same pad shape. A pad that seems close in width or height can still be wrong because its tabs, piston contact area, retention points, or hardware locations differ.
Vehicle-specific documentation is useful here because it narrows the job to an exact application. The Ford workshop manual library includes specific coverage such as the 2005-2008 Ford Escape 4WD factory workshop manual, while the Chevrolet repair manual library includes pages such as the 2011-2013 Chevrolet Cruze workshop manual. The point is not that these vehicles use the same brakes. It is that brake service should be tied to the exact model and configuration being repaired.
The same principle applies to older vehicles and performance-oriented platforms. A technician working from the Jeep workshop manual collection can narrow the procedure to a vehicle such as the 1987-2006 Jeep Wrangler factory manual. For a later platform, the Dodge service manual library includes the 2014 Dodge Charger LD workshop manual, where the platform designation helps identify the exact documentation set.
Rotor size and axle position
The pad has to work with the rotor and caliper as a matched system. Rotor diameter, thickness, caliper dimensions, and bracket geometry can change the pad required for a vehicle.
Front and rear pads are usually position-specific. The front axle often carries larger brake components because of braking load and system design, but that is a general pattern rather than a universal rule. The correct dimensions come from the actual brake package.
When replacing pads, also inspect the rotor. Minimum rotor thickness may be cast or stamped on the rotor or listed in the service information. A micrometer is the proper tool for checking thickness. Visual inspection alone cannot tell you if the rotor is still above its service limit.
Shims, abutment clips, and wear indicators
A brake pad set includes more than friction material. Shims, abutment clips, retaining springs, wear tabs, and electronic wear sensors can all be application-specific.
If the replacement hardware doesn’t match the bracket or the wear-monitoring setup differs from the original, the pad set may be incorrect even if the backing plate looks similar.
A mechanical wear indicator is typically a small metal tab that contacts the rotor and creates a warning noise as the lining becomes thin. Some vehicles use electronic wear monitoring instead. Either way, the sensor or indicator layout must match the intended application.
Why the Same Model Can Use Different Brake Pads
Year, make, and model are the starting point for a parts lookup, not always the final answer. A single model range can include different engines, drivetrains, trim levels, rotor sizes, calipers, regional versions, or production-date changes.
That is why a parts catalog may ask for more detail after you enter the vehicle name.
The available AutoServicePlus manual pages show how specific factory documentation can become. The Hyundai manual library includes the 2005-2010 Hyundai Tucson JM workshop manual, while the Kia workshop manual collection includes the 2007-2010 Kia Rondo factory manual. Model code and year range matter because service information needs to match the build you actually have.
Chassis and platform codes are especially useful when model names span several generations. The Audi manual library includes the 2006-2013 Audi A3 Quattro 8PA factory manual, and the BMW workshop manual library includes the 2002 BMW Z4 Roadster E85 factory manual. Codes such as 8PA or E85 help distinguish the exact platform from another generation carrying a similar model name.
For brake-pad purchasing, the lesson is simple: do not assume two vehicles with the same badge use the same brakes. Confirm the production details and brake package.
What Wrong-Fit Brake Pads Can Cause
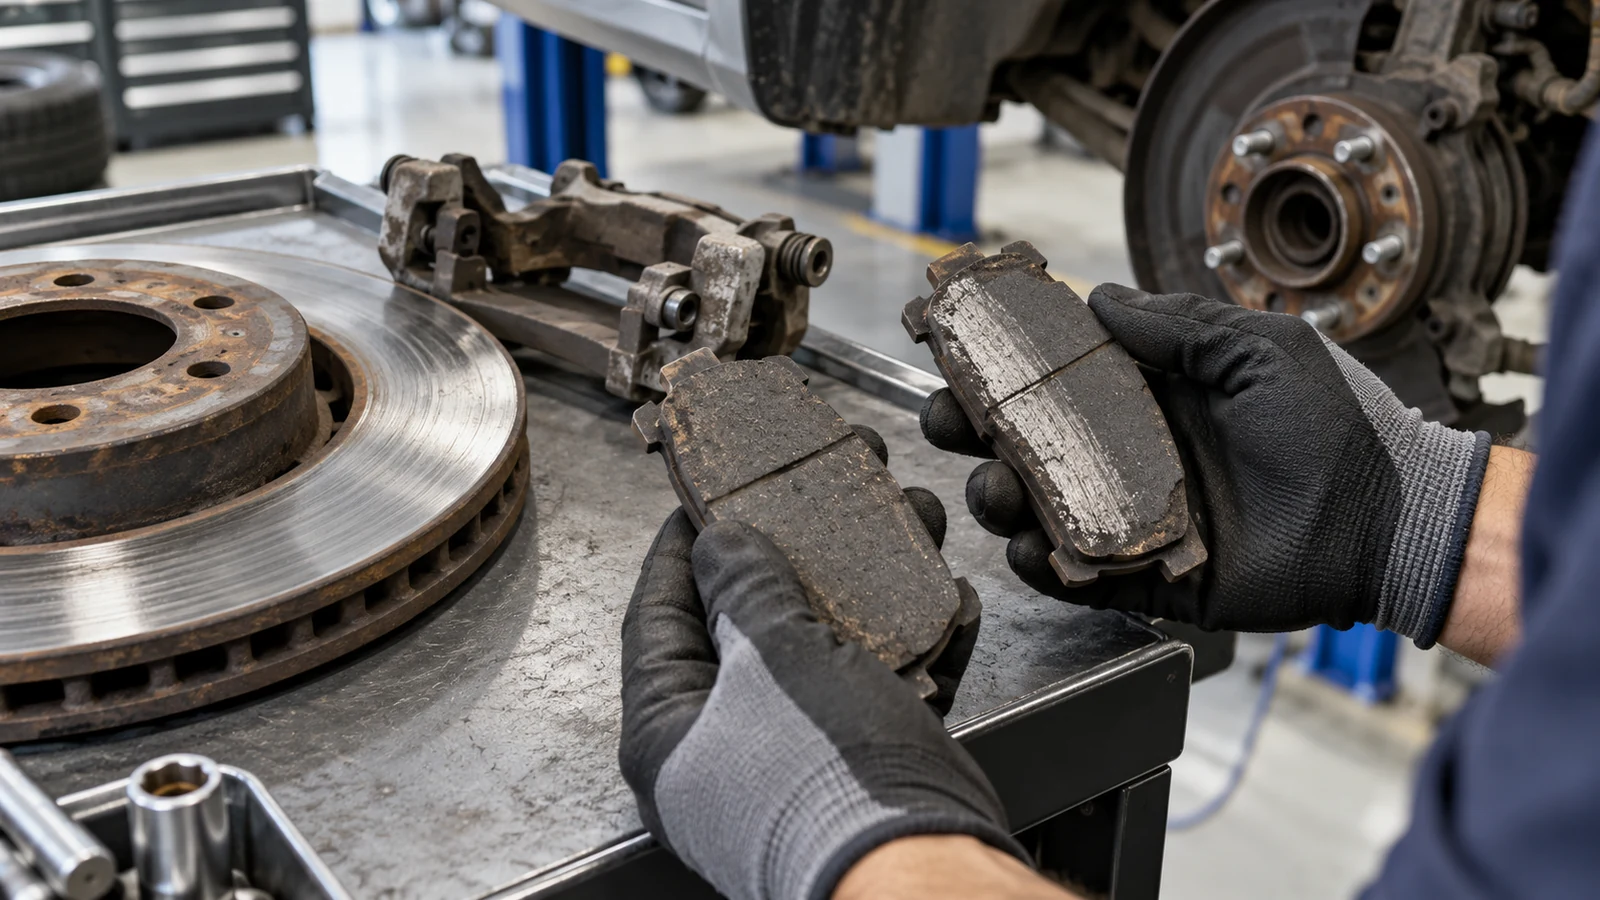
A pad that does not match the intended brake system can bind, sit loosely, contact the rotor incorrectly, or interfere with hardware. The result may resemble ordinary brake wear, which is why a fitment problem can be misdiagnosed.
| Symptom after brake work | What to re-check |
| New scraping or abnormal noise | Pad outline, wear tab, clips, rotor contact, and installation position |
| Uneven pad wear | Caliper movement, slide channels, hardware, and correct pad application |
| Brake vibration or pulsation | Rotor condition and thickness, pad seating, and other brake or suspension causes |
| Excess heat at one wheel | Binding pad, sticking caliper or slide, incorrect hardware, or another brake fault |
| Warning light after service | Wear sensor connection, ABS-related faults, hydraulic issues, and vehicle-specific diagnostics |
| Soft pedal after service | Installation condition and hydraulic system diagnosis before replacing unrelated parts |
If a new pad will not move through the bracket as designed, stop. Cleaning corrosion from the proper contact areas and fitting the correct hardware are normal service tasks. Grinding the pad backing plate or changing its shape to force installation is not.
Also inspect rotor thickness during pad service. The source guidance for this article treats friction lining under roughly 3 mm (about 1/8 inch) as due for replacement, while vehicle-specific service limits should be confirmed in the correct documentation.
Fitment Is Different From Brake Pad Material
Once you confirm the correct physical pad shape, you can compare friction materials. Common categories include organic, semi-metallic, and ceramic, with some products using blended formulations.
| Pad material | Typical dust | Typical noise | Rotor wear tendency | Service life | Heat / demanding-use behavior | Relative cost |
| Organic | Higher | Lower | Lower | Shorter | Less suited to extreme use | Lower |
| Semi-metallic | Higher | Higher | Higher | Longer | Stronger at elevated demand | Moderate |
| Ceramic | Lower | Lower | Lower | Longer | Moderate | Higher |
Semi-metallic pads commonly use metal fibers with graphite, carbon, resins, and other friction modifiers. They tend to provide strong braking response and temperature capability, but may produce more dust, noise, and rotor wear.
Ceramic pads are generally chosen for quieter operation, low dust, and durability in normal road use. Organic pads can be quieter and less aggressive on rotors, but typically have shorter service life and lower extreme-condition capability.
Material choice does not change the fitment requirement. A premium ceramic pad with the wrong backing plate is still the wrong pad.
The same logic applies across very different vehicles. The Volkswagen workshop manual library contains applications such as the 2008-2012 Volkswagen Golf Mk6 GTI factory manual, while the Porsche workshop manual library includes the 2015-2016 Porsche Macan factory workshop manual. Pad compound can be compared only after the correct application is confirmed.
European model lines also show why exact configuration matters. The Mercedes-Benz repair manual library includes the 2008-2012 Mercedes-Benz C 300 4MATIC factory manual, and the Volvo workshop manual collection includes the 2004-2013 Volvo XC90 AWD factory manual. Drivetrain, model code, and year range are useful identifiers before you even begin comparing pad compounds.
Special Cases: Hybrids and Electronic Parking Brakes
Hybrid vehicles and cars with electronic parking brakes can require different brake service procedures. Regenerative braking affects pad wear, while electronic rear calipers may require a specific service mode before pad replacement.
Hybrid vehicles
Regenerative braking changes how often you use the friction brakes. That can reduce normal friction wear, but it does not eliminate the need to inspect pads, rotors, caliper slides, and hardware. Less frequent friction-brake use can make corrosion or sticking components a bigger service concern.
For hybrid-specific documentation, the Toyota workshop manual library includes the 2001-2009 Toyota Prius factory workshop manual. The Lexus repair manual library also includes hybrid applications such as the 2006-2008 Lexus RX 400h FWD factory manual.
The pad-fitment rules are still the same: identify the exact brake package, verify the hardware, and follow the vehicle-specific service procedure.
Rear brakes with an electronic parking brake
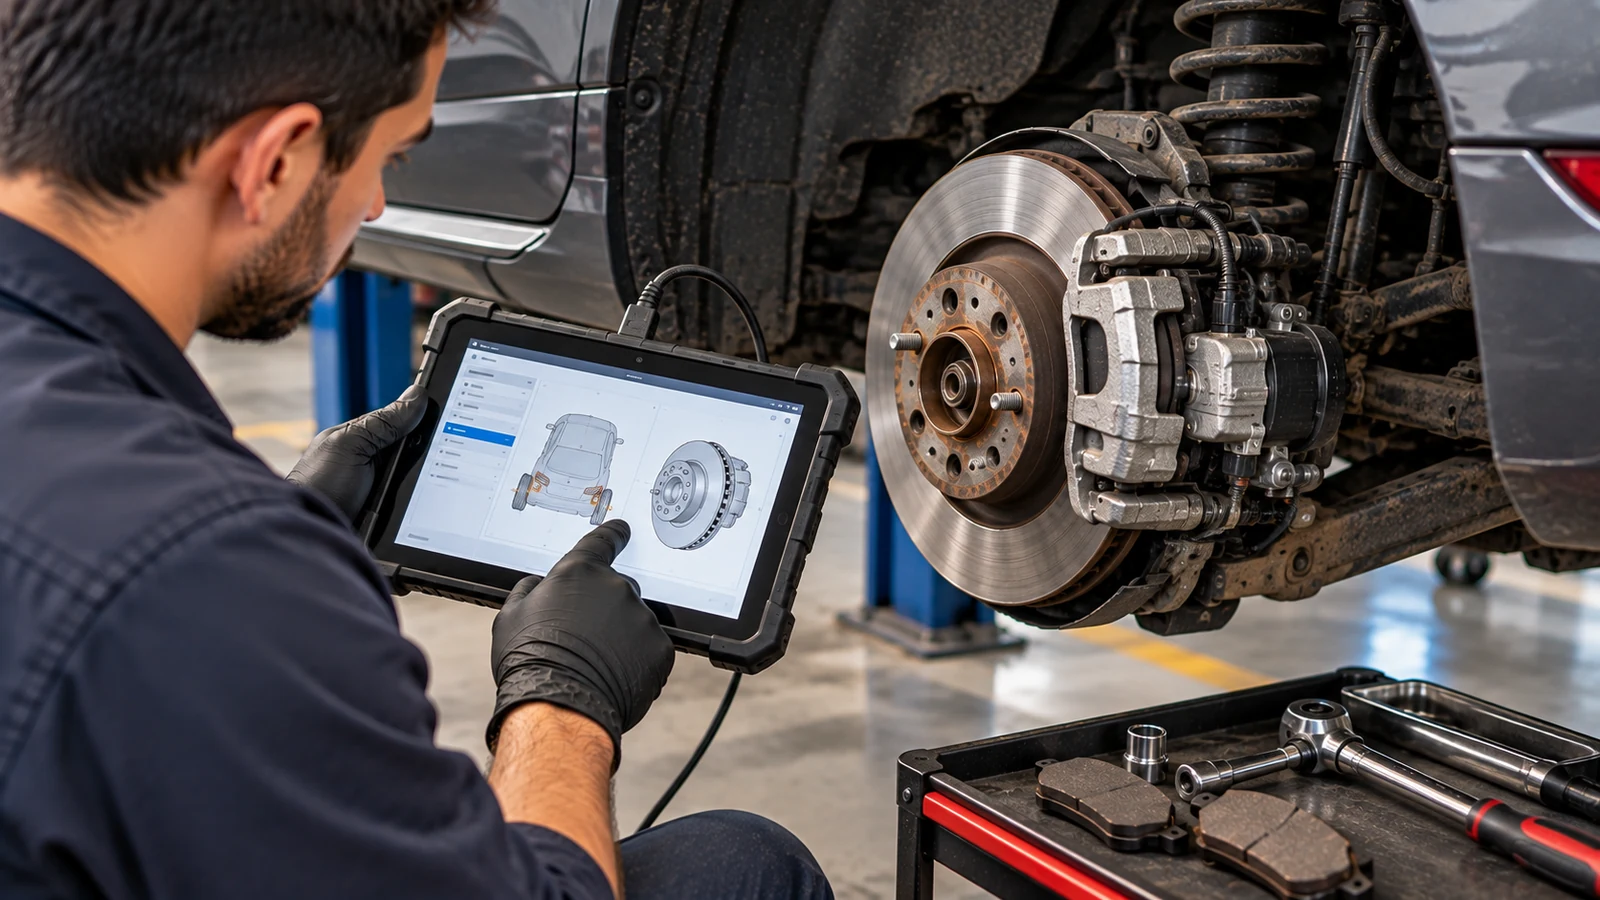
Some vehicles integrate the parking-brake mechanism into the rear caliper. In those systems, rear pad service may require an electronic parking brake service mode before retracting the piston.
The exact procedure varies by vehicle. You may initiate it through vehicle controls or with a scan tool. Forcing a motor-driven rear piston back without the required service mode can damage the mechanism.
Do not assume a rear caliper is serviced like a conventional design. Check the vehicle-specific procedure before compressing the piston.
Preparing for a DIY Brake Pad Replacement
Correct pad selection is only the first step. Before disassembly, make sure you can lift the vehicle safely and have the required specifications.
- Park on a stable, level surface. Chock the wheels and use the vehicle’s specified lifting points.
- Support the vehicle with appropriate jack stands. Do not rely on a hydraulic jack alone while working around the brakes.
- Inspect before removing parts. Look at the pad lining, rotor surface, slide pins, boots, clips, and visible caliper condition.
- Check the brake-fluid reservoir. Retracting the caliper piston can raise the fluid level, so monitor it to prevent overflow.
- Use the specified torque values. Caliper and bracket fastener torque should come from the correct vehicle documentation, not from memory or a generic chart.
- Replace pads as an axle set. If one side is worn, inspect and service the matching side rather than replacing only one wheel’s pads.
- Follow the pad maker’s bedding procedure. New pads and rotors need the break-in process specified for the parts being installed.
If the job reveals a stuck slide, damaged boot, severely worn rotor, hydraulic problem, or unexplained warning light, diagnose that fault before treating the pad replacement as complete.
Using a Workshop Manual for Brake Service
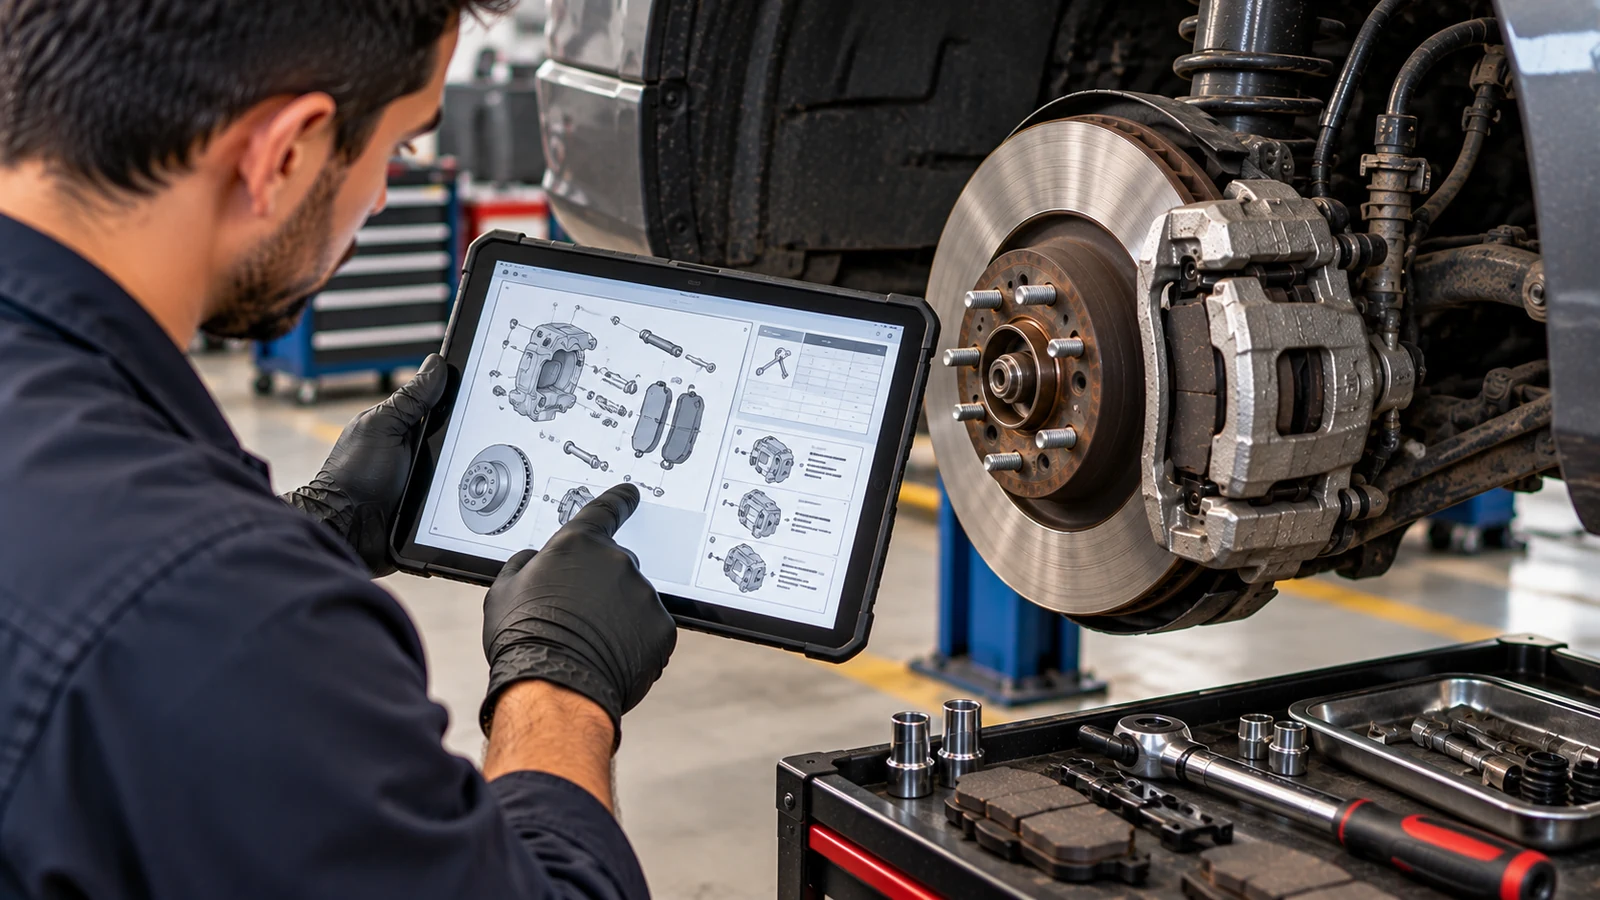
A workshop manual is most valuable when the brake job moves beyond a simple parts lookup. It can help confirm the exact sequence and specifications for the vehicle in front of you.
Useful items to check include:
- Caliper and bracket fastener torque
- Rear brake or parking-brake service procedure
- Wear sensor routing
- Rotor service limits
- Component removal sequence
- Diagnostic steps for brake or ABS warnings
- Model-specific safety precautions
The manual should match the vehicle as closely as possible by year, model, platform, drivetrain, and configuration.
That level of specificity is visible throughout the AutoServicePlus catalog. You can narrow a performance hatch through its Volkswagen platform listing, an AWD SUV through its Volvo or Mitsubishi configuration, and a luxury crossover through its Acura, Lexus, or Porsche application. Exact documentation is especially useful when a model family has multiple brake packages or when a service step is not obvious from the hardware alone.
Conclusion
Brake pads are not universal. Correct fitment depends on the complete brake package, including the pad shape, caliper and bracket, rotor, axle position, hardware, sensors, and any production-specific variation.
The most reliable process is to identify the exact vehicle, use the VIN and build information to narrow the brake package, confirm part-number references, compare the old and new pads, and verify the service steps in documentation that matches the vehicle. Only after you confirm fit should you choose between ceramic, semi-metallic, organic, or another friction formulation.
If the pad does not seat correctly or the brake package cannot be identified with confidence, stop and verify the application before installation.
Frequently Asked Questions
Can One Brake Pad Design Fit Several Different Vehicles?
Yes. A documented pad shape can be used by more than one vehicle when the brake systems use the same friction component and compatible hardware. Shared D-numbers, WVA numbers, OEM references, and catalog cross-references can identify these applications. That is still defined fitment, not universal fitment.
Can I Install Pads from Another Car If They Look Identical?
Only if a reliable catalog, part-number cross-reference, or vehicle-specific service source confirms the same application. Small differences in ears, shims, sensors, wear tabs, or backing-plate geometry may not be obvious by eye.
Are Front and Rear Brake Pads Interchangeable?
Generally, no. Front and rear pads are usually designed for different calipers, rotors, hardware, and axle duties. Always order the pad set for the axle you are servicing.
Should Brake Pads Be Replaced on Both Sides of The Axle?
Yes. Pads should be replaced as a matched set across the same axle. Inspect both sides for uneven wear, sticking slides, damaged hardware, and rotor condition.
Does Model Year Alone Tell Me Which Pads to Buy?
Not always. A single model year can contain different rotor diameters, calipers, engines, trim packages, drivetrains, or production-date changes. Use the VIN and build details when the catalog offers multiple brake options.
Are Brake Pads Sold As “Universal” Safe?
A universal marketing label does not prove compatibility. The pad still needs to match your caliper, bracket, rotor, axle, sensors, and hardware. Buy by documented application rather than by a broad-fit claim.
Where Can I Find the Correct Brake Specifications for My Vehicle?
Start with the VIN and the exact vehicle configuration. Then use a parts catalog for pad fitment and a vehicle-matched workshop manual for service procedures and specifications. Cross-check the physical parts before installation.