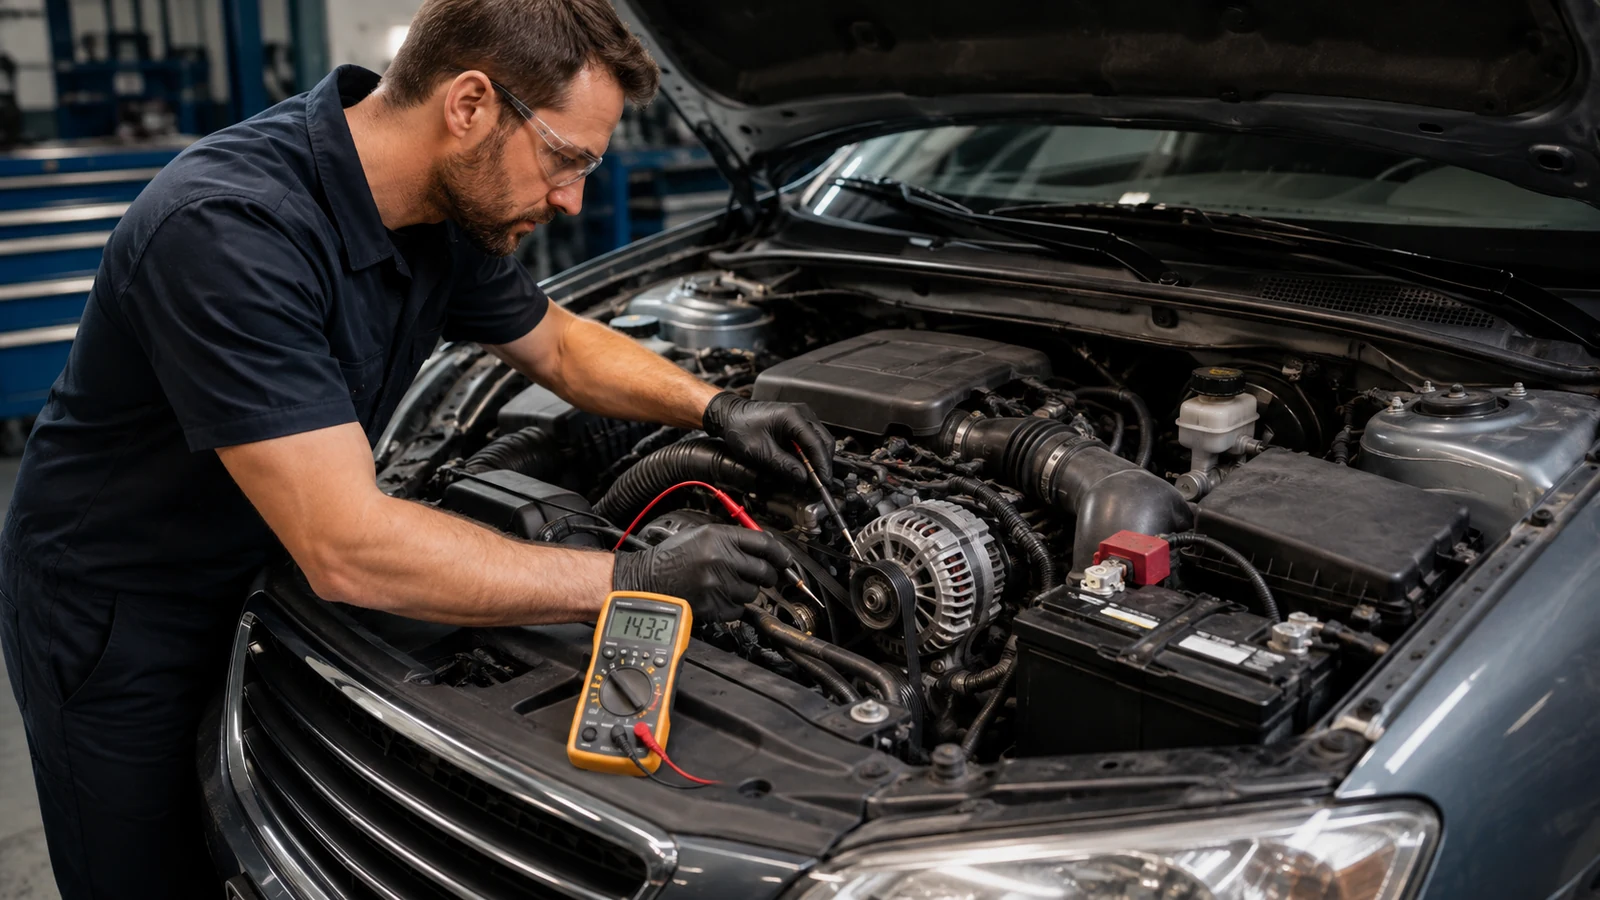
A factory manual exists for exactly these moments. When your fuse box starts causing problems you can’t explain, the guide in your vehicle’s service documentation holds answers most repair shops won’t give you for free. Ignoring it could mean paying for unnecessary parts while the real fault stays hidden.
For fast diagnosis, use the factory manual to find the specific circuit diagram and amperage rating before testing with a multimeter. Professionals recommend verifying power first and always using the exact replacement amperage to prevent circuit damage.
This article walks you through the complete process. From reading your factory manual’s fuse layout to identifying blown fuses, relay failures, corrosion damage, and repeat-blow patterns, everything is covered step by step.
Factory Manual Guide for Fuse Box Problems: The Method That Actually Works
Most people open the fuse box, stare at it, and start pulling random fuses. That wastes time. The factory service manual changes that completely.
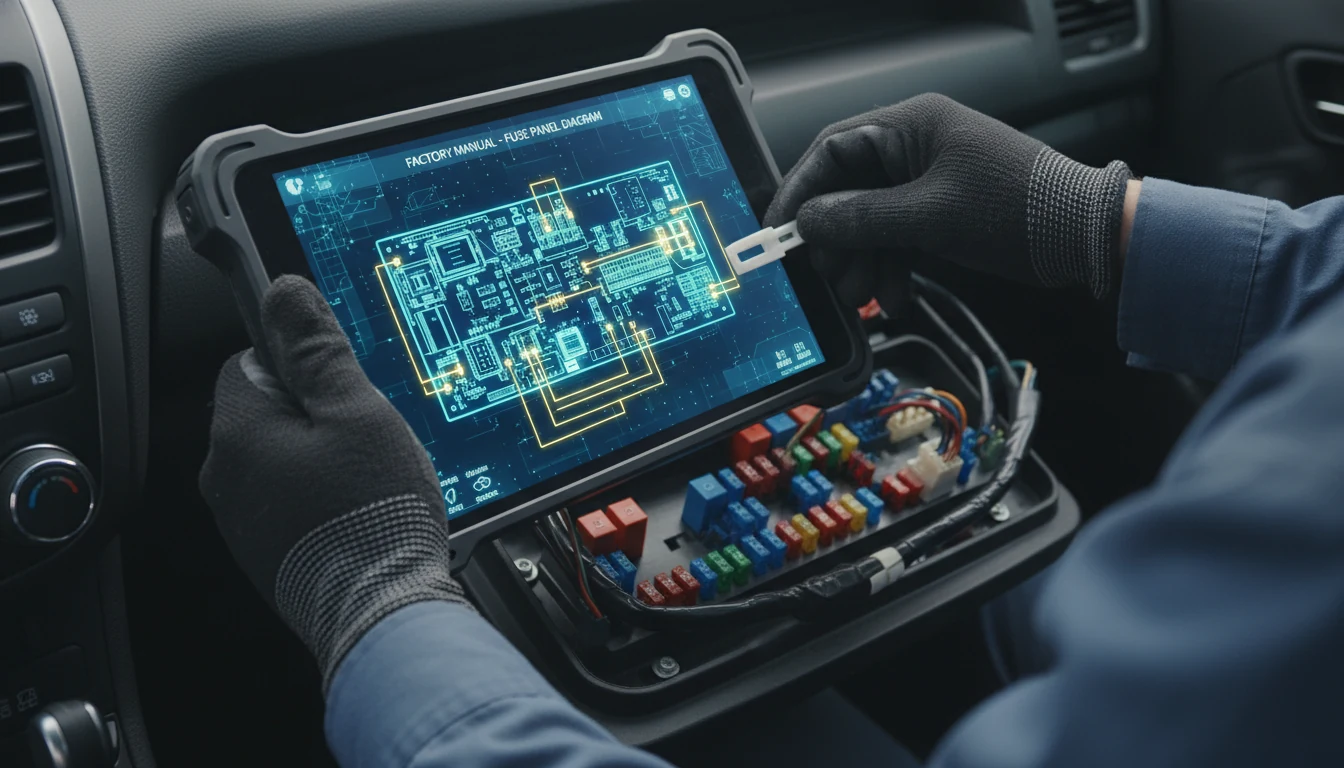
It gives you a numbered fuse box diagram, the exact amperage for each circuit, and, in many cases, a full electrical schematic showing how each circuit connects to the rest of the vehicle.
This section covers everything: how to read the manual’s fuse diagrams, what common fuse box problems look like, how to test and replace fuses correctly, and when the box itself needs to be replaced. Follow it in order, and you’ll spend less time guessing.
How to Read the Fuse Diagram in Your Factory Manual
Before touching the fuse box, the factory manual is your starting point. Most drivers skip it, and that’s where the wasted hours begin.
Your factory service manual contains a dedicated fuse box section that lists every circuit by position number, amperage rating, and the component it protects. Some manuals include two diagrams, one for the under-dash fuse box and another for the under-hood power distribution center. Both matter.
What the diagram tells you:
- Position number for each fuse slot, molded directly into the housing
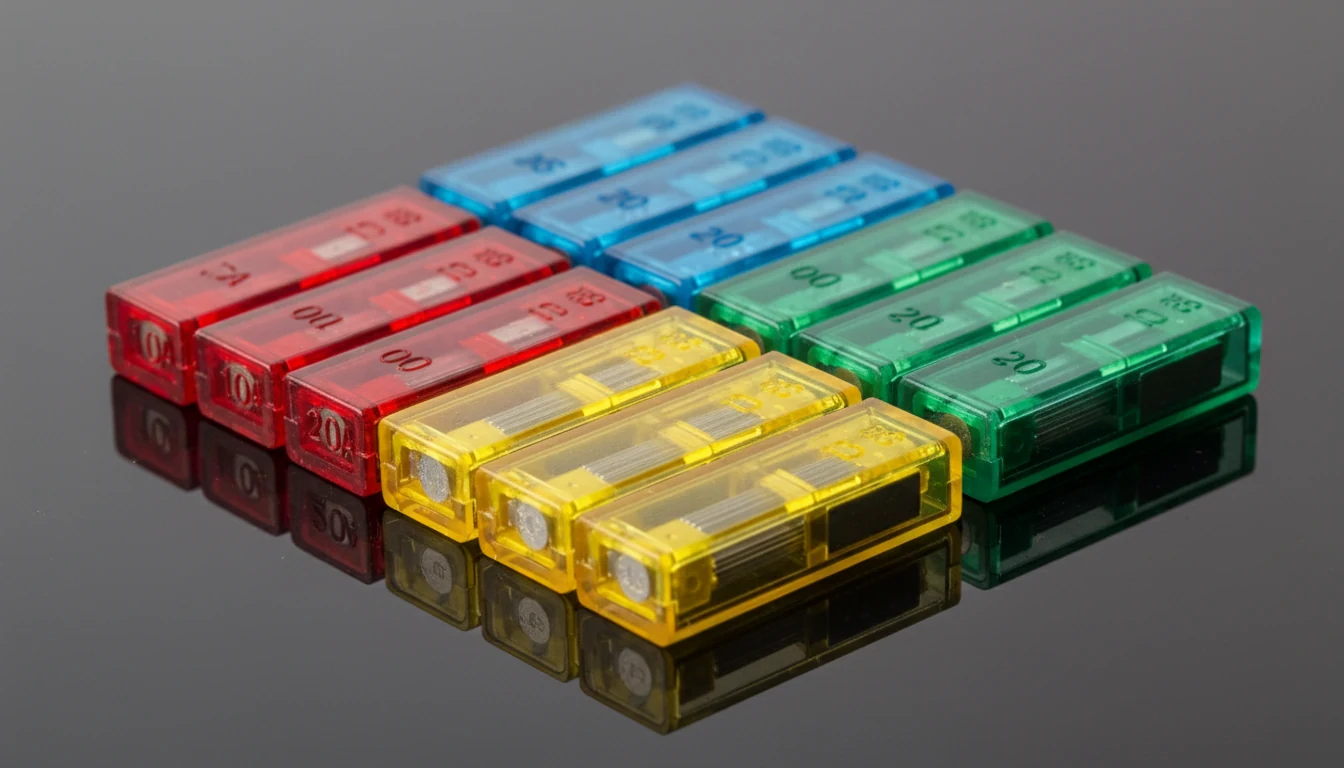
- Amperage rating (5A, 10A, 15A, 20A, 30A, 40A, etc.) matched to that slot
- Circuit description (headlights, ignition, fuel pump, radio, ABS, etc.)
- Relay locations within the same box, labeled separately
Color coding by amperage (blade fuses):
| Amperage | Color |
|---|---|
| 5A | Tan/Beige |
| 7.5A | Brown |
| 10A | Red |
| 15A | Blue |
| 20A | Yellow |
| 25A | Natural/Clear |
| 30A | Green |
| 40A | Orange |
Keep in mind that some older vehicles use glass tube or cartridge-style fuses. Your factory manual will specify which type belongs in each slot. Never assume.
Common Fuse Box Problems and What the Manual Reveals
Not every electrical failure is a blown fuse. The factory manual helps you separate a bad fuse from a bad relay, a wiring fault, or a box that’s failing internally.
Here are the most common fuse box problems and what to look for in each case:
-
Blown fuses (single circuit). The most common issue. A single component stops working, such as the headlights, radio, power windows, or wipers. The fuse for that circuit has blown. Check the factory manual diagram, pull the correct fuse, and inspect it. A broken filament or darkened casing confirms it’s blown.
-
Repeat-blow fuses: A fuse that keeps blowing after replacement is not a fuse problem. It’s a symptom. The factory manual circuit diagram can help trace whether the fault is an overloaded circuit, a short in the wiring harness, or a failing component drawing excess current.
-
Relay failures. Relays are in the same fuse box and control high-current circuits such as the starter, fuel pump, and cooling fan. A clicking sound from the box without the circuit functioning often points to a relay fault. Your manual lists relay positions and, in some cases, provides a swap-test procedure.
-
Corrosion and moisture damage. Water inside the fuse box causes oxidation on terminals, leading to intermittent faults. Multiple circuits acting up at once, none of them linked to the same system, often means the box itself has moisture damage. The factory manual will show you the expected terminal condition and sealing points.
-
Multiple simultaneous failures. If several unrelated systems fail at once, the box may have internal damage, loose bus bars, or a failed main fuse. This is where the factory manual’s wiring diagram becomes critical. It shows how power routes through the box, so you can identify which supply circuit has failed.
Step-by-Step: Using the Factory Manual to Diagnose Fuse Box Problems
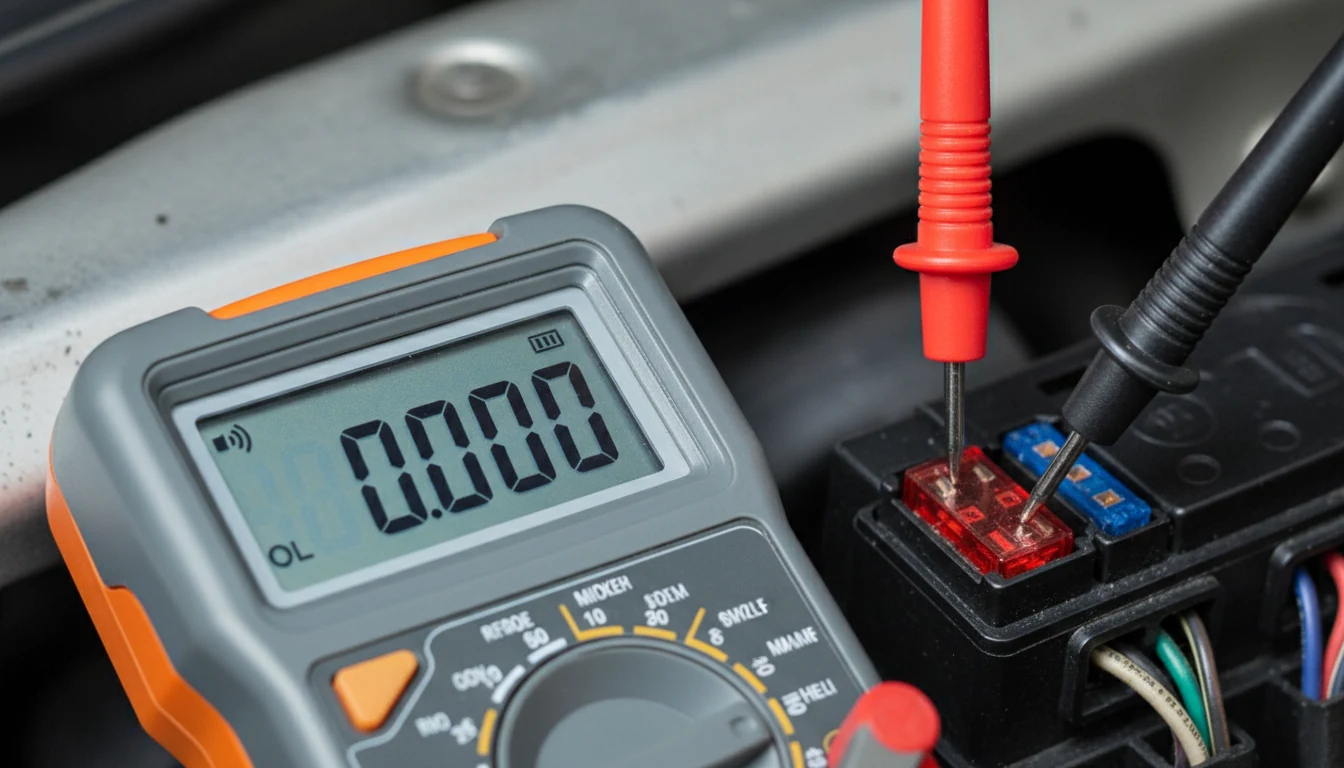
This is the practical process. Follow these steps in order.
Step 1: Identify the failing component. Write it down. Radio, headlights, windows, and horn. One failing component points to one circuit.
Step 2: Open the factory manual’s fuse section. Find the fuse box diagram. Cross-reference the component with its fuse position and amperage rating. Do this before opening the box.
Step 3: Locate the physical fuse box. Most vehicles have two locations: under the dashboard near the driver’s side, and under the hood near the battery. The factory manual gives the exact location for your make, model, and year.
Step 4: Pull the correct fuse using the right tool. Use a fuse puller tool or needle-nose pliers. Never pull a fuse with your fingers on a live circuit. Turn off the ignition first and remove the key.
Step 5: Inspect. A broken filament, darkened plastic, or discolored glass visually indicates a blown fuse. Compare it to a known-good fuse of the same type.
Step 6: Test with a multimeter. Set the multimeter to continuity mode. Touch the probes to both terminals of the fuse. No reading means it’s blown. This confirms what the visual check may miss, since some fuses fail internally without visible damage.
Step 7: Replace with the exact amperage. The factory manual specifies the correct rating. Never install a higher-amperage fuse. Doing so removes the protection the circuit needs, risking wiring damage or fire.
Step 8: Monitor for repeat blows. If the replacement fuse blows again, the problem is upstream. Refer to the factory manual’s circuit diagram to trace the fault. At this point, a multimeter and wiring schematic are your main tools. If the circuit complexity is beyond the scope of DIY, a technician with a scan tool should take over.
When the Fuse Box Itself Needs Replacing
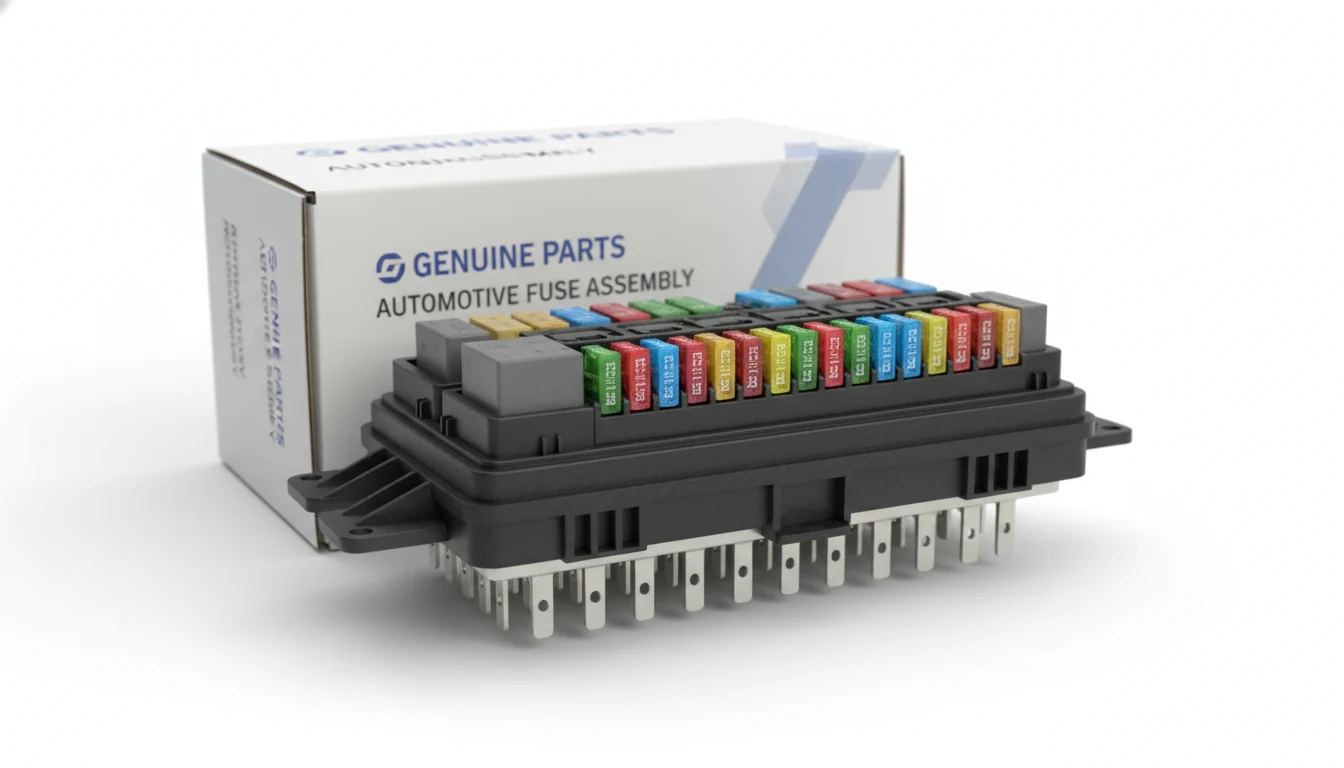
Sometimes the individual fuses are fine, but the box is not. Here’s how to tell the difference.
Signs the box has failed internally:
- Melted plastic or burn marks inside the housing
- Widespread electrical failures across unrelated circuits
- A burning smell from the dashboard or engine bay
- Fuses that appear intact, but circuits still don’t work
- Visible corrosion across multiple terminal rows
The factory service manual is useful here, too. It contains the part number, terminal layout, and connector orientation for your specific box.
Replacement boxes must match exactly. OEM-grade units are preferred because they’re engineered to match the factory wiring and load specs.
Estimated fuse box replacement costs:
| Repair Type | Estimated Cost |
|---|---|
| Single fuse replacement | $1 - $10 |
| Relay replacement | $10 - $50 |
| Fuse box cleaning/repair | $50 - $150 |
| Full fuse box replacement | $150 - $600 |
These figures vary by vehicle make and model, as well as labor rates in your area.
Related Resources from This Blog
If you found this useful, these related guides go deeper on specific parts of the process:
- Why DIY Mechanics Need Factory Service Manuals - Understanding why the factory manual outperforms generic repair guides, especially for electrical work.
- Common Mistakes When Using Factory Repair Manuals - Mistakes that lead to wrong diagnoses, including misreading the fuse diagram or using the wrong edition of the manual.
- Factory Manual PDF Checklist Before Starting Repairs - A pre-repair checklist that includes verifying fuse specs before you touch anything.
- How to Read Connector Views in Factory Manuals - Essential for tracing wiring beyond the fuse box into the connector and harness level.
Preventive Habits That Keep Fuse Box Problems Away
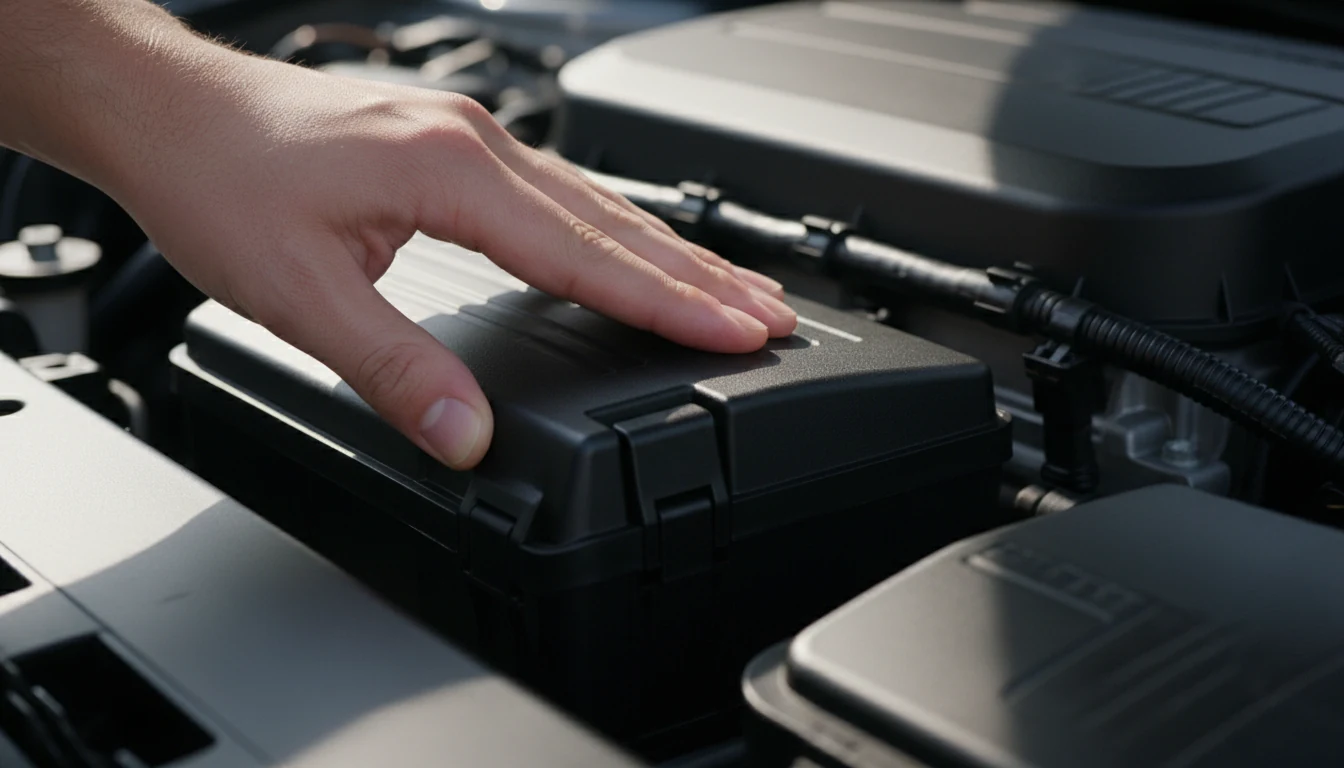
Catching fuse box problems early is much easier than diagnosing them after something fails completely.
- Visually inspect the fuse box once or twice a year. Look for corrosion, moisture, or discolored terminals.
- Always keep the fuse box cover fully latched. Moisture is the most common cause of intermittent electrical faults.
- Carry a small fuse kit in the glove compartment. Your factory manual lists all the ratings you need.
- Avoid overloading circuits with aftermarket accessories. Adding high-draw devices to small-gauge factory circuits causes repeated blown fuses.
- Address any electrical issue early. Flickering lights or a component that works sometimes is a warning sign, not a minor inconvenience.
Conclusion
Fuse box problems rarely announce themselves clearly. A dead radio, windows that stop mid-way, or lights that flicker on and off all trace back to the same starting point: the factory manual. It tells you which fuse, which slot, which amperage, and how the circuit connects to the rest of the vehicle.
Most of these repairs are straightforward once you have the right information in front of you. Pull the diagram, find the circuit, test the fuse, and replace it with the exact match. If the same fuse keeps blowing, the factory manual’s wiring schematic points to the actual fault rather than a symptom.
Use the manual every time. It’s not extra work. It’s the only way to be sure.
Frequently Asked Questions
Can a bad fuse box cause my car not to start?
Yes, it can. The ignition and starter circuits run through the fuse box, and if a main fuse or relay in that box fails, the car may crank without starting or refuse to start entirely. The factory manual lists the starter relay position and its associated fuse.
Check both before assuming the battery or starter motor is at fault. If the ignition-related fuses appear intact but the car still won’t start, internal damage in the box may be intermittently cutting power. A multimeter test at the relay socket will confirm whether voltage is properly reaching the starter circuit.
How do I know if my fuse box is corroded or just has a blown fuse?
A blown fuse causes a single system to fail. Corrosion affects multiple systems simultaneously, often in circuits that have no logical connection to one another. Open the box and look at the terminals.
Green or white oxidation on the metal contacts is a clear sign of moisture damage. The factory manual shows what healthy terminal contacts should look like for your specific box.
Cleaning with electrical contact cleaner sometimes resolves intermittent faults, but if the corrosion is widespread or the plastic housing is warped, replacement is usually the better call.
Is it safe to replace a fuse with a slightly higher amperage rating?
No, and this point matters more than most people realize. A higher-rated fuse allows more current to flow before it blows, removing the protection the wiring was designed to provide. That excess current can melt insulation, damage components, or start an electrical fire.
The factory manual lists the exact amperage for every circuit. In a temporary pinch, a lower-rated fuse can be used to get home since it will blow before any damage occurs, but a higher-rated fuse should never be used under any circumstances.
What is the difference between a fuse and a relay in the fuse box?
A fuse is a passive protection device that breaks a circuit when the current exceeds a safe level. A relay is an electromechanical switch that uses a small control signal to operate a large load, such as a fuel pump, starter, or cooling fan.
Both live inside the fuse box, and both can fail. A bad relay can cause a circuit to stop working even when the fuse is intact. Your factory manual labels relay positions clearly, and in most cases, the relay type is printed on its housing, making cross-referencing and swap testing straightforward.
Can I use any fuse box from a salvage yard to replace a failed one?
Not safely without verification. Fuse boxes are model-specific. The connector layout, circuit count, terminal orientation, and amperage distribution are all engineered for a specific vehicle. Using the wrong box risks a mismatch between wiring connectors and the bus bar layout inside the housing.
The factory manual provides the OEM part number and the specification details needed to confirm compatibility. If you’re sourcing from a salvage yard, match the part number exactly and verify it against the same year, model, and engine type listed in your service documentation.